Since its last interview on The Art of VFX, Jonathan Fawkner oversaw the effects of THE CHRONICLES OF NARNIA: THE VOYAGE OF THE DAWN TREADER and CAPTAIN AMERICA: THE FIRST AVENGER. He explains now the many challenges on WRATH OF THE TITANS at Framestore.
How was the collaboration with director Jonathan Liebesman?
JL as we called him to distinguish him from JF (me) was fairly easy to work with. He had a pretty good idea about what he wanted to see and how he wanted it to look. He had established an aesthetic for the movie and he was always wanting it to look filthy, which of course we had anticipated so we had plenty of cg dirt and dust on hand to chuck into the mix. That would generally make him happy. But that aesthetic also affected shot selection and camera style which we were careful to try to replicate in our full 3d shots. He and the editor were generally happy to receive suggestion, during the shoot and in post which makes the whole process more collaborative.
How was the collaboration with Production VFX Supervisor Nick Davis?
This time around Nick Davis was 2nd unit director as well as VFX supervisor, so that brought a new perspective on things. He needed to rely more heavily on me for one thing in his absence, but it also meant he had a deep understanding of how the shots were conceived, and had more influence on the look and feel of the movie. He and Rhonda Gunner and the whole team were fun to work with and it felt like a really positive joint effort.
What have you done on this movie?
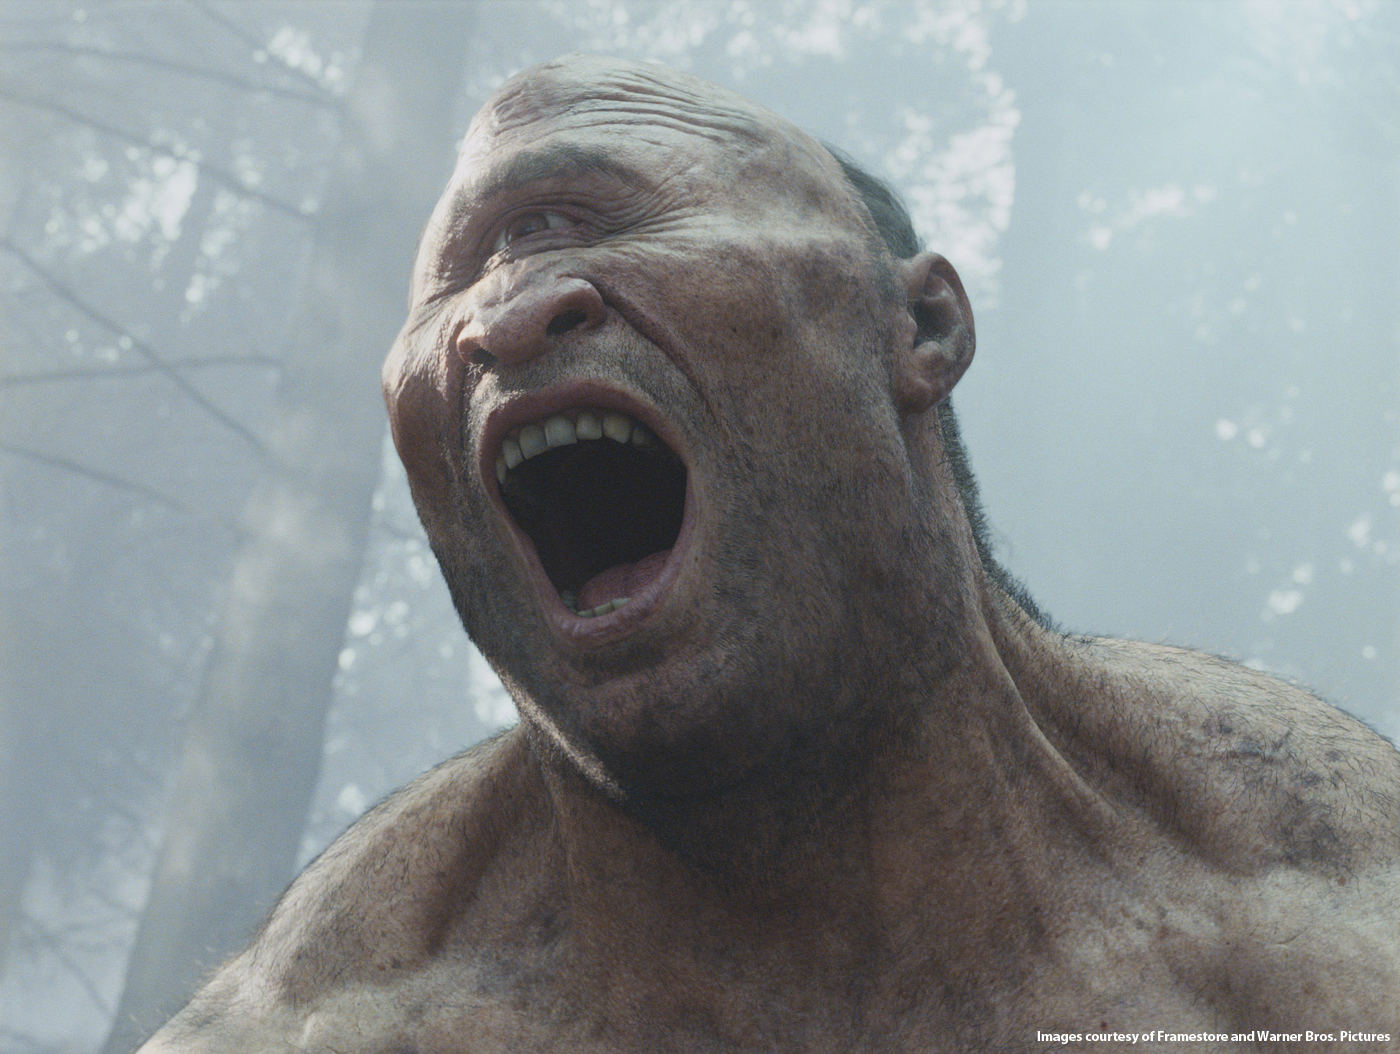
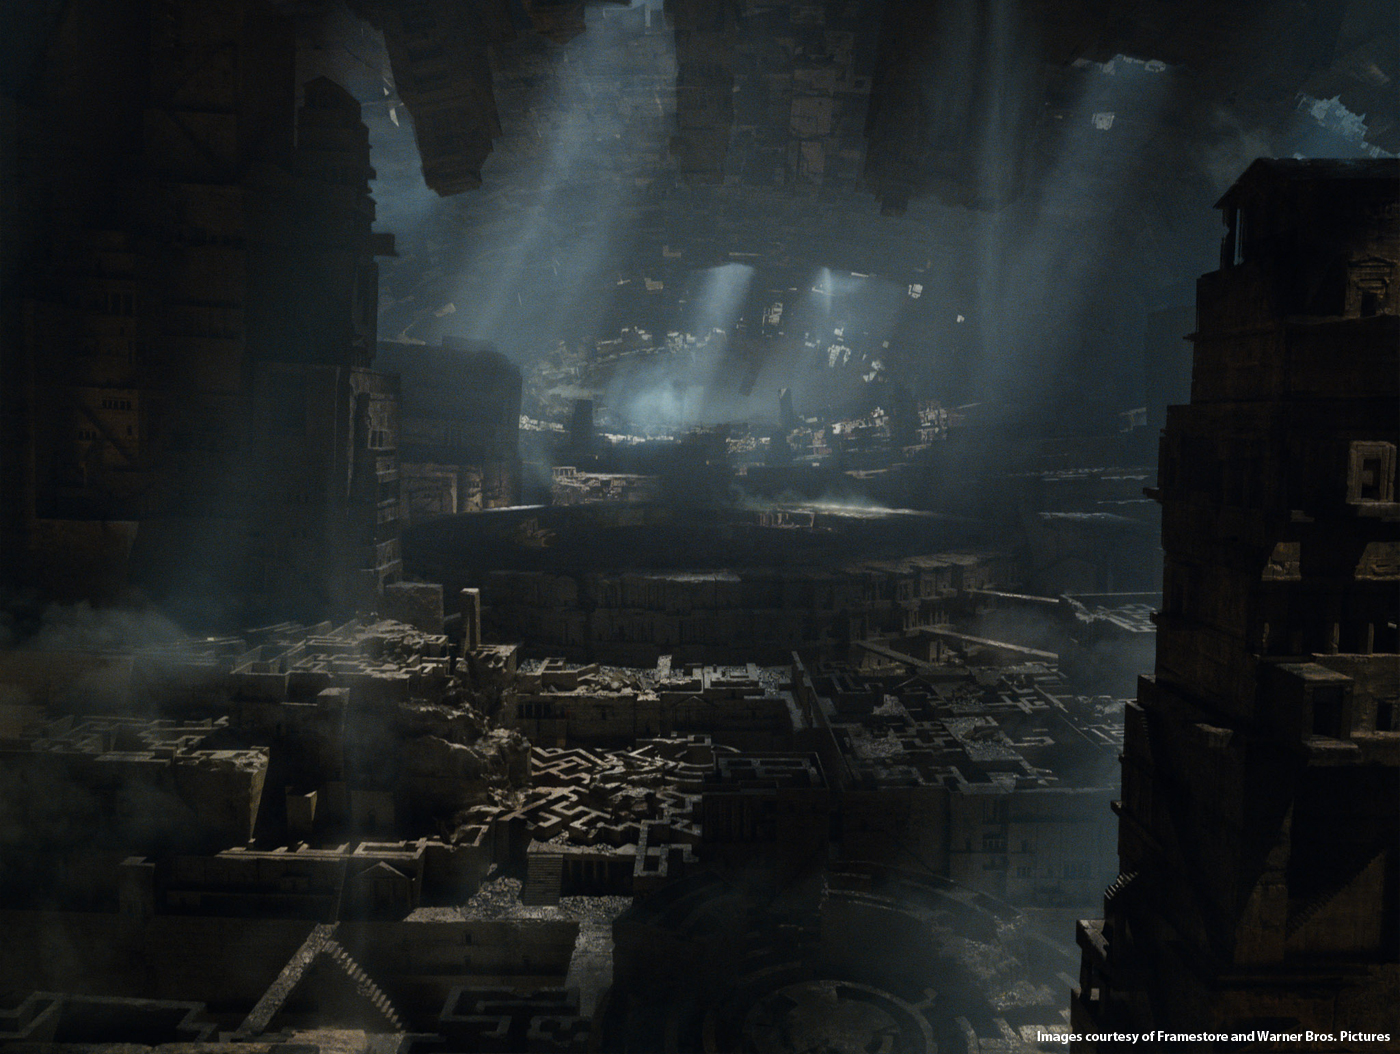
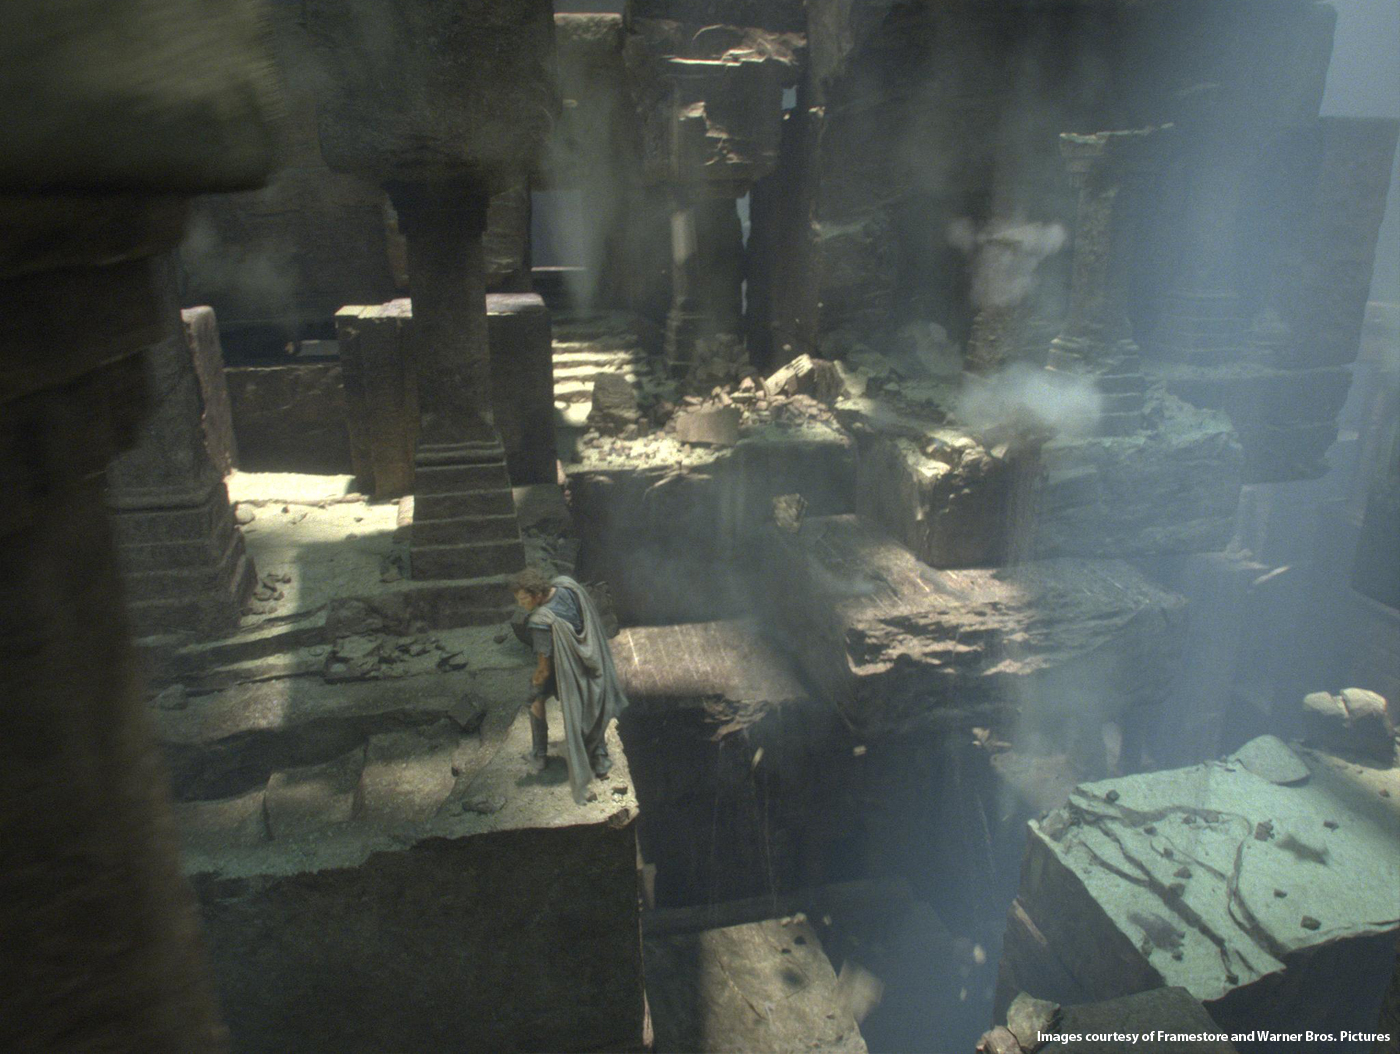
We were responsible for the sequence involving 3 cyclops that chase and fight with Perseus. We also took on the Labyrinth, involving a huge rock tower, a mechanical doorway, and the ever moving and collapsing interior.
How did you take all the on-set informations such as tracking, lights, topology, etc for the Cyclops sequence?
I relied hugely on Giles Harding the lead data wrangler. He was very thorough and understands how to take and present all the data you would need in a user friendly format. We surveyed the lights and camera for each slate. We took hdr light reference of all the light sources. We shot mirrored and matte spheres for each slate as well as shooting hdr light probes as well as material and texture reference. We also shot simultaneous sky condition hdrs from the top of our building which was not too far away from where the cyclops was shot, on the hour every hour, during the 2 weeks we were shooting the cyclops sequence. We also extensively lidar scanned in colour the locations.
How was simulated the Cyclops presence and interactions on-set?
We had some precanned behavioral animation which we were able to show to the cast and crew and we would then block out the beats with me on the end of 30’ pole and a tennis ball on the other. Old school. I would sometimes make it into shot to be removed later, but more often we shot without.
What references and indications did you received to design the Cyclops?
The cyclops were designed by Framestore Art department while in pre-prod and we had some clay sculpts from the production art department. But the feedback we got was taking it more and more towards a human, which in cg terms is a mixed blessing. It’s a tremendous challenge of course but also potentially a huge liability. But we were also asked to differentiate them with physically properties, meaning one was fit, the other fat, and the last needed to be their father so he needed to be aged.
How did you create them?
The cyclops were sculpted in Zbrush. They wore precious little clothing so we needed 3 anatomical humans which is quite an ask. Each muscle and it’s behaviour would be on show and in close up so there was really nowhere we could make economies.
Can you explain to us in detail the Cyclops rigging?
The cyclops was rigged in a number of different phases. Firstly we tried where possible to roll one rig onto the other two, but of course there are bespoke requirement for each one, so every update would usually have to replicated twice more. The body and face were handled by two different teams so they could be worked up along side each other, but the general principle was the same. We would rig until the animators broke it and generated he need for a bespoke shape which would then be modelled and worked back into the rig. For shot specific shapes we didn’t go back to rig at all and would back specific shapes onto the mesh giving us a granular approach to the level of detail required. After that we had a complex simulation procedure to generate fleshy jiggle and skin slide, made more complex by the nature of the 3 cyclops. Old cyclops and fat cyclops wobble in wholly different ways!
Can you tell us more about the mocap session for the Cyclops?
With a character that is so close to human as the cyclops mocap was for Nick and myself the only way forward. We have a state of the art mocap suite at Framestore which we were able to decamp to Shepperton for a week. We hired Martin Bayfield who, at nearly 7’ tall, was the closest thing we could get to a giant. He performed all three cyclops, and really brought three distinct performances. He threw himself around for a week and was really great and bringing energy and dynamism to the characters. We waited for the sequence to be cut, before tracking each shot and running the mocap live comped into the shots. We oriented the studio and placed trees and terrain in the mocap volume so that Martin could navigate the environment in the plates. We then sent 20 odd takes to the cutting room to make selects which could then sit in the cut. What we had in the can was essentially all we had so the cutting room treated the footage like any other rushes, and we had the sequence blocked in under a week. Then of course we had to clean up and finesse but it was a liberation to have that process locked down so early.
How did you manage the Cyclops faces?
These were all keyframed. The problem with facial capture is it’s great if your character has a face! Or at least one with 2 eyes. We took the view that the eye on a cyclops would require some creative work unlike what we could get from a facial performance capture. We constructed the eye in such a way as it could perform some of what two eyes would do. That is to say we through out symmetry and gave the eye more articulation. There was no need in the initial brief for the faces to do much otherwise so we shot reference of Martin Bayfield on the mocap stage to match to, but later in the day we got the call to animate the faces for dialogue. This meant a different and more complete rig especially for the mouth.
During the sequences, lots of trees are thrown and others exploded. Can you tell us more about the creation of those trees?
The exploding trees were houdini simulations of prebroken trees comped onto plate with practical dust and debris. This was then augmented with dust and smaller debris from Maya. The trick to wood is to get the bits to stick together rather than just topple, so we played with the glue parameters to try to get the pieces to adhere and splinter rather than just shatter.
Can you tell us more about the impressive tall tower?
This was a large scale modelling challenge. The real problem here was that it needed to rotate which meant the shadows would be constantly moving. There was no way round it but to model it. But the brief called for hundreds of doorways and entrances, built in the greek style out of the natural rock. It meant a kit of doorway elements stuck into a voxel sculpted tower until we had a monstrously huge poly count, but very accurate shadow play. We essentially matte painted a material onto it rather than attempting a texture, meaning we could be a little more liberal with our modelling style.
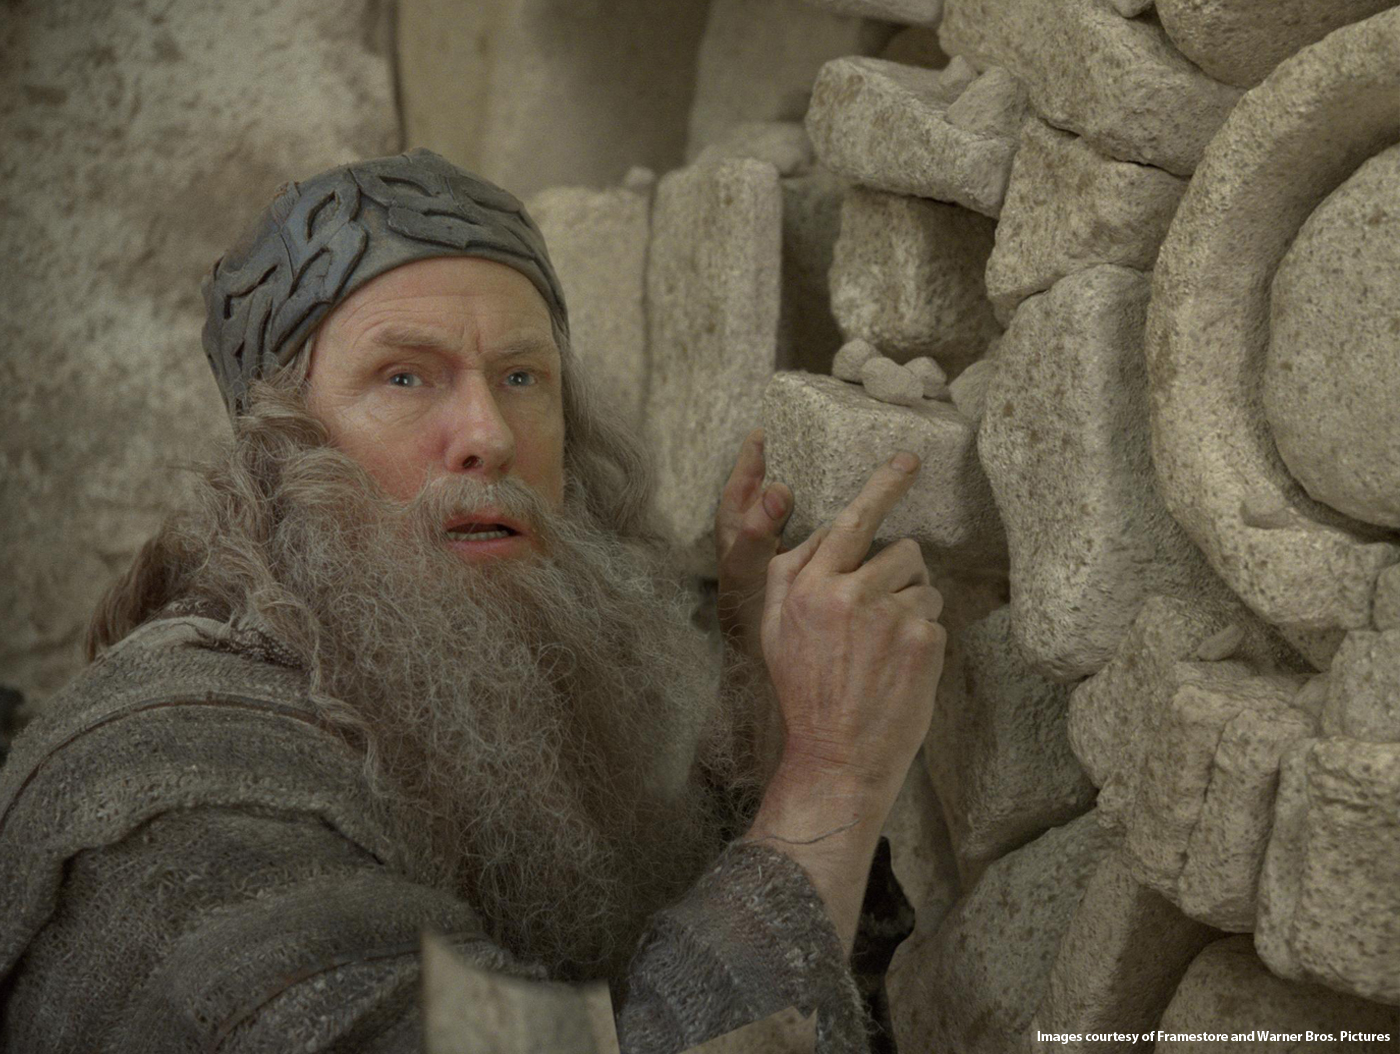
At a moment Hephaestus opens a magical door. Can you tell us more about it?
There were something like 200 pieces of stone in the door which were modeled and articulated. This was made to fit onto a greenscreen set piece which had some green moving parts. We were able to match the onset model and augmented the cg stones with a lot of smaller simulated rocks and dust. Key to it all was the ray traced global illumination that we employed across all the shots on WRATH. Really accurate shadows from the Hephaestus character and some judicious light placement, helped sell the shots.
How did you proceed to model and create a so huge and complex environment for the Labyrinth?
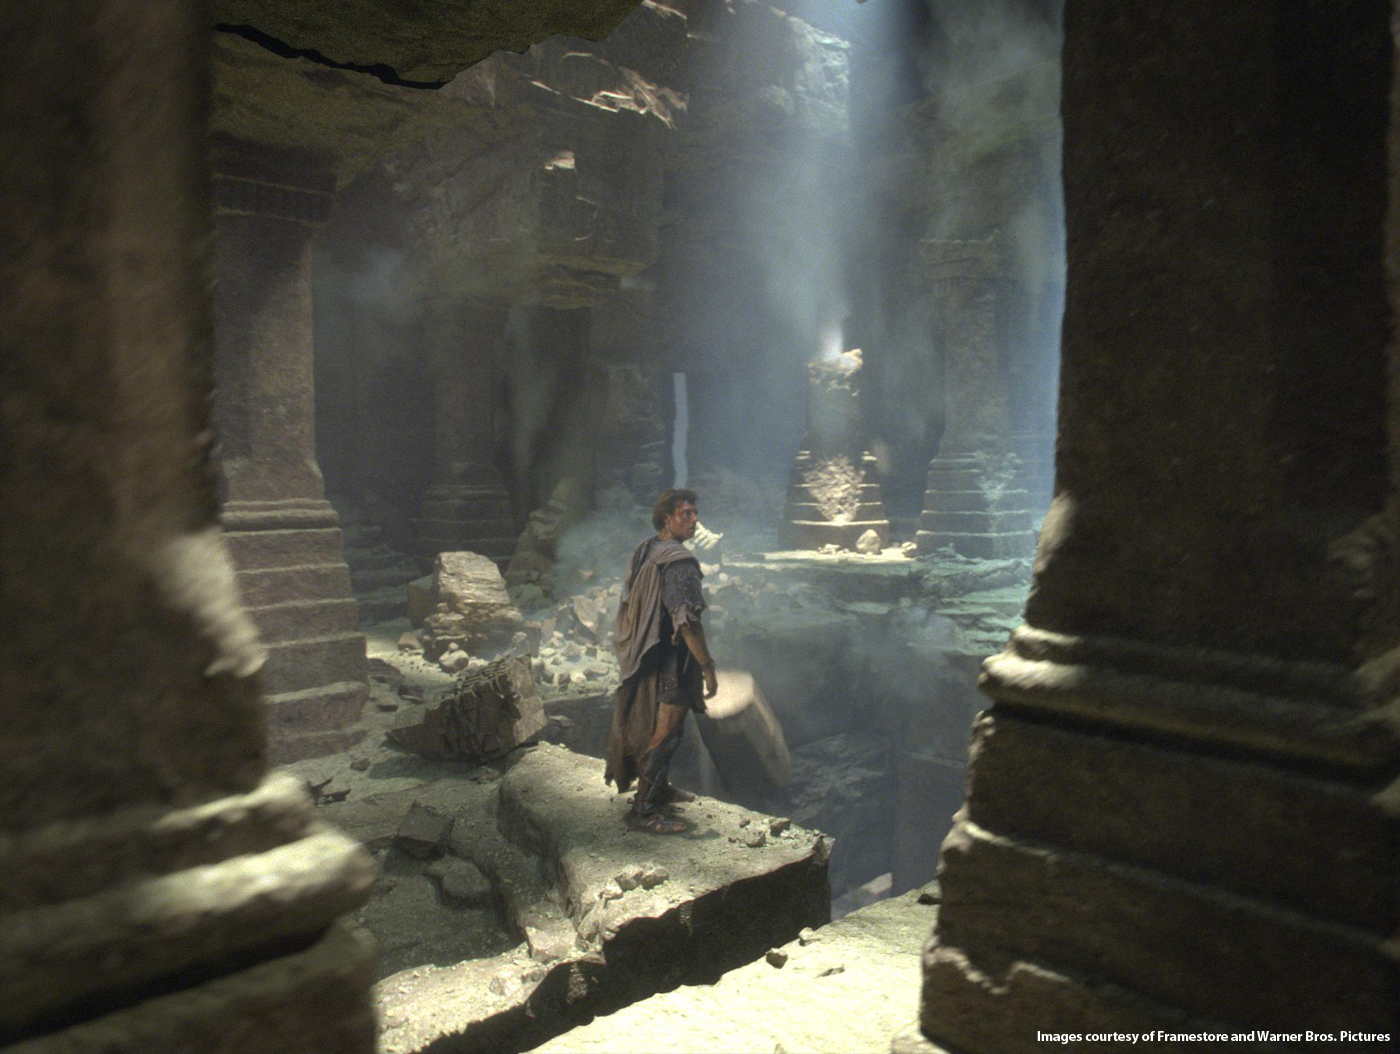
Stone by bloody stone. I would have loved to have matte painted the Labyrinth but it was constantly moving so it really did need to be built. We built a kit of stones and architectural elements that we used extensively to construct a number of various doorways. We could then vary them relatively procedurally but there was no doubt there was a huge amount of geometry. Too much for maya which made the scenes pretty unwieldy. We then proceeded to light the sequence as if it was a giant studio. We got advice from the gaffer on the movie, and using the Arnold renderer and realistic light position we were able to match the look that the DoP had achieved on the stage for the non moving parts of the labyrinth. Arnold also gave us atmospheric volume so the td’s were not relying on comp to fill in the blanks as far as the the environment was concerned. Light positions were critical but when you hit a sweet spot the shading really sold it. The other key to it was having a cg proxy for the greenscreen people. When I saw the cg characters respond to the cg light like the actors on the plate then I knew we would have a comp we could believe.
Can you tell us more about the impressive reforming Labyrinth process?
This became the last shot out of the door. It is long at 1000 odd frames and constituted the culmination of the processes we developed thus far. We were able to model the labyrinth almost like lego by this stage, mixing in bits of lidar scan, and we tried to find moments that would respond to the performance on the set from Sam Worthington. We then lit the shot through a moving gobo to give an ever changing light stage. Then it was down to the fx team to throw everything they had at it. We simulated the whole lot in houdini and proprietary fBounce. Each sim got resimmed for volume and you can imagine there was a long pipeline. This was then comped with hundreds of 2d elements and the whole while, it was in stereo.
How did you manage the renders for so many elements?
We just split it into layers. That sounds easy, but it ended up being a very well executed shot. The key was the working relationship between the artists on the shot. By collaborating we were able to get the renders through, relying in the end of course on a lot of comp and work from matte painters to add extra detail, but there is no getting around it, it was a monster shot.
What was the biggest challenge on this project and how did you achieve it?
For me, the biggest challenge was the physical rendering that we employed. I was keen to push the plausibility of the lighting and in Arnold and Renderman we had two tools that could achieve it in production. Of course we needed to retool a lot of the shaders and methodologies that we have become reliant upon in our traditional Renderman pipeline, such that our skin and hair tools had to be rewritten so that we could ray trace them completely. We worked closely with the developers while these tools were in pre-release and it has meant a whole new approach for the lighting td’s certainly, but also for the whole crew as the repercussions of their work become more obvious in an unforgiving but wholly satisfying lighting environment.
Was there a shot or a sequence that prevented you from sleep?
No. I’m a good sleeper. I just didn’t get too much of it towards the end.
A big thanks for your time.
// WANT TO KNOW MORE?
– Framestore: Dedicated page about WRATH OF THE TITANS on Framestore website.
© Vincent Frei – The Art of VFX – 2012


