New game cinematic on The Art of VFX with THE WITCHER 2. Maciej Jackiewicz (Animation Director), Bartek Opatowiecki (Senior TD) and Lukasz Sobisz (FX TD) of Platige Image explain in details the creation process for this animation.
MACIEJ JACKIEWICZ // Animation Director
How did Platige Image got involved on this game cinematic?
Platige has already a long history with WITCHER. We made cinematics for the first part of the game in 2006. The game turned out to be quite a success. Our Intro and Outro were also well received by the gamers community, so when we were asked to create intro for the WITCHER 2 we knew that we shouldn’t miss it.
How did you collaborate with director Tomek Baginski?
I’ve been working with Tomek for a few years on various projects almost desk by desk so this was nothing new. He has very good knowledge of 3d animation which helps a lot during production. He also leaves a lot of freedom to artists.
Have you created previs to help the director and to block the animation?
Yes, a previs was very important. It was created by Damian Nenow and his layout team and took about two months.
Animatic was based mostly on mocap and was a draft but quite complete version of the film – cameras and shots were fixed, lowpoly simulations of the destruction of the ship were also created a this stage. Whole slowmo sequence is synchronised to the music so final simulations and destructions had to exactly match the timing designed in layout. All that made the previs much more than just a help, it was a base for all the later work.
We didn’t want to loose any animation work done in the layout stage so all character animations from layout were exported from 3dsmax to motionbuilder for final animation. That was a bit tricky workflow but allowed precise transition between layout and animation.
Can you tell us more about the mocap process?
First, we analyzed and divided script into individual scenes and actions.
We didn’t create precise storyboard since we wanted to capture as much as possible of the action on stage and have freedom later in the layout.
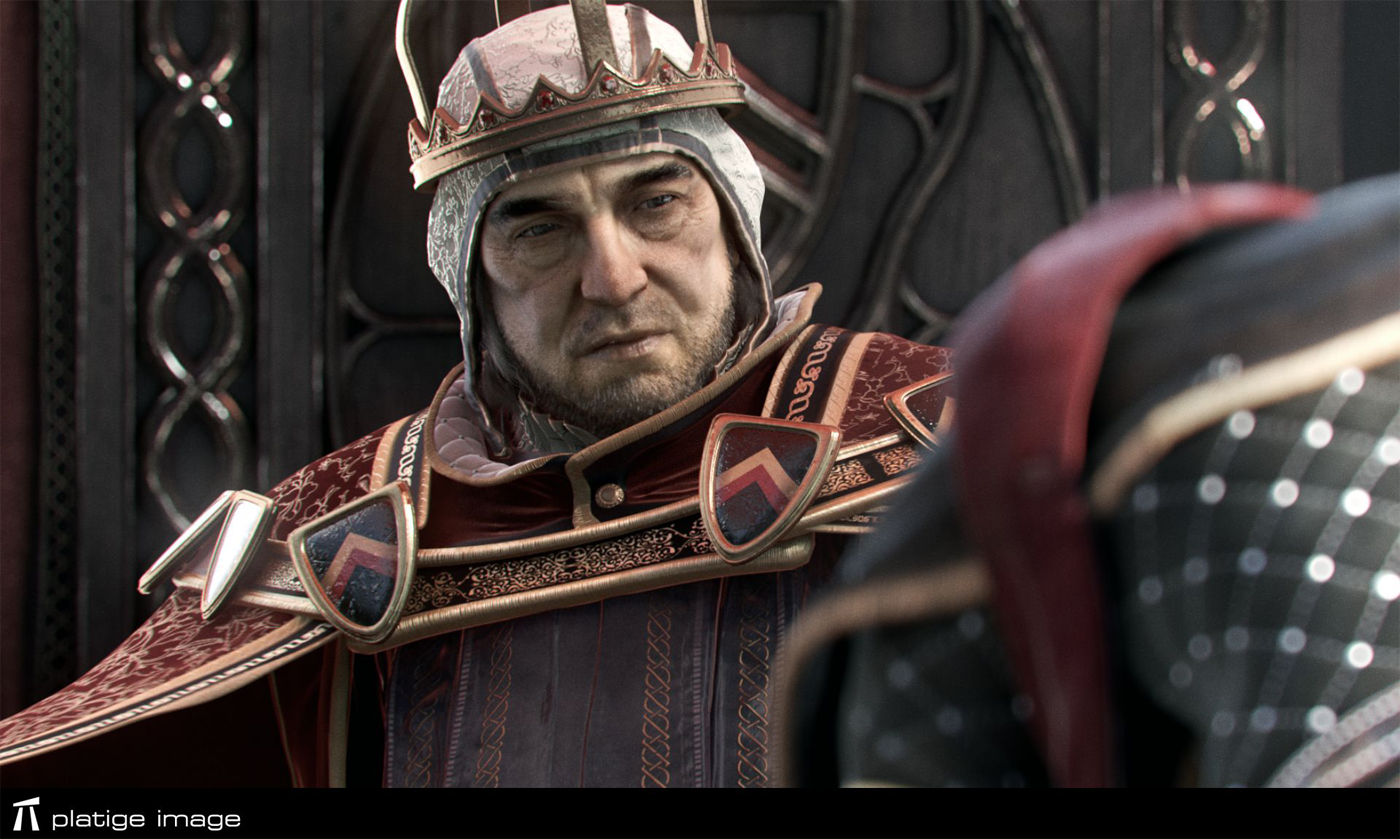
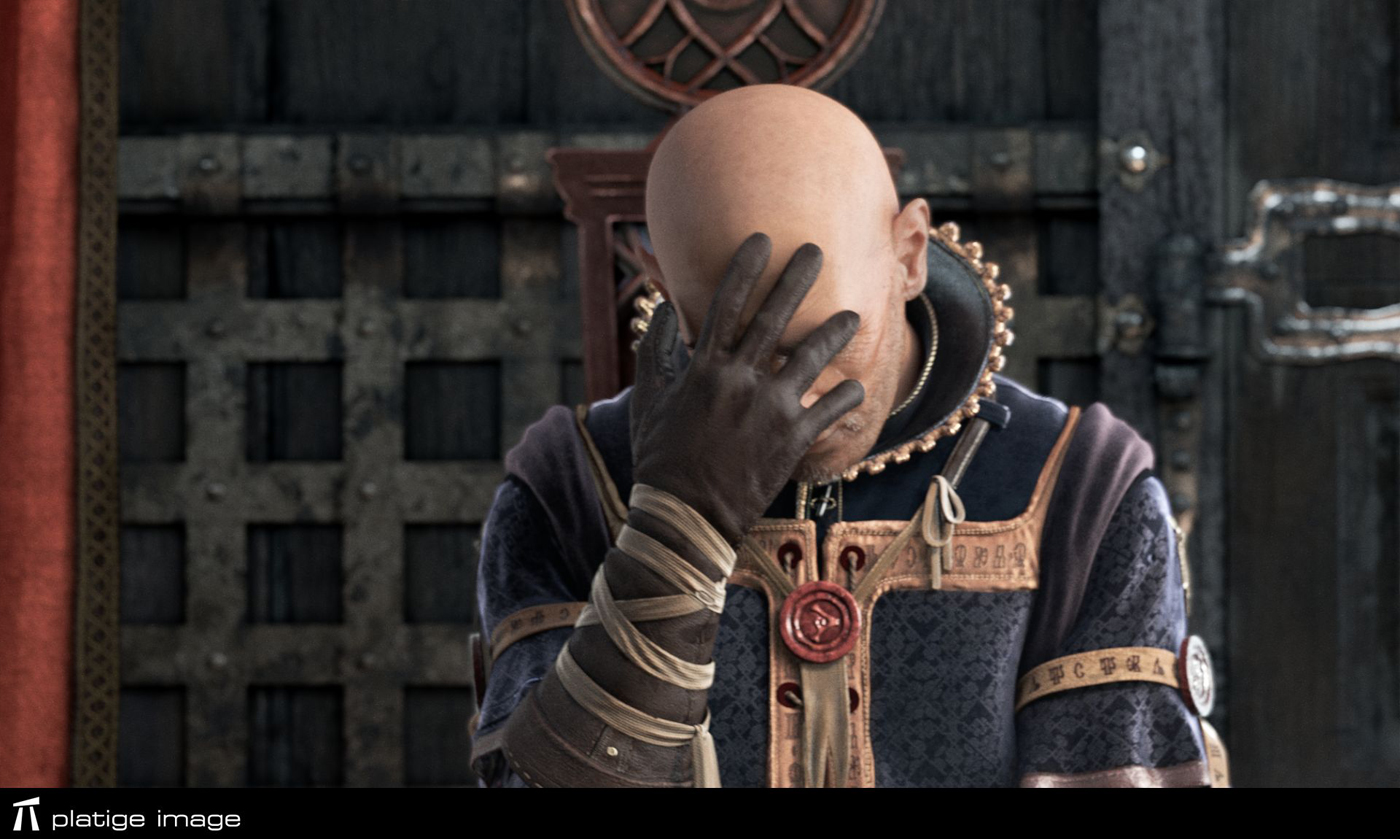
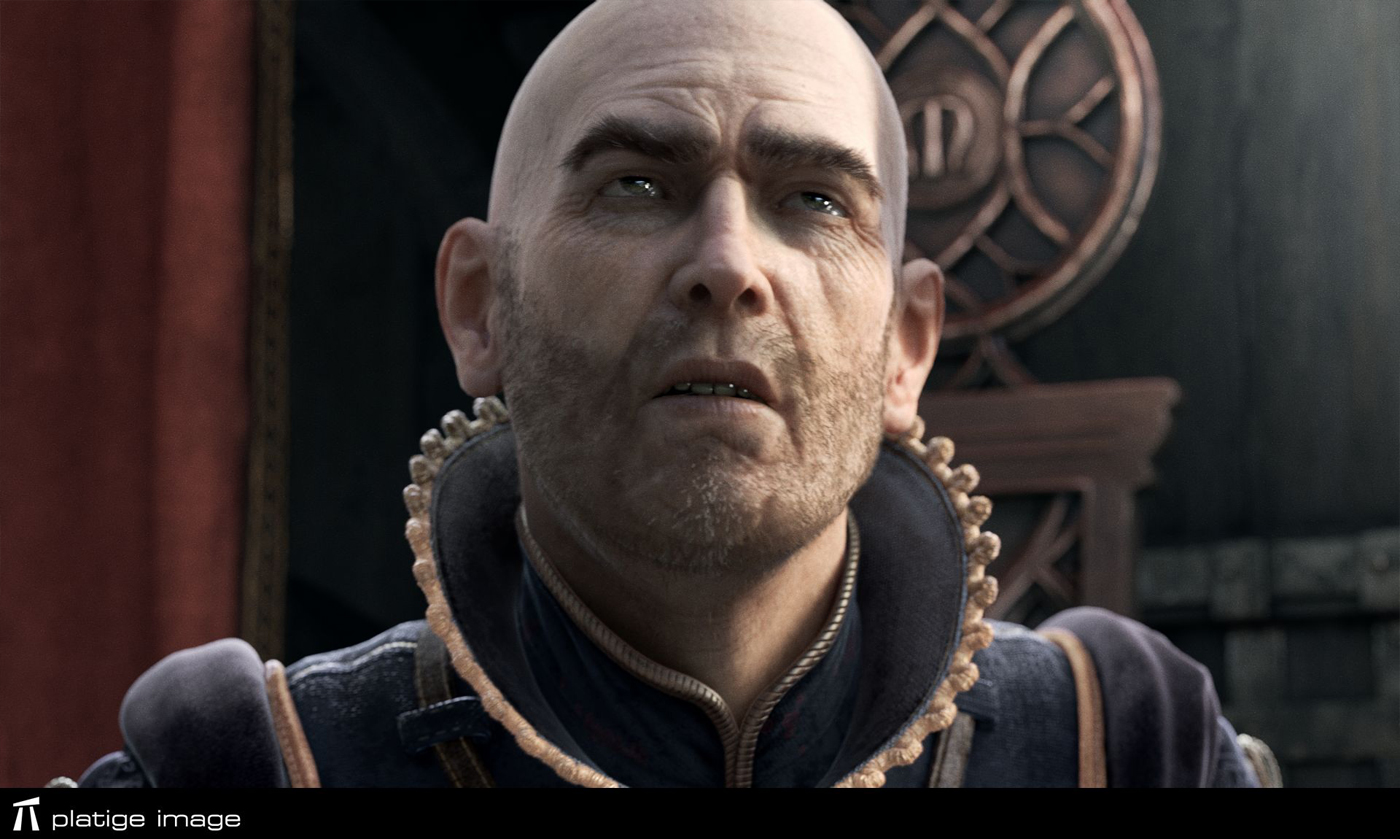
With three actors and three stunts acting simultaneously it was directed almost like a live action shoot. We didn’t have as many actors as characters in the film though, so there was some “juggling” involved. For example, the actor who played King Demawend also played Fat Jester, one of the spectators and even Assassin climbing the ship.
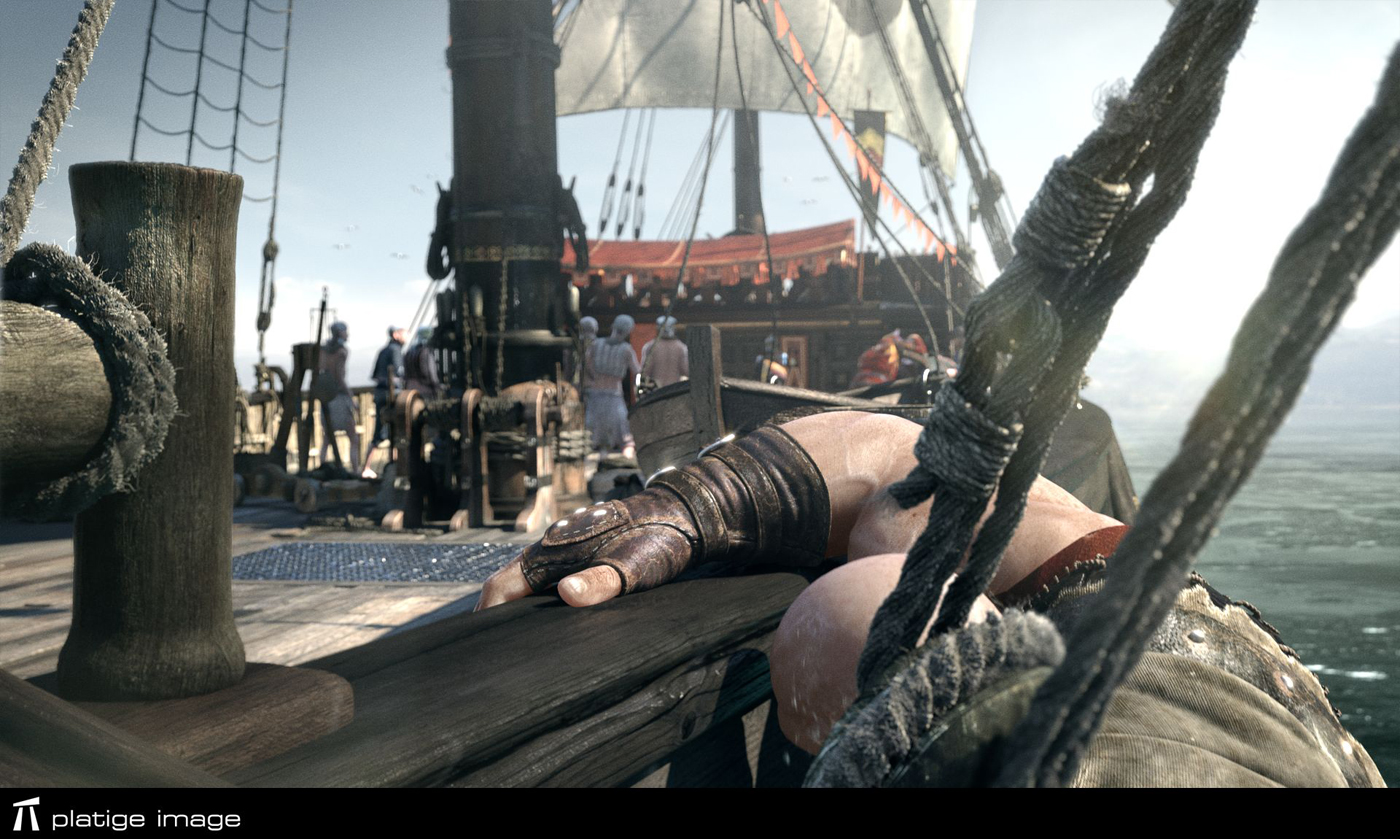
We tried to help actors “feel” the invisible scenography on the set. Luckily, dimensions of the mocap area were similar to the actual size of the ship deck, which allowed us to mark invisible boundaries etc. We also built wooden ramps to simulate the tilted deck which was very helpful, especially during the final fight.
How was choreographed the final fight?
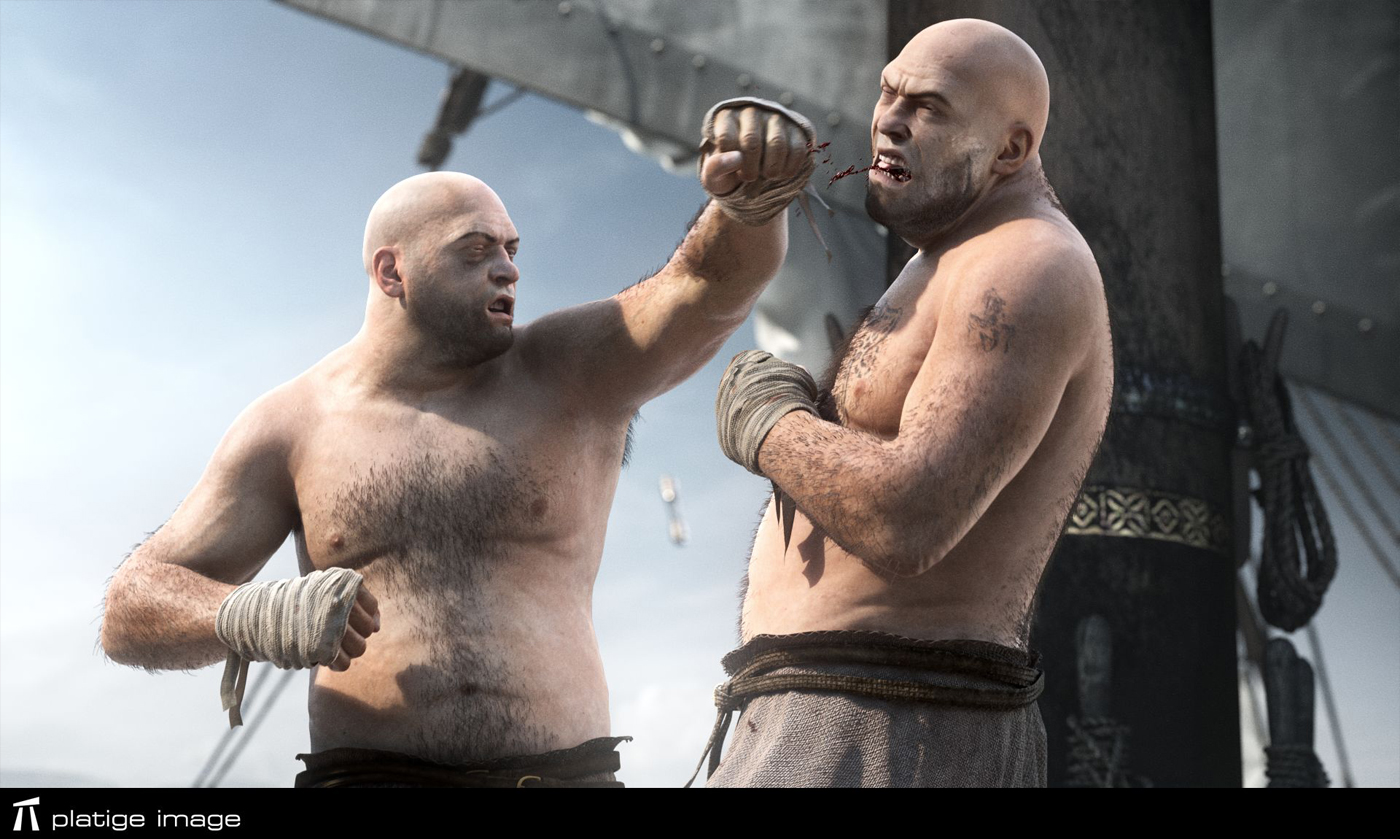
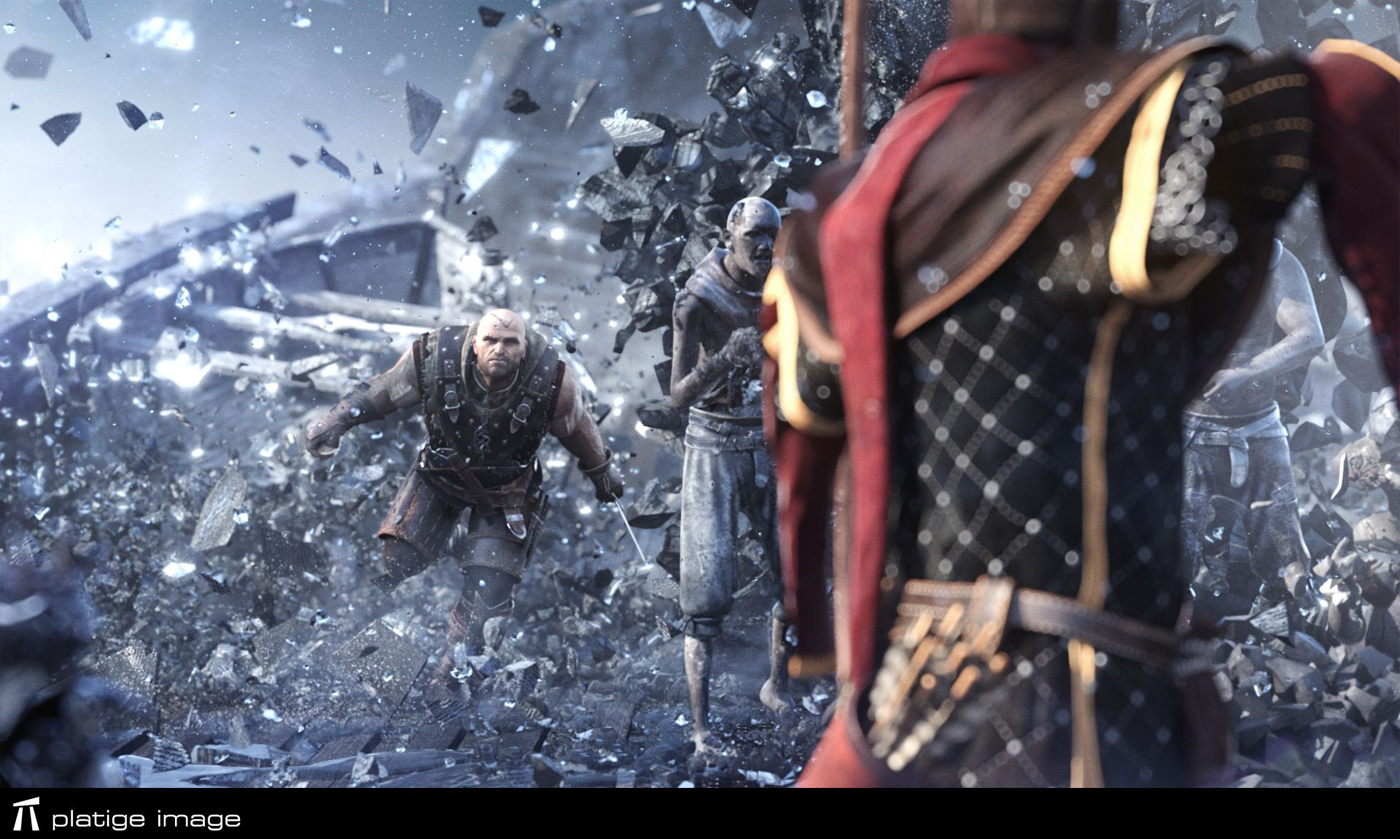
The fight was choreographed by Maciek Kwiatkowski and Tomek Baginski. Maciek played Assassin. He has great stunt skills and is a master in using medieval weapons.
Final fight was divided into 6 or 7 scenes. Most of them were planned ahead, some improvised on the set. We’ve recorded several versions and made final choices at the layout stage. We’ve produced over one hour of the mocap material so there was a lot to choose from.
How did you created the various characters?
Characters were designed in close cooperation with Cd Project RED.
Some of them were based on concepts or models from the game but most appear only in the intro.
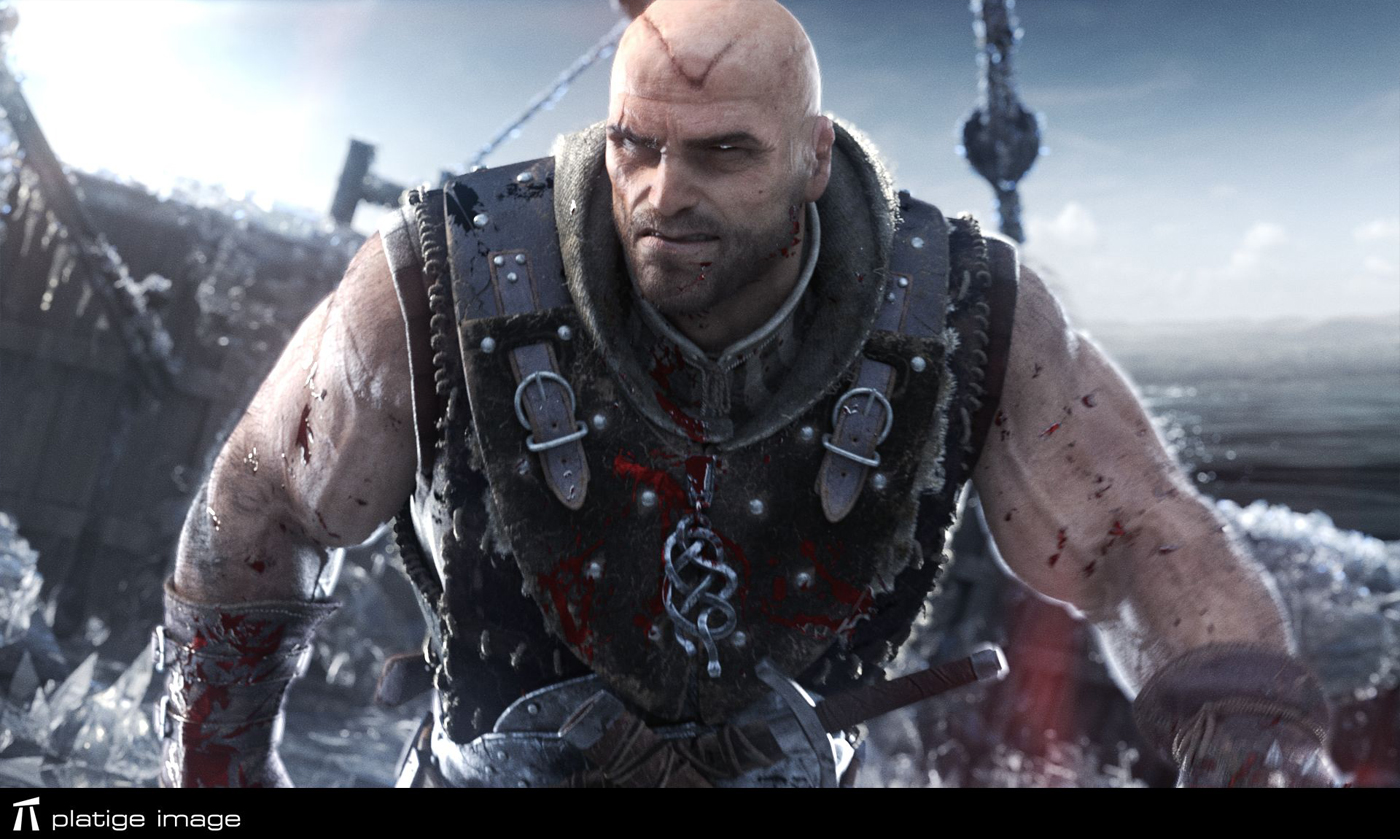
The only exception was Assassin who is an important antagonist in the game. He had to look exactly as he’s portrayed there. With all other characters we had much more freedom.
What we tried with all of them was to give each character a distinct personality. We wanted them to feel as individuals even if they don’t live too long.
From technical point of view the creation process was quite traditional. Zbrush sculptures were a base for every model. We tried to use as much as possible of the game assets still each model had to be recreated for the animation purposes.
Some shots are shown in extreme slow motion. How did you manage those and especially on the animation side?
Mocap was a rough guide to these shots. Some animation was based on retimed mocap but most of the shots had to be animated from the scratch. Especially shots with rapid time changes needed to be hand animated. These shots were also a challenge for the cloth simulation.
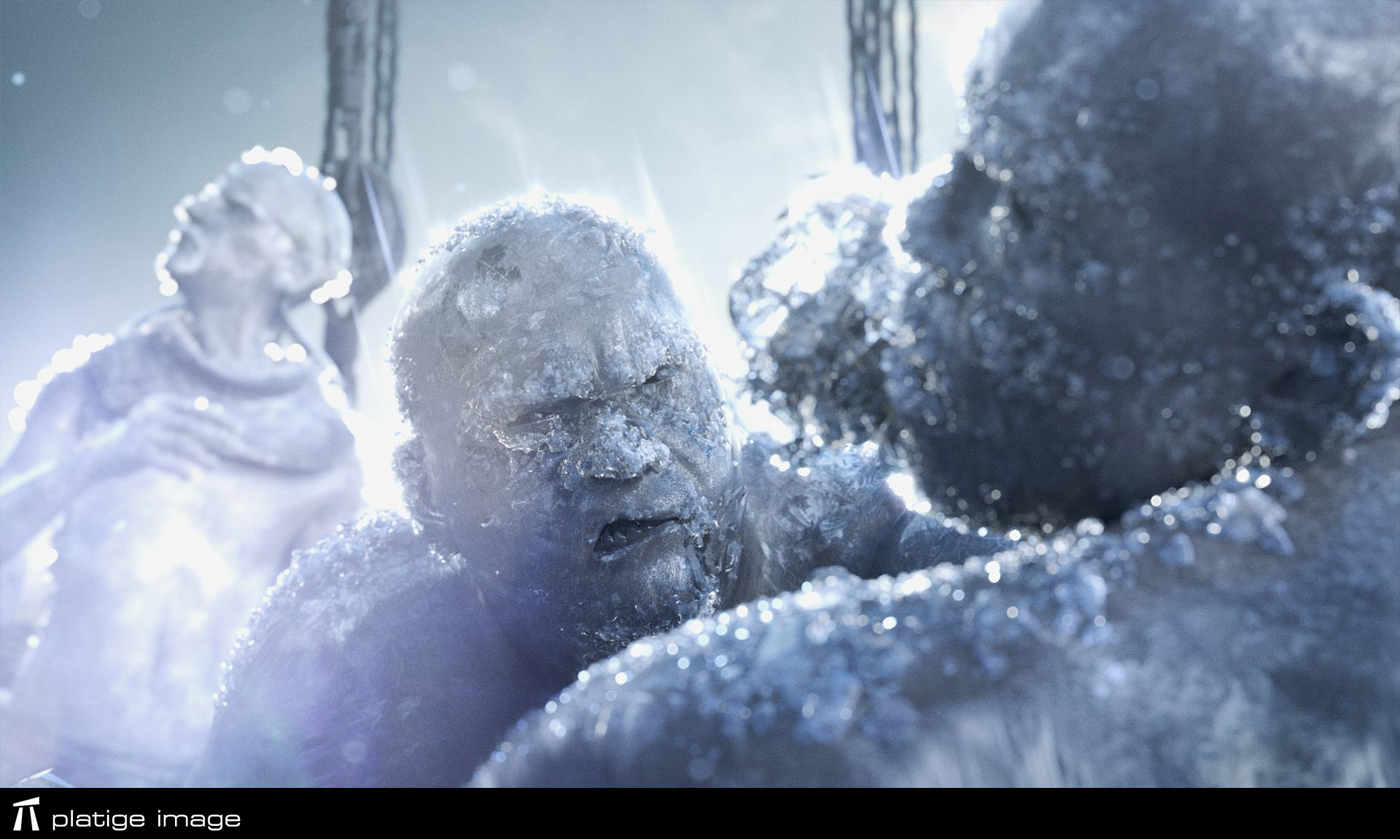
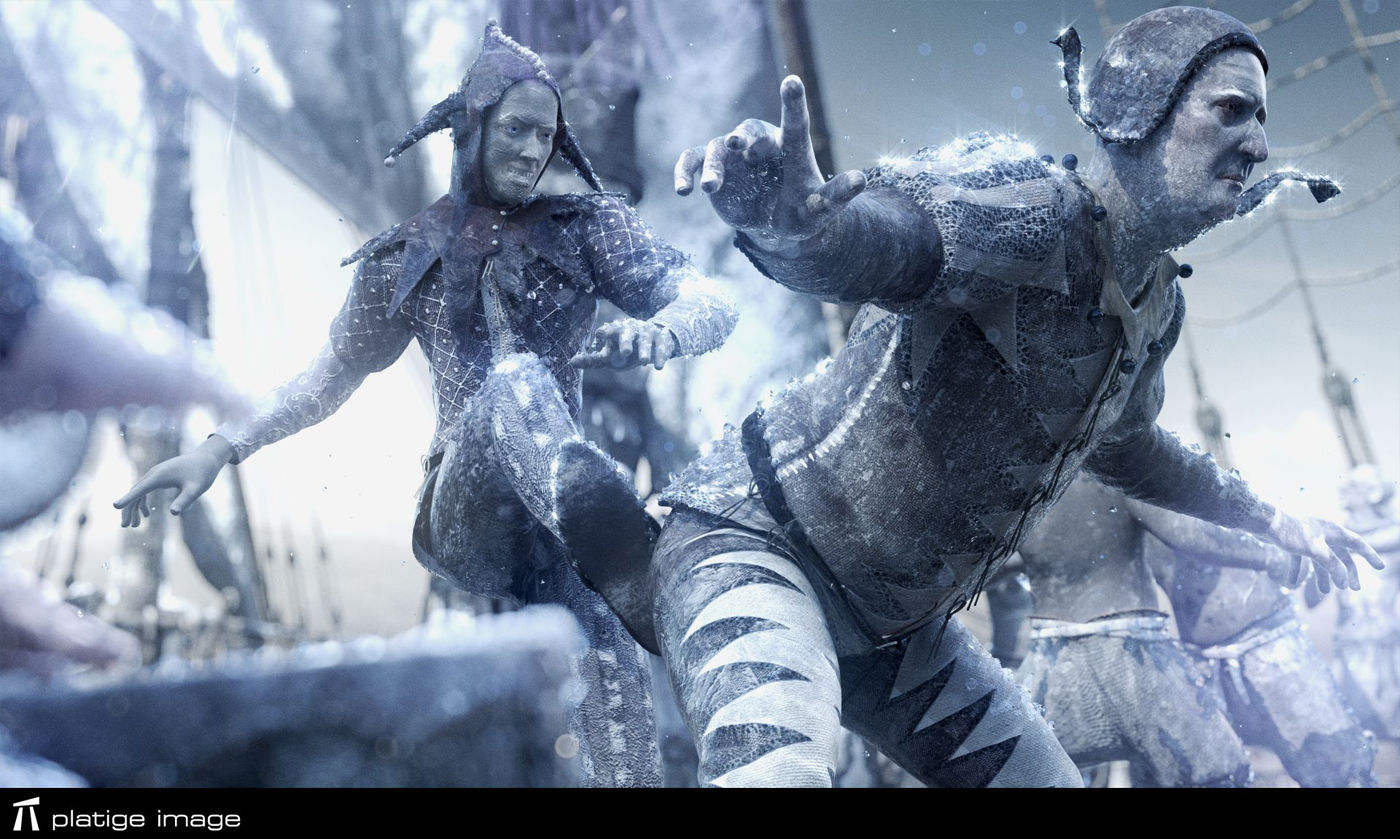
The people frozen in the ice and the ice itself looks great. How did you do to have this render?
Ice environments were developed and rendered by Marcin Stepien. He spent a lot of of time searching for the final look. We had to keep reasonable render times so finally it’s all a clever combination of geometry and shaders plus lots of particles that were scattered on geometry to imitate ice crystals.
Raw renderings looked really good so we didn’t even have to use a single mattepaint in this film.
Can you tell us more about the water element?
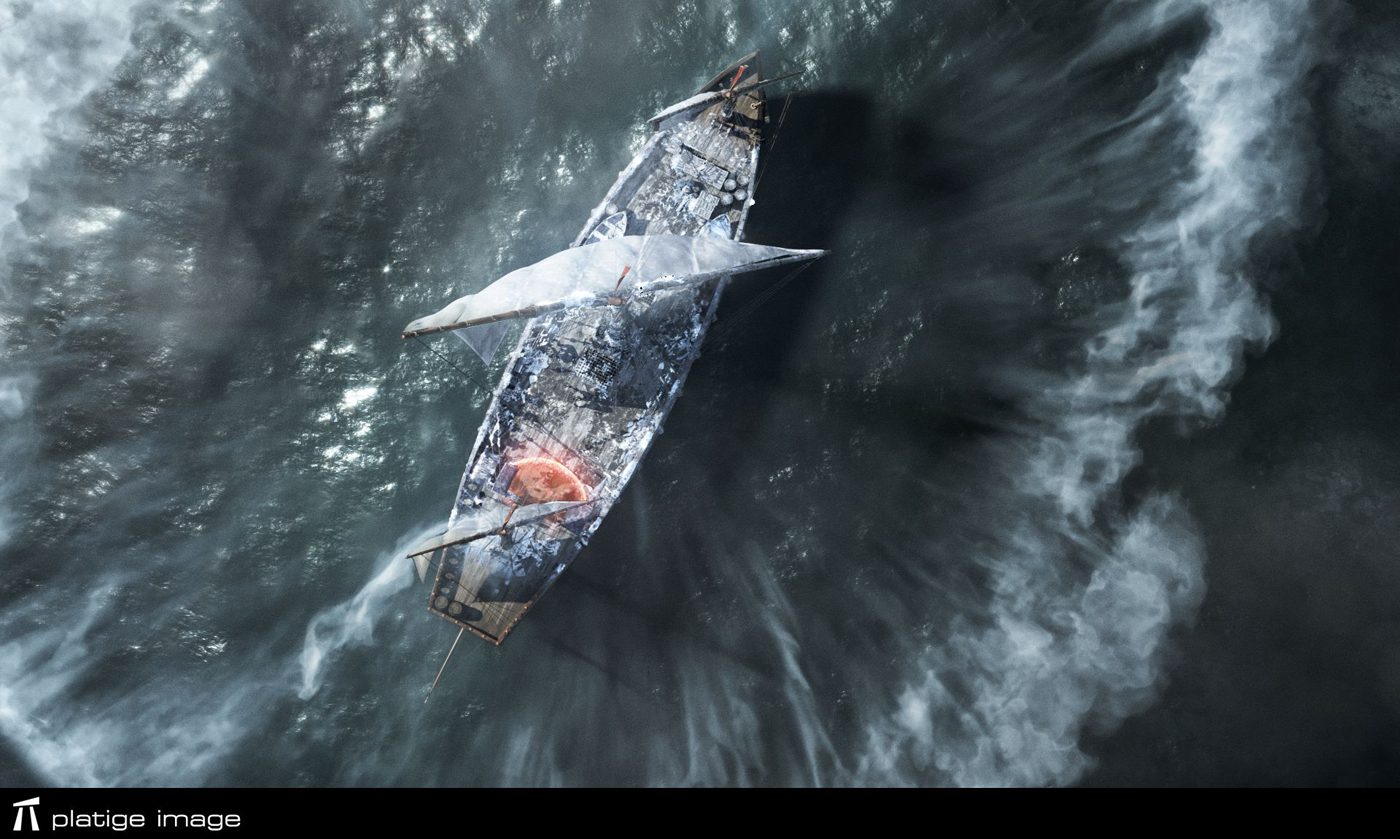
Even though we are on a ship there is actually very little water in the film.
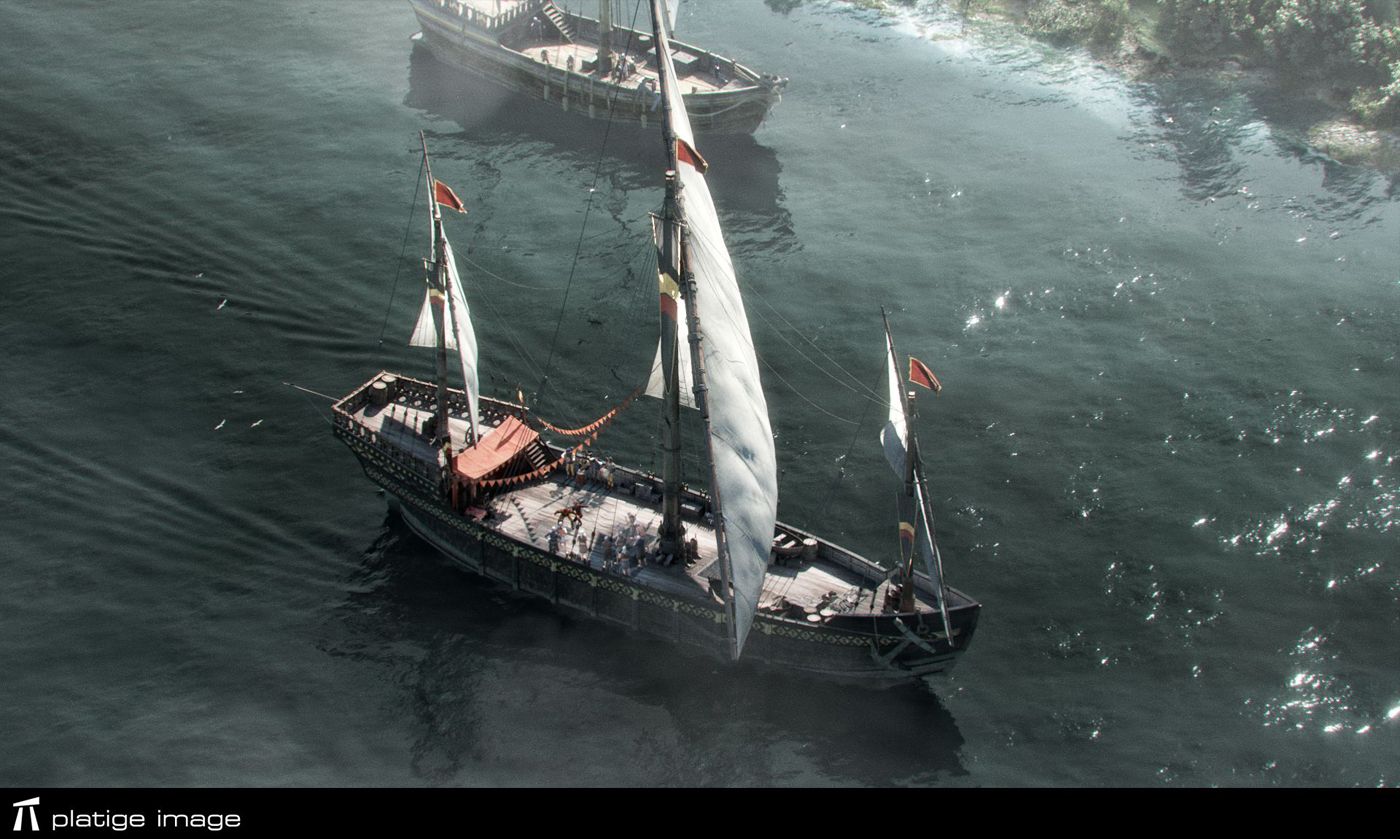
We cheated a little and we don’t really show the sinking of the ship or waves breaking on the board.
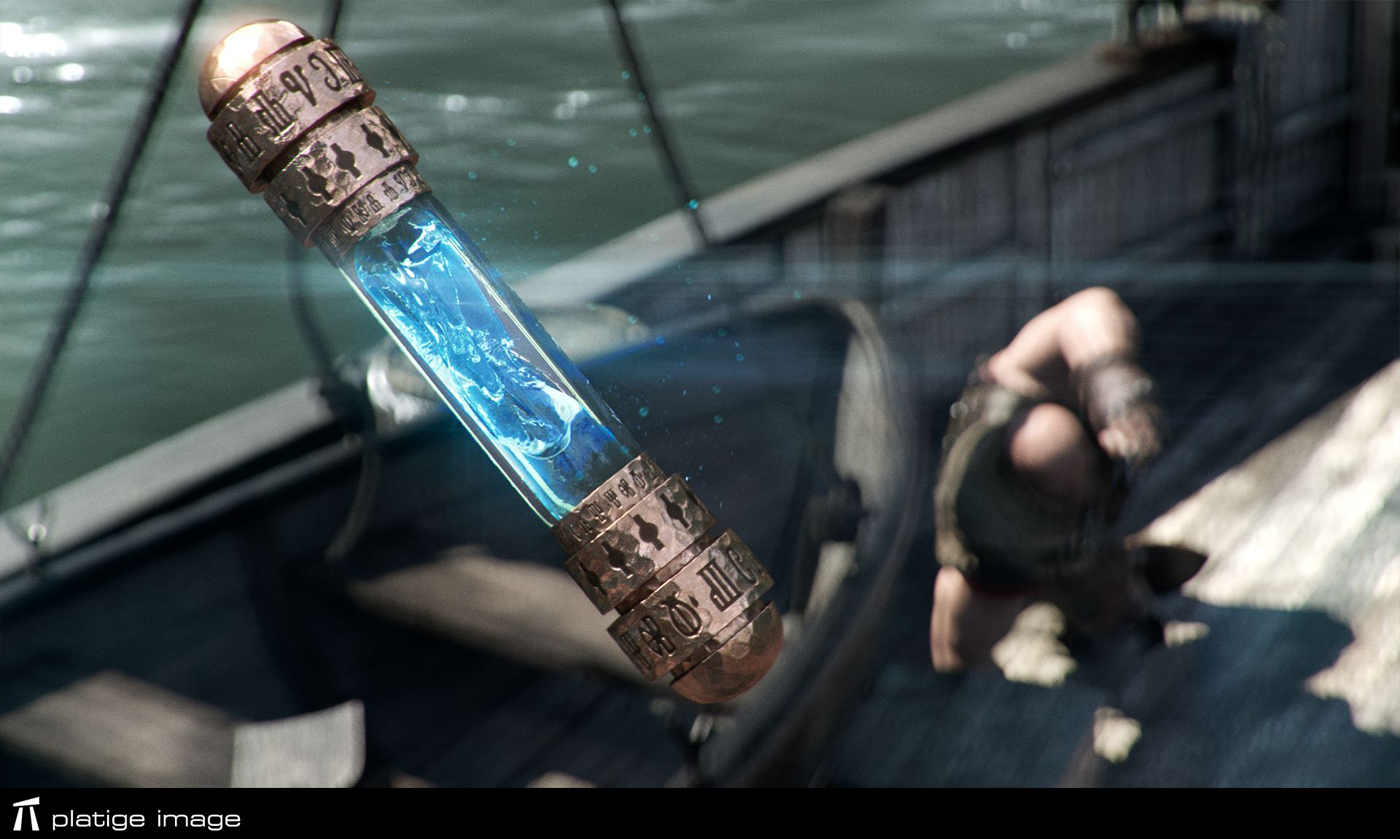
Most of the water outside ship is procedural displaced mesh rendered with mental ray. The only liquid simulation that was finally used was the magic liquid inside the ice bomb and blood.
Was there a shot or a sequence that prevented you from sleep?
I don’t recall any specific shot but we didn’t have much sleep on the last few weeks of production.
Simulations and renderings were polished until the last day. Personally I had all of the compositing work in my hands so I wasn’t bored too.
What do you keep from this experience?
This may be obvious but it’s never enough to remind that in a project like this team of talented and involved artists is a key element.
How long have you worked on this film?
That would be almost 9 months including all the preproduction and additional two trailers that were also created
How many shots have you done?
Over 100.
What was the size of your team?
Over 40 artists were involved. Core team was much smaller around ten artists
What are your softwares and pipeline at Platige Image?
We use a wide set of tools. WITCHER pipeline was based on 3dsmax – layout, rigging and pipeline tools, destruction simulations, rendering were all done in 3dsmax.
Additionally we used Motionbuilder for animation and Maya for cloth simulation. Now we are switching pipeline tools more towards Maya.
What is your next project?
Well, I’m involved in several smaller commercial projects right now. It’s a kind of change after almost one year spent on the cinematic.
What are the four movies that gives you the passion for the cinema?
I always enjoy quiet movies that don’t scream with vfx and remind what’s the most important in cinema too many to mention I guess.
On the other hand I’ve just swallowed all episodes of the GAME OF THRONES and enjoyed it as if I was thirteen again. There are also some classics that I’ve watched ten times.
Recently THE BIG LEBOWSKI which I consider a great life-philosophy guide or ROSEMARY’S BABY which I love for it’s atmosphere and Polanski’s dark sense of humor.
BARTEK OPATOWIECKI // Senior TD
Can you tell us more about the rigging process?
From the very beginning we knew that the animation layout will be done in 3dsmax and CAT. Motionbuilder was also the obvious choice for cleaning mocap data.
We just needed to write some tools to automate exchange of shots between the software we were using. « Shotbuilder » is a set of tools helping not only in that but also enables to automatically create scenes for artists working in next phases of production (simulation, lighting, rendering).
This way it was very easy to move animation from Motionbuilder to 3dsmax, load latest versions of rigs, animation, cameras’ settings and models with shaders, then cash whole shots and create scenes for artists working at next stages. One person could do it for around 20-40 shots per day.
Have you developed specific tools for this project?
Rigging of characters was based on iterations. Animators could use preliminary models with set proportions, practically in the beginning of modelling process.
Shotbuilder enabled almost automatic integration of the project in every moment of animation.
Background characters were created basing on two main types of rigs. Main characters like Mage, Assassin and fighters got their own setups. We used skinfx and psd method for the Fighters setups.
The main characters setups were basing on simple bone deformations and a lot of psd (pose space deformations).
LUKASZ SOBISZ // FX TD
The clothes looks really great. How did you achieve to this result?
Cloth simulation workflow has been evolving since we used Maya nucleus some time ago for THE KINEMATOGRAF (a shortfilm directed by Tomek Baginski).
Since our main application of choice is 3ds max we’ve developed a solid and reliable ways of moving the data between the two packages, so that it’s nearly transparent at the time speaking. It’s based on common *.fbx for geometry and *.mc format for deformations. Nothing fancy here – just a solution that works. All data exchanges is handled by dedicated set of scripts for simulation queuing on multiple computers and gathering it all together for final baking in Max.
One of the most important things for me, when doing cloth sims, is robust and stable collision handling. In terms of collisions, nucleus is the state-of-art technology.
Our setups are nearly always closed in multilayered, complete cloth-rigid structures, and without proper collisions we would have to split this into separate files. That would of course complicate the workflow. We also make heavy use of constraints. It’s the flexibility they give I consider a second big thing about Nucleus.
Can you tell us in detail the destruction process of the people and the ship?
Whole destruction process was simulated with Thinking Particles for 3ds Max.
It’s completely procedural and encourages to experiment and learn new ways of dealing with problems.
In case of the ship, everything had to match with the previsualization. Thanks to the great layering system in TP we could iterate through successive simulation layers and combine everything in the same simulation environment.
It was a real time-saver, especially considering the fact that we’ve started the simulation setup when there was still some ongoing development with the ice geometry covering the whole ship. Same goes for the characters, some of which had to consist of a few layers to get believable results.
For example Clowns cloth fragmentation was a separate piece of geometry. In another shot there was a frozen Marin, who got shot with an arrow causing him to fall apart uncovering layers of skin, flesh and bones.
Most shots were slowmotion so it became crucial to get stable and pleasant rigid body simulations.
There came some help from native ShapeCollision in ThinkingParticles. Very solid solution.
How did you create the beautiful particles effects of the two spells?
To achieve enough level of details and handle multi-milion particle sims we used famous Krakatoa renderer. Particles where driven with thinking particles system, which gives some unique workflows with Matterwaves node. It allowed us to control the emission with procedural maps and uv coordinates for maximum freedom.
The motion was enhanced with fumeFX, which integrates very well with TP and gives access to any voxel field stored within fume’s cache. Another feature that saved us a lot of time was MagmaFlow coming with Krakatoa. Editing particle channels after simulation is finished, streamlines render passes generation and gives additional control over the look of particles.
A big thanks for your time.
// WANT TO KNOW MORE?
– Platige Image: Dedicated page about THE WITCHER 2 on Platige Image website.
// THE WITCHER 2 – CINEMATIC – PLATIGE IMAGE
// THE WITCHER 2 – BREAKDOWN – PLATIGE IMAGE
© Vincent Frei – The Art of VFX – 2012




I very much enjoyed seeing a compilation of short films from Platige Image in 2012 & meeting Maciej while in Wellington New Zealand. These screened at the Roxy Cinema in Miramar, Wellington. The place where Weta Digital and Weta workshop have impressed on us to be proud of living in Hobbitville!
Julie