David Vickery is working at Double Negative for nearly 10 years. He has participated in projects such as CHILDREN OF MEN, THE DARK KNIGHT or CLOVERFIELD. He oversaw films such as SHERLOCK HOLMES and HARRY POTTER AND THE DEATHLY HALLOWS PART 1.
What is your background?
When I left school I enrolled in an Art and Design foundation course, from there I went to De Montfort University to study a degree in Industrial Design and Engineering. 3D was a discipline I learnt to love whilst designing products and when I finished my degree I changed tack slightly to reflect this and enrolled in the MA in Digital Moving Image at London Metropolitan University. Double Negative was my first job in feature film. I joined D-Neg in 2002 as a General 3D Artist and worked my way up to the role of CG Supervisor on films such as BATMAN BEGINS, CHILDREN OF MEN and CLOVERFIELD. I’m currently one of Double Negative’s VFX Supervisors and have recently completed work on Guy Ritchie’s SHERLOCK HOLMES and HARRY POTTER AND THE DEATHLY HALLOWS PARTS 1 and 2.
What sequences have you made on this show?
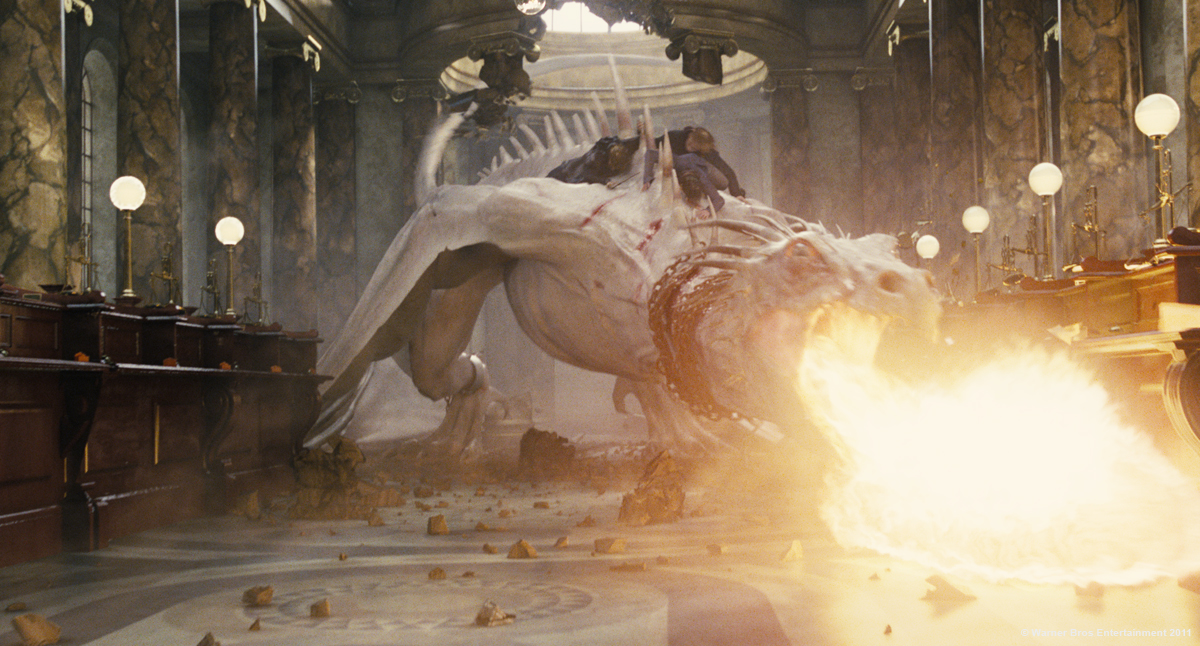
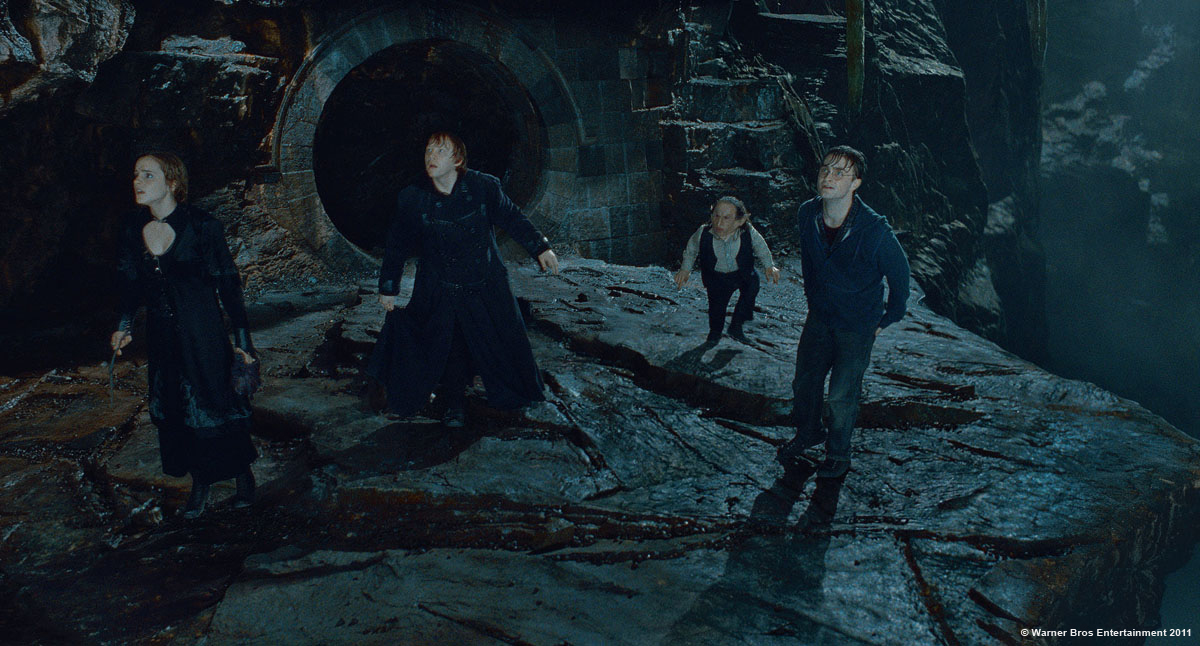
We completed 410 shots for THE DEATHLY HALLOWS Part 2, which spanned over 50 sequences! Our team was split into two distinct ‘units’ to make working on the hugely varied content more manageable. The ‘Dragon’ team were responsible for the arrival at Gringotts, the cart ride down to the dragon’s vault and then all the shots with the dragon as it makes it escape across the Diagon Alley roofscape. We also did a large part of the look development and R&D for the multiplying treasure sequence which we eventually handed over to Tippett Studios to finish.
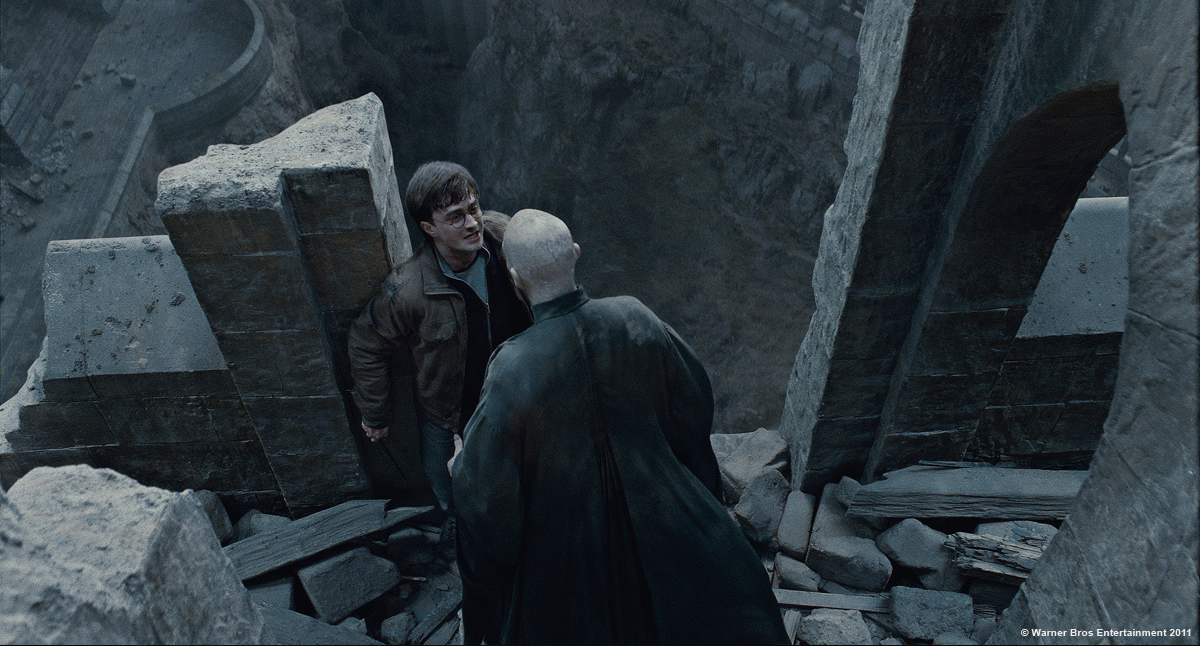
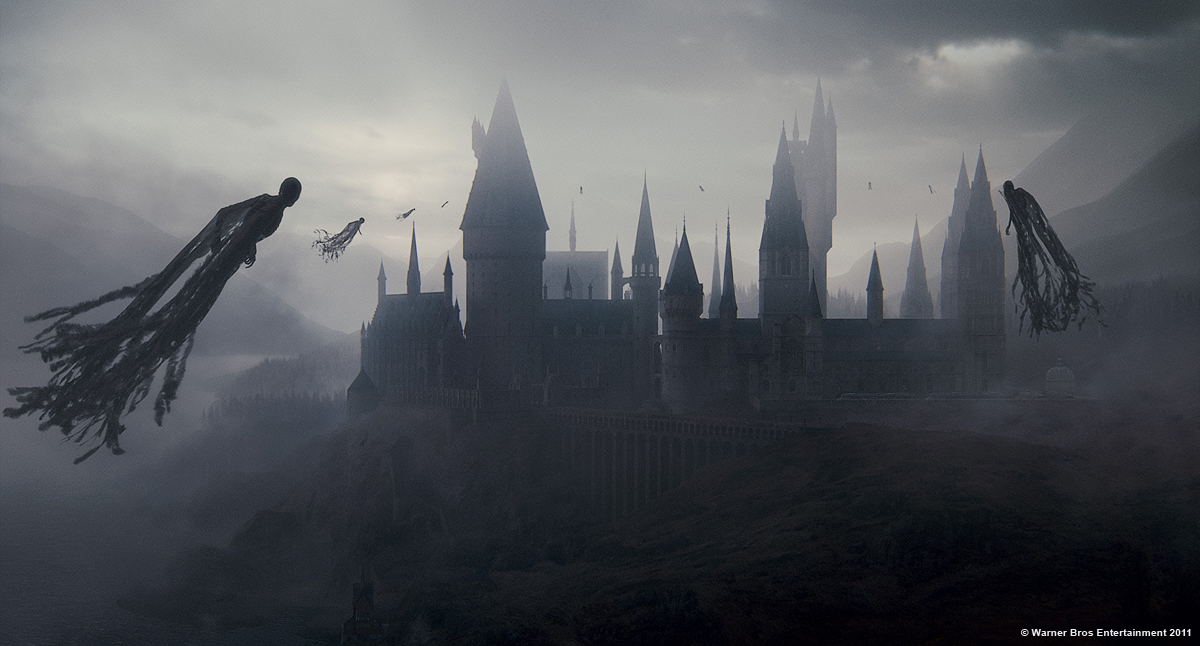
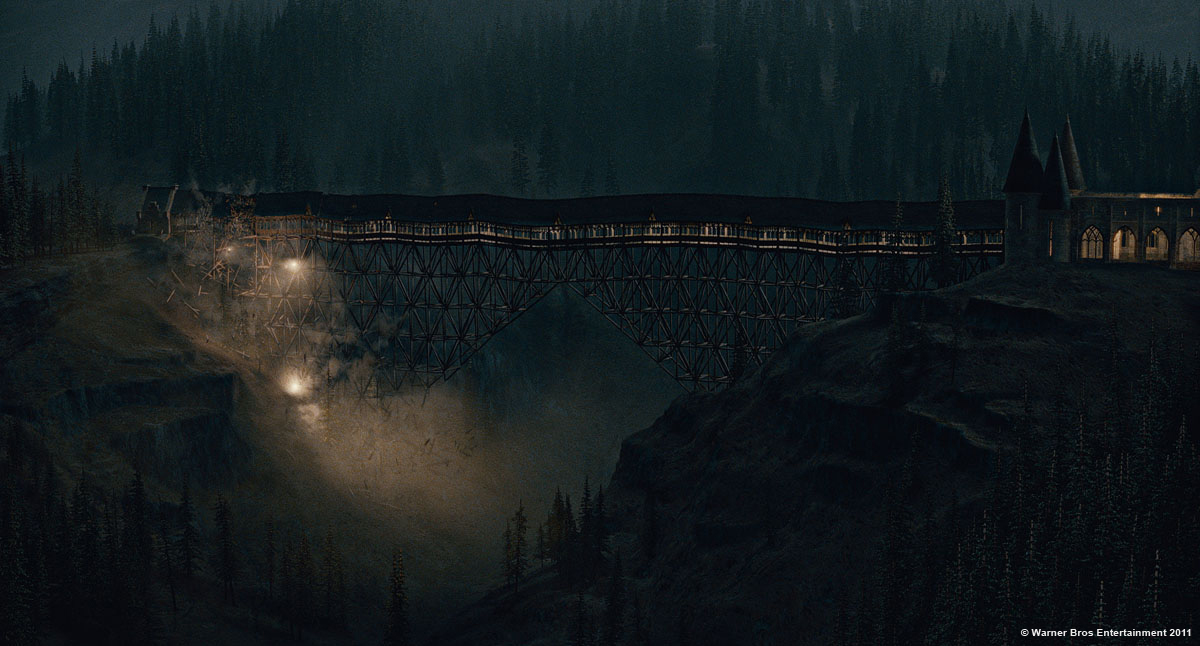
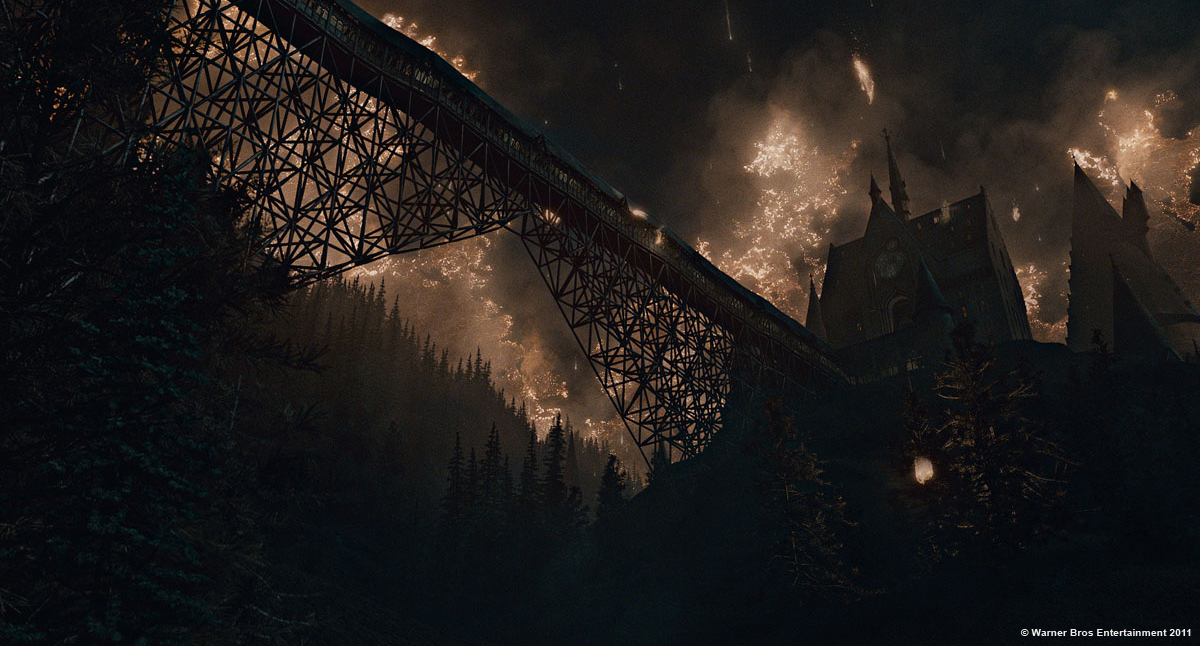
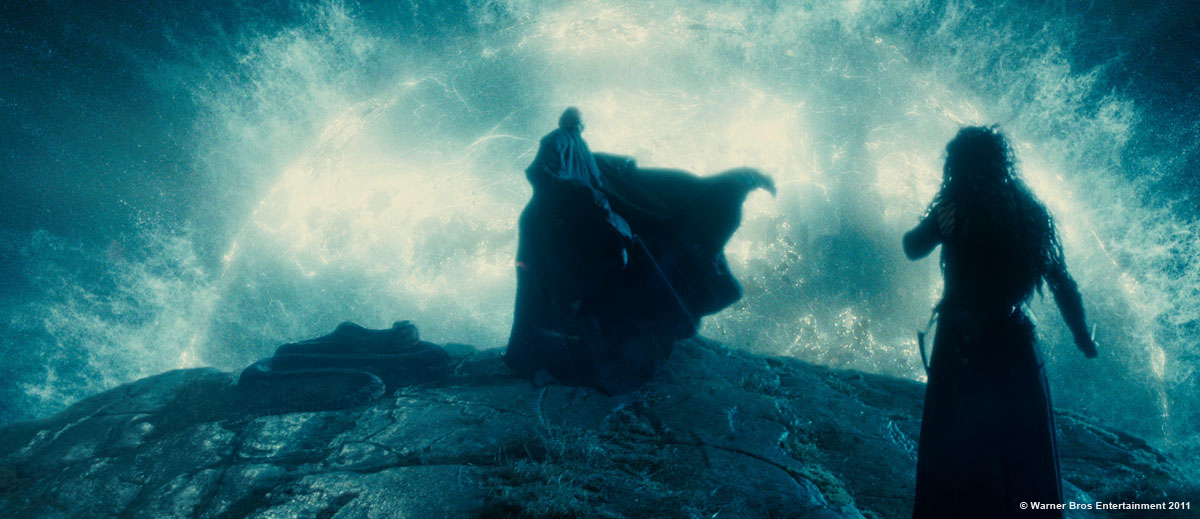
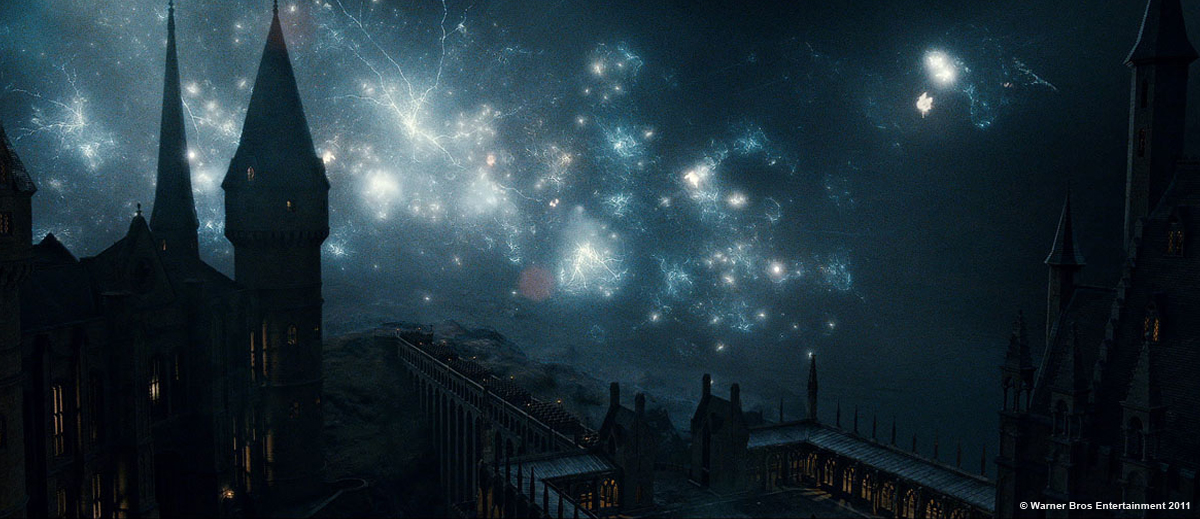
Any time you see the exterior of Hogwarts or the surrounding environment it was handled by our ‘Hogwarts’ crew and we completed all the FX work that goes with it. The shield creation and subsequent destruction, the collapse of the wooden bridge and the massive destruction that was wrought across the school by Voldemort’s army. All of this is D-Neg. It was a huge challenge for us – there were over 50 completely CG shots for the Hogwarts team alone.
About the Gringott ride sequence, how did you choreograph it? Were there a previs or a storyboard for it?
We started pre-production on THE DEATHLY HALLOWS Part 2 back in summer 2008 – whilst we were still working on THE HALF BLOOD PRINCE. Kieron Helsdon, one of our environment leads was installed in the production art department at Leavesden studios to begin constructing the previs for the cart ride. David Yates envisaged the sequence as a truly bone shaking, INDIANA JONES style mine cart chase so the shoot had to be planned meticulously to make sure that we got the live action elements that we needed. We spent a long time getting the previs right.
We then had to figure out a way of translating our carefully choreographed previs into live action footage. We used Maya to build a digital replica of the practical cart rig that John Richardson’s’ SFX team had built. Then wrote Maya scripts to transfer all the cart previs animation into a format that would drive the practical rig to move in the same way. We essentially ran the entire cart sequence as one massive motion control shoot.
Can you tell us how you build so huge an environment?
Stuart Craig’s team had crafted a beautiful clay sculpt of the Gringotts cavern. It was huge – measuring 6ft x 10ft and detailed the types of rock structures, location of the dragon vault and waterfall. It even included the helical twisting cart rails clinging to the rocky surface of the vast cavern. Kieron Helsdon went to an area on the west coast of Scotland called Ballachulish and photographed the vast slate edifices there as inspiration for the slate-like rock formations in the cave. These were later interspersed with towering limestone stalactites.
We started out in Maya building a digital replica of the art department clay model. We divided high resolution Lidar scans and manual theodolite surveys into many small manageable sections and rebuilt them as clean low resolution polygonal geometry. These pieces were then textured using a combination of projected photography and hand painted Photoshop textures with Mudbox sculpts to add a fine level of displaced detail. It was built in modular sections to allow multiple artists to work on it concurrently and so that it was more versatile when the composition of shots didn’t work and we had to start moving individual rocks and stalactites around.
How did you design and create the Gringott dragon?
Some of the first concept images we were given for THE DEATHLY HALLOWS Part 2 were of the dragon. They depicted an emaciated yet feral looking animal, sprawling in a dank and cavernous environment. We were also given concepts of the creature’s destructive climb to freedom through the foyer of the bank. Individual still images often give you a false impression of an objects shape. When you look around that same object in 3D it suddenly looks very different. We wanted to get the creature modelled as soon as possible to avoid this and really start to understand its form from all angles. Tim Burke envisaged the creature as an emaciated, malnourished, mistreated wild animal and David Yates insistent that the audience needed to emote with the creature – to sympathise with it but at the same time be terrified of it.
We began work on the dragon in summer 2008 with a small team. Two of our 3D artists, Kristin Stolpe and Andy Warren, created a series of 3D Maya models, Photoshop texture studies and Mudbox sculpts using the production artwork as a basis for their work. Even though Tim Burke was working on the THE HALF BLOOD PRINCE and prepping for THE DEATHLY HALLOWS Part 1 he still had time to come in and review our work on the dragon. We would show him our designs every couple of weeks. At this early stage the creature went through a lot of changes. We designed shackles, muzzles and harnesses that could be used to restrain the creature and painted high res textures to show how the dragon could be wounded, scarred and disfigured. There were hundreds of subtle tweaks and variations made to the design of the creature during this phase.
We also had Creature TDs scripting lots of new pipeline tools to handle the many layers of cloth, muscle, bone, skin and tendon simulations we knew would be required to create a convincing animal. Later the Dragon team grew to include almost 100 crew; a small army of Lighting Artists, Creature FX TD’s, Compositors, Matchmove and Rotoscope Artists
How was simulated the dragon presence on the set?
We created extensive previs for the entire of the dragons escape so when it came to shooting the film crew had a really good idea of where the dragon would be and actors knew where to look. When the dragon breathed fire the DOP directed interactive set lighting to illuminate the actors accordingly. There was no physical representation of the Dragon on set until the kids climb on its back, at which point we needed something for them to interact with.
What was the main challenge with the dragon?
Getting the lead characters to sit convincingly on the back of the dragon was a massive technical challenge for us. We really wanted to avoid the slow grinding mechanical feel that you often get when humans have to ride or interact with large imaginary creatures.
The first hurdle was creating a mechanical creature rig for Daniel, Emma and Rupert to sit on. We provided John Richardson (SFX supervisor) with our finished Maya model of the dragon and he used this to CNC machine a 1:1 scale 12 foot sculpt of part of the dragon’s back. Nick Dudman (Creature Supervisor) then used this to create a flexible foam latex skin that would form the creature’s hide whilst John Richardson built a mechanical rig to control its movement. The rig had pneumatic rams to drive the dragon’s shoulders up and down, twist the neck and spine in 3 places and lift the top of the tail. John detailed the components of his rig and we built our own digital version of it and constrained it to our 3D dragon in Maya. Our Lead Creature TDs Gavin Harrison and Stuart Love wrote a series of tools that allowed us to extract our previs animation and use the data to drive John’s mechanical rig. We could animate the creature in Maya, export the data and see the mechanical rig do the same movements on set but this time with the actors on the back!!
The dragon was such huge creature that once the rig was mounted on the motion control base at Leavesden its back stood almost 15ft off the ground, which you can imagine would be a pretty daunting thing to be thrown around on! The rig itself had a pretty good range of motion but was so heavy that it was never going to achieve the speeds we were seeing in our dragon previs. We had to adapt our shooting methods for each shot to make sure we got the most out of the rig. Some shots were filmed at 18fps and re-sped to make the dragon back appear to move faster. Other shots needed to be filmed locked off – the resulting plates would be re-projected into 3D camera moves to enhance the animation. We placed hundreds of colour coded LED tracking markers on the dragon rig so that later in Matchmove we could separate the rigs movement from the camera movement. In case we had to completely reconstruct the scene in 3D later we positioned 3 HD witness cameras to cover each shot from a wide angle and to give us extra texture information. Our 3D and 2D supervisors (Rick Leary and Sean Stranks) were on set throughout the entire shoot. They would take the video rushes from every shot, run a quick Matchmove and comp and then show it to the director to make sure we were getting what he wanted. By the end of the 2 week shoot we had a really rough version of the sequence with the actors actually sitting on the back of the mechanical dragons back! Even after all this work on set we still had to completely replace the practical rig of the Dragon with CG. It was only designed to give the actors something to interact with so it wasn’t even painted.
When the dragon escapes, he causes much destruction. Can you tell us more about that?
The scope of the damage and the fact that we had a massive dragon right in the middle of the shot made it necessary for us to build completely CG version of all the Gringott’s sets. Full scale builds existed in one form or another for each location, so we had great reference, but it meant we had to painstakingly recreate them all digitally, before smashing them up. We used Nuke to composite the dragon sequence. Robin Beard (our 2D lead) got us to render our environments into many layers. ID mattes to isolate different pieces of geometry, specular, diffuse, reflection, depth and atmos all in separate renders. He would re-assemble them in Nuke and it gave him control over every aspect of the look and it meant we would only render a shot once or twice before it could be finished in 2D.
D-Neg has fantastic tools for destroying things! We have a great rigid body simulation plug-in called Dynamite, which uses Maya forces and allows the use to specify real world values such as mass, gravity and even a materials coefficient of friction. Dynamite gives you incredibly believable results but you have to model your geometry in a very different way if you plan to use it.
If you want to destroy a wall, or a marble column you can’t just build and texture a simple polygonal plane or cylinder. Every brick has to be built and placed individually. You have to understand how something is made before you can destroy it. The desks in the bank foyer are all made up of individual pieces of wood. If you look closely, on each desk you can see scales and piles of money and they are all built as if they were real things. If you want them to look good, there’s no cheating or matte painting work rounds when you are doing destruction simulations.
About the school, can you explain to us how you create a CG version of it?
For the past 7 movies Hogwarts has primarily been a practical miniature, with digital enhancements. It’s a huge model, measuring over 20ft long and 10ft high. Tim Burke and Emma Norton realized that Hogwarts was going to feature so heavily in the final instalment of the franchise it would necessitate months and months of planning and shooting on the miniature stage. That is what led them to ask Double Negative to create a completely digital version of the school and its surrounding environment. It was such a huge undertaking. We had to build an environment that was over 10 miles long at its widest point and used over 3000 individually painted 4k textures. The school itself was made up from over 74 individual buildings all modelled to 3 levels of detail. All this information was specified in nearly 1400 blueprints provided to us by Stuart Craig’s Art Department.
Stuart’s team had been crafting the school for the last ten years and we had to live up to his very high production standards. We were given such a wealth of architectural information that we could have built the school for real if we had wanted – there was so much detail in the plans that it even covered profiles of the handrails that wound around the inside of the staircases leading up Dumbledore’s tower, nothing was left out.
The mountains surrounding the school are all real places in Scotland, but we quickly realised that no one place contained the right style of terrain to suit Hogwarts perfectly. In the end we photographed in many locations – Loch Schiel, Glen Nevis, The Three Sisters and Glen Coe to name a few. Kieron Helsdon then worked with Stuart Craig to compose the ideal environment to situate Hogwarts within. We ended up with a 360 degree collage of landscapes surrounding the school. Our task was to re-create this jumbled jigsaw of pieces and graft them together to create a single seamless environment.
When we went to photograph and survey the Scottish locations we still weren’t sure where the shots take place within our 3D environment. We had to cover every angle on the shoot and be able to accurately rebuild in 3D every location we visited. Our Lead 3D Environment Artist Pietro Ponti devised a rig made up of 3 Canon 1DS mkIV digital SLR cameras mounted side by side and pointing out the side of a helicopter. The three cameras were remote triggered and had their shutters synced. Pietro studied Google Earth and plotted out semi-circular flight paths around all of our mountains. The locations were a long way from each other but Google Earth data allowed us to determine the lighting and the sun’s location at any time of day and plot the optimum flight paths for the helicopter. The multiple camera positions on each location allowed us to use our proprietary geometry reclamation tools to re-build all of t he terrain and create textures from the photography at the same time.
Hogwarts buildings and environment changes a lot during the battle, how did you create those changes and destructions?
We had to build multiple versions of any buildings or structures that needed to be destroyed during the movie. As a bare minimum we had to build it in a complete and destroyed state. A great example is the wooden bridge, which had to be built from scratch four times using different techniques so that it would work for wide scope of shots we had to simulate and render.
The first model was for shots where we had to use CG to extend the partial set build visible in the live action plates. We couldn’t rely on the original set drawings that the construction team used. The actual sets often deviate from those plans and our digital set extensions had to match the live action very, very accurately. We used Lidar to survey the sets and rebuilt them from that.
The second model was built from architecturally accurate scale drawings. We built all the roof timbers, slates, floor joists and even down to the individual types of joinery used to connect the structures to each other. This information was all used in our rigid body simulation software ‘Dynamite’ to create the physically accurate FX simulations as the bridge was blown up. This resultant 3D model was incredibly dense and took a long time to render.
The third variation on the bridge build was a low resolution efficient render model that could be used in medium and wide shots.
The fourth and final wooden bridge was built in its post destruction state. Our FX simulations looked beautiful as the bridge exploded but it was very hard for the team to control the bridge so that it collapsed and left a nice looking structure. The finished destroyed model was completely art directed. The twisted remains of the bridge hand placed to get the best result.
What was the biggest challenge on this film and how did you achieve it?
The sheer breadth of creative work that D-Neg undertook for THE DEATHLY HALLOWS Part 2 made it a very challenging and rewarding project to supervise. One second you are looking at Elizabethan architectural details and the next trying to devise a way to obliterate a Snatcher as he runs through the Hogwarts shield. Great fun but hard work…
You’ve worked on four Harry Potter films. How did it feel to complete the saga?
It’s a very proud moment for me, and I know that everyone at D-Neg is incredibly proud of their work on the movie. They gave everything to make this last one the best!
Was there a shot or a sequence that kept you awake at night?
All of them! That’s what supervision is about. You get a lot of the praise when it goes well, but you also have to fix all the problems when its not.
How long have you worked on this film?
I started work on THE DEATHLY HALLOWS PARTS 1 and 2 in September 2009 and finished in July 2011!
What was the size of your team?
At its peak, Double Negative had 263 artists working on it.
What is your next project?
Nothing confirmed at the moment, I’m taking the opportunity to recover!
What are the four movies that gave you the passion for cinema?
ALIEN, BLADE RUNNER, THE DARK CRYSTAL and LABYRINTH.
I love all the beautifully crafted worlds and creatures that came out of Henson’s workshop. When I was growing up I wanted to do creature FX, but never really thought it was something that the average Joe could get into.
A big thanks for your time.
// WANT TO KNOW MORE ?
– Double Negative: Dedicated HARRY POTTER AND THE DEATHLY HALLOWS PART 2 page on Double Negative website.
© Vincent Frei – The Art of VFX – 2011






Very nice interview. Love the in-depth answers. Shows the effort and innovation required to create such brilliant work.
Wow -> great interview. I had no idea everything in Gingotts had to be recreated architecturally (every brick in every column!). Makes VFX workers sound like Frank Lloyd Wright understudies.