After working several years with H5B5 and FrameFx, Holger Voss joined Cinesite in 2003 where he worked on a wide variety of projects for film such as THE GOLDEN COMPASS, MOON or V FOR VENDETTA but also on TV series like GENERATION KILL.
What is your background?
I started my career as a motion capture lead at H5B5 in Munich before moving to FrameFx where I oversaw their pipeline development for animation, simulation, rendering and compositing. I moved to London and joined Cinesite in 2003. I’ve been responsible for Cinesite’s animation pipeline and tools and get heavily involved in R&D and TD tasks for various feature film projects. I’ve worked on a variety of projects, including BEDTIME STORIES, GENERATION KILL, THE GOLDEN COMPASS, V FOR VENDETTA, as well as HARRY POTTER AND THE HALF BLOOD PRINCE.
How was your collaboration with Tim Burke, the production VFX supervisor?
Tim came to Cinesite to review progress on a weekly basis. He gave overall creative direction and we worked carefully towards his brief.
Can you tell us how you created the ghost of Dumbledore?
For each shot featuring the ghost of Dumbledore a clean plate of the corridor and a green screen plate of Sir Michael Gambon were shot. A digi-double was generated from texture stills and a Cyberscan of the actor. This allowed us to matchmove the green screen elements of Dumbledore and re-project the same plates back onto the model as textures for the resolved parts of the ghost.
We used the 3D representation of Dumbledore as our starting point for the effects work. This meant that we could use the digi-double to both drive the simulations and colorise the particles so that we could blend them seamlessly back onto the digi-double. Approximately 150 million individual particles were generated through a distributed caching set-up and using a custom file format allowing us to render large amounts of particles using Renderman. We also generated a model of the corridor to use for particle collisions.
We used Nuke to generate ‘patch’ elements where Dumbledore’s live action features would be revealed. These texture maps, created in UV space, were used to drive the particle simulation. The same patch elements were then used to reveal more or less of Dumbledore’s live action texture in the composite. We used Nuke’s 3D pipeline to help re-light the live action elements to better fit them in with the corridor.
Did you have any problems with the large number of particles involved in these shots?
Not really, it all worked pretty smoothly. We developed our own in-house particle pipeline, which enabled us to simulate particles on multiple machines simultaneously. We used our own plug in to load the large number of particles into Renderman, which was the tool we used for rendering.
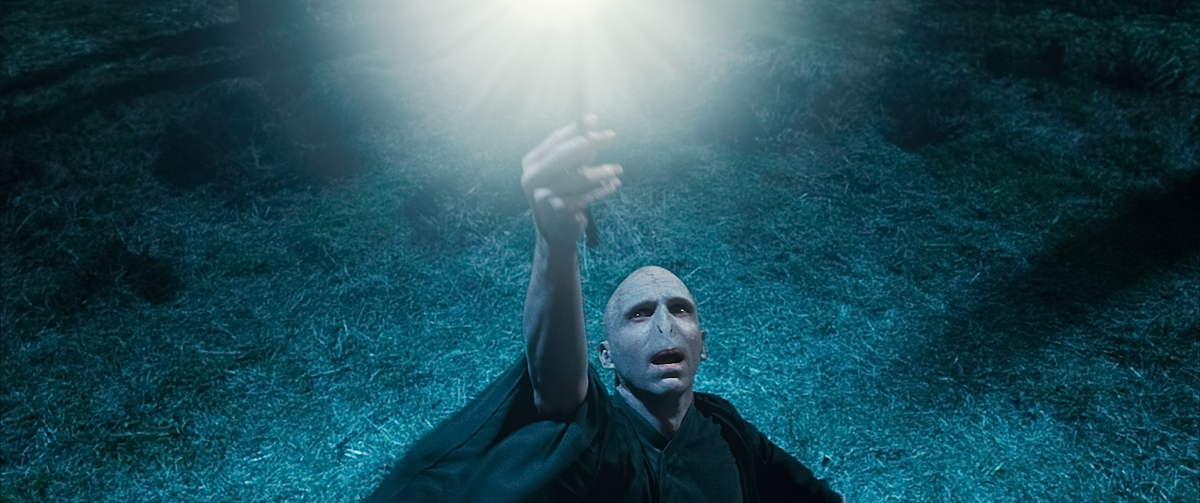
How did you create the doe Patronus?
The Patronus doe was generated firstly as a fully-rigged and groomed CG doe. We groomed the doe using our in-house fur pipeline to generate a nearly photo-real creature to start. The interior volume effect was created with our proprietary Renderman-based volume pipeline to fill the doe’s interior with volume particles and render it with a custom volume shader with multiple layers of animated 3d textures.
We then used Nuke to generate texture maps which were projected and manipulated to form the shape and look of the doe. The many effects along with the groomed CG doe and texture map layers were combined in Nuke and blended off to nothing to give the ethereal impression of the doe not being entirely of our world.
What software do you use for your particles?
We used Maya for simulating, Renderman for rendering and our own custom shaders and cache formats.
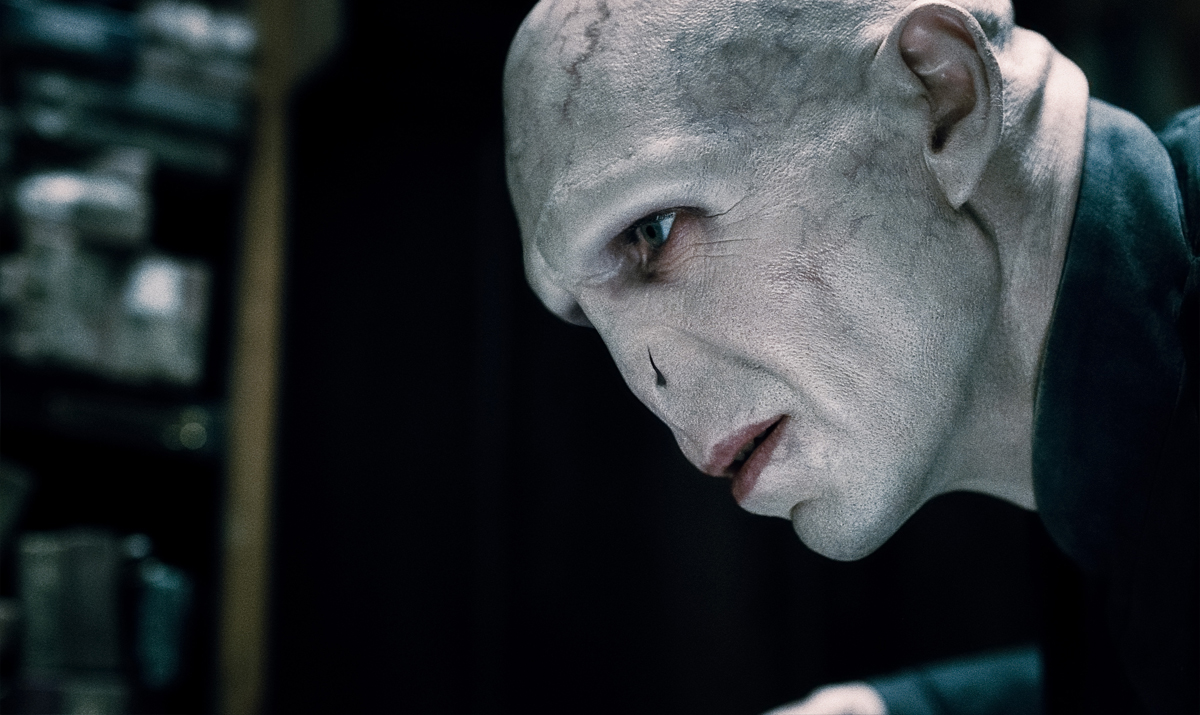
Can you explain to us the creation of Voldemort’s nose? Did you use a digital double to track his head?
Voldemort’s head was built from a Cyberscan of the actor’s head. We cleaned up the geometry and generated a very detailed displacement to achieve enough detail to represent small wrinkles and pores. As we were replacing part of a main actor’s face, we had to make sure our matchmove was completely accurate to keep the integrity of the actor’s performance. To achieve such a precise matchmove, we built the rig with three layers of animation controls. This allowed us to make full use of the tracking markers that were attached to his head, while still having enough flexibility to animate as needed.
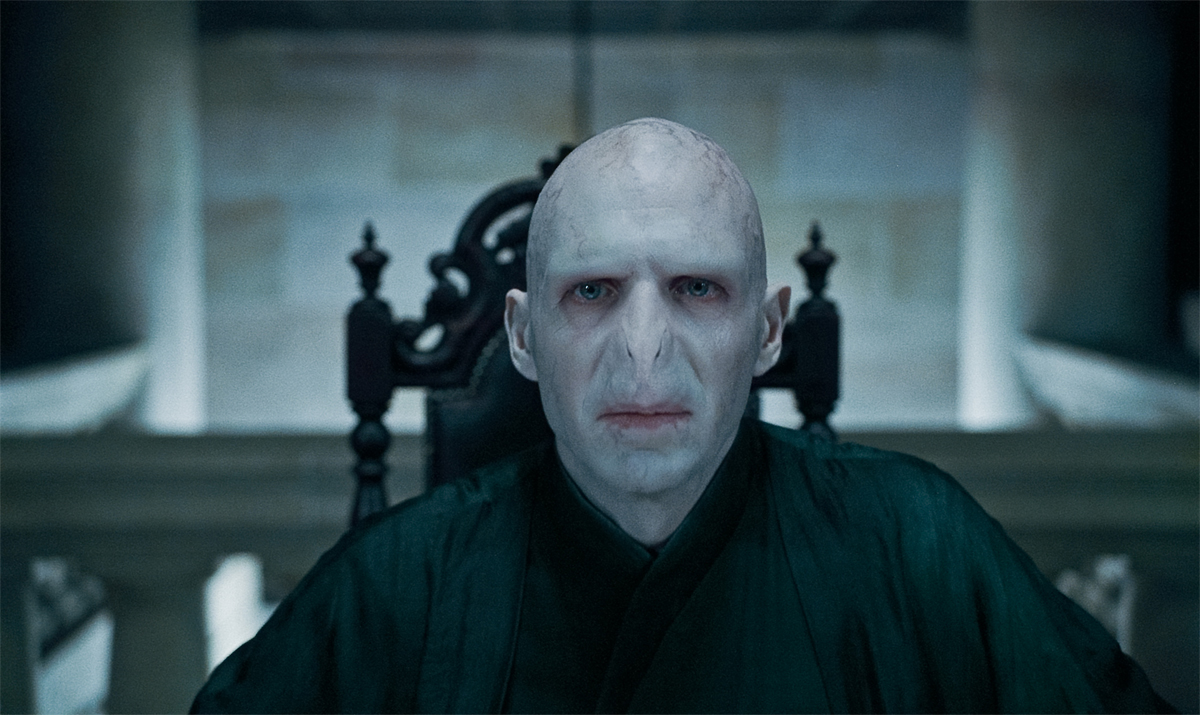
Firstly, we tracked the plates and matchmoved the complete head. This allowed us to pass on the cameras to the lighters early on in the process. While this was being done, we continued to refine the matchmove on the nose area being replaced in CG. This allowed us to do basic lighting very early on in the process and to give a preliminary element to the compositors. The compositors were then able to begin cleaning up the tracking markers and the live action nose, and do a quick temp of the shot very early on in the process.
To generate the snake nose, we developed a proprietary skin shader tool that we could render out with Renderman. We generated our textures by using a set of photographs shot using cross-polarised and non-polarised lights and lenses which allowed us to extract highly detailed pore maps to be used for bump and specular passes. We also used a multilevel subsurface scattering algorithm to enhance the photorealistic look.
We used Nuke very effectively on these shots as it allowed us to generate unwrapped texture maps which made paint touch ups to the live action – and small adjustments to the CG – much easier and quicker.
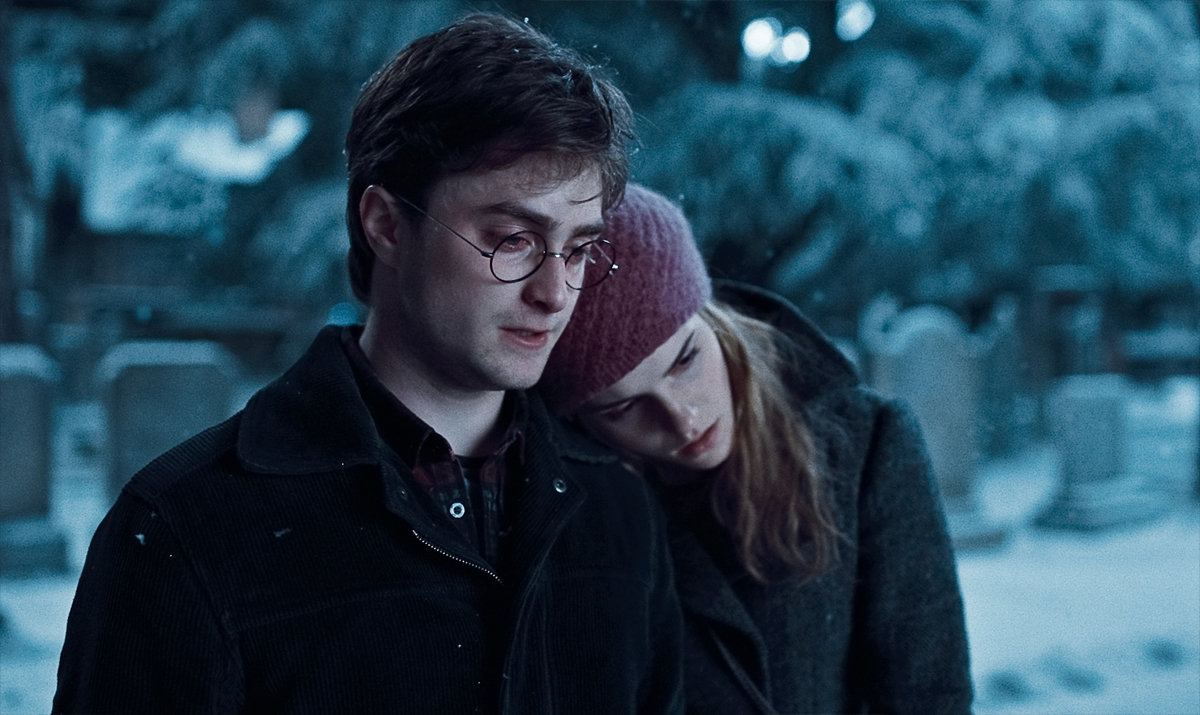
How did you rebuilt the buildings of Godric’s Hollow?
In the Godric’s Hallow sequence the challenge was to recreate a CG environment to match an existing set piece. This shot is cut directly to another where the live action pub and buildings are fully in frame so everything has to match perfectly. As the establishing shot was never intended to have a CG environment, no texture stills were ever taken of the buildings or the pub in the background. We had to rely solely on the information in the other plate as our basis for the image-based model of the pub and buildings. The textures were derived from a texture shoot done later on some similar looking buildings and re-purposed to work on the buildings in our shot. To achieve the final look we used a combination of full CG renders plus re-projected matte paintings.
We used Nuke to composite the CG buildings and ground planes. A quick ‘post-vis’ was done in Nuke to quickly arrange and place buildings in the scene, which enabled a faster sign-off process with the director. Nuke’s 3D ability was useful in generating mattes to help the compositor layer the buildings in the scene and sit them in with subtle light cues from light sources in the scene. CG snow was composited using depth mattes generated in Nuke by rotoscoping foreground and mid-ground elements in the scenes.
Additionally we created the CG wreath of Christmas roses which Hermione conjures at Harry’s parents’ grave. It was generated using a combination of an L-System to drive the initial animation and keyframe animation to achieve a look similar to time-lapse photography. The CG wreath was then composited in Nuke, adding some subtle displacement effects with the mesh warp tool.
Can you explain to us how you created the set extension for the Windswept Hill sequence?
The full CG environment in the establishing shot was built from a set of HDRI texture photography and photogrammetry taken on location in Malham Cove. Working with our client, we developed some detailed pre-vis so that we could prepare to shoot our stills and production could approximate the camera move to shoot a live-action element of Harry and Hermione.
We took stills at ground level and augmented them with photos taken from a helicopter. We then used our proprietary photo-modelling software to reconstruct the geometry and projection cameras for this environment. The same technique was used to extend the top of the cliff using modelled cliff rocks. We also used the same set of stills to generate a digital matte painting of the sky and were then able to composite Harry and Hermione back into our full CG shot.
For the balance of this scene we used the same set of stills and Nuke was used to create post-vis views of each key angle with 16K stitched HDRI panoramas projected onto spheres. Using the tracked cameras oriented to the practical set, we were able to interactively position every shot’s camera in real time to help orchestrate the background continuity of the scene. For areas of the practical set needing extension, digital matte painting extensions were created using reference textures and then projected onto displaced planes in Nuke which lined up with the practical set seamlessly. Green screen keys were particularly difficult due to the bright nature of the background skies vs. the comparatively dark colour of the green screen.
What was the biggest challenge on this film?
This project has been quite a marathon. We have moved straight from working on Potter 7 into Potter 8, which will deliver early Summer 2011. We started in February 2009, so by the time we have completed the final film we will have been working this for over two years. We had quite a key creative role in many of our sequences, and developing looks and maintaining the Potter feel was very important to us.
Was there a shot or a sequence that prevented you from sleeping?
Not really!
How long have you worked on this movie?
We started in February 2009, so worked on Part 1 was just over a year.
What was the size of your team?
The size of the team has changed throughout the lengthy course of our work, ranging from between 20 – 40 people. I expect this number will grow while we work to deliver the final film.
What is your next project?
I’m additionally working on HARRY POTTER AND THE DEATHLY HALLOW Part 2.
What are the 4 movies that gave you the passion of cinema?
1. HOLLOW MAN
2. JURASSIC PARK
3. STAR WARS IV : A NEW HOPE
4. THE MATRIX
A big thanks for your time.
// WANT TO KNOW MORE?
– Cinesite: Official website of Cinesite.
– fxguide: Article about HARRY POTTER AND THE DEATHLY HALLOW Part 1 on fxguide.
© Vincent Frei – The Art of VFX – 2010


