

AtRhythm & Hues for nearly 15 years, Bill Westenhofer has overseen many projects such as BABE, STUART LITTLE, CATS & DOGS, MEN IN BLACK 2 or THE CHRONICLES OF NARNIA. In 2008, he received an Academy Award ® for Achievement in Visual Effects for his work on THE GOLDEN COMPASS.
What is your background?
I’ve been working in the visual effects industry for over 15 years. I have a master’s degree in computer science from The George Washington University in Washington DC, specializing in graphics algorithms. My formal training is technical, but I’ve been drawing, painting, and animating on my own since I was very young. My current role as Visual Effects Supervisor combines both disciplines. I have to creatively direct the team of artists while helping to develop the technical approaches to achieve the looks we need.
How was your collaboration with director Joe Carnahan and production visual effects supervisor James Price?
From the start, Joe and Jamie emphasized the « fun » factor of THE A-TEAM. They wanted high energy, dynamic action which meant a lot of objects close to the lens and fast moving cameras. I thought our collaboration worked very well. We were able to bring a lot of ideas to the table and they likewise were great in crafting fun sequences and in helping us whenever an action or ‘gag’ wasn’t working.
What sequences have been made by Rhythm & Hues?
We worked on two sequences in the film: « The Tank Drop » and « Long Beach Harbor ».
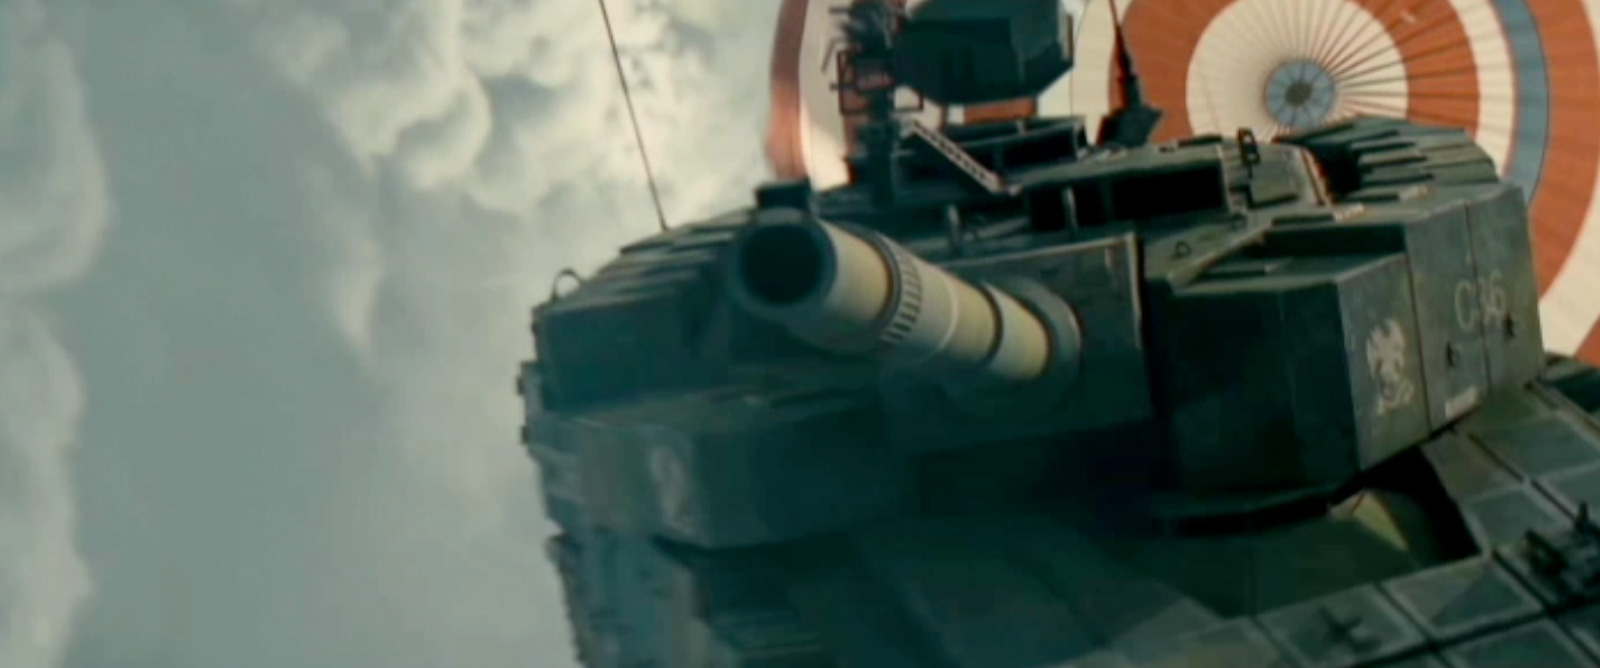
Can you tell us about the design and the creation of the crazy freefall tank sequence??
This sequence was both the most fun and the one that caused the most « sweat » at the studio. The challenge was the sheer insanity of a tank falling through the sky and redirecting itself with its main gun. Whenever you push the believability of physics you run the risk of the whole thing falling apart. I really think we were able to walk the fine line in telling the story of what the tank was doing and yet maintaining just enough weight that it worked with a degree of plausibility.
The sequence was prevized before was came on board. The previs established most of the cuts that you see in the final product and nailed down the details of the action. R&H created several shots for a very early teaser trailer and based it very closely on this initial previs. Once those were out the door, we reconsidered the action with the ‘believability’ in mind and made the adjustments that finally made it into the film. It was interesting to see how your perception of whether something was working or not changed as the rendering of the clouds and the tank became more realistic. A lot of the early previs animation proved to be too ‘light’ with the tank responding too heavily to its main gun, for example.
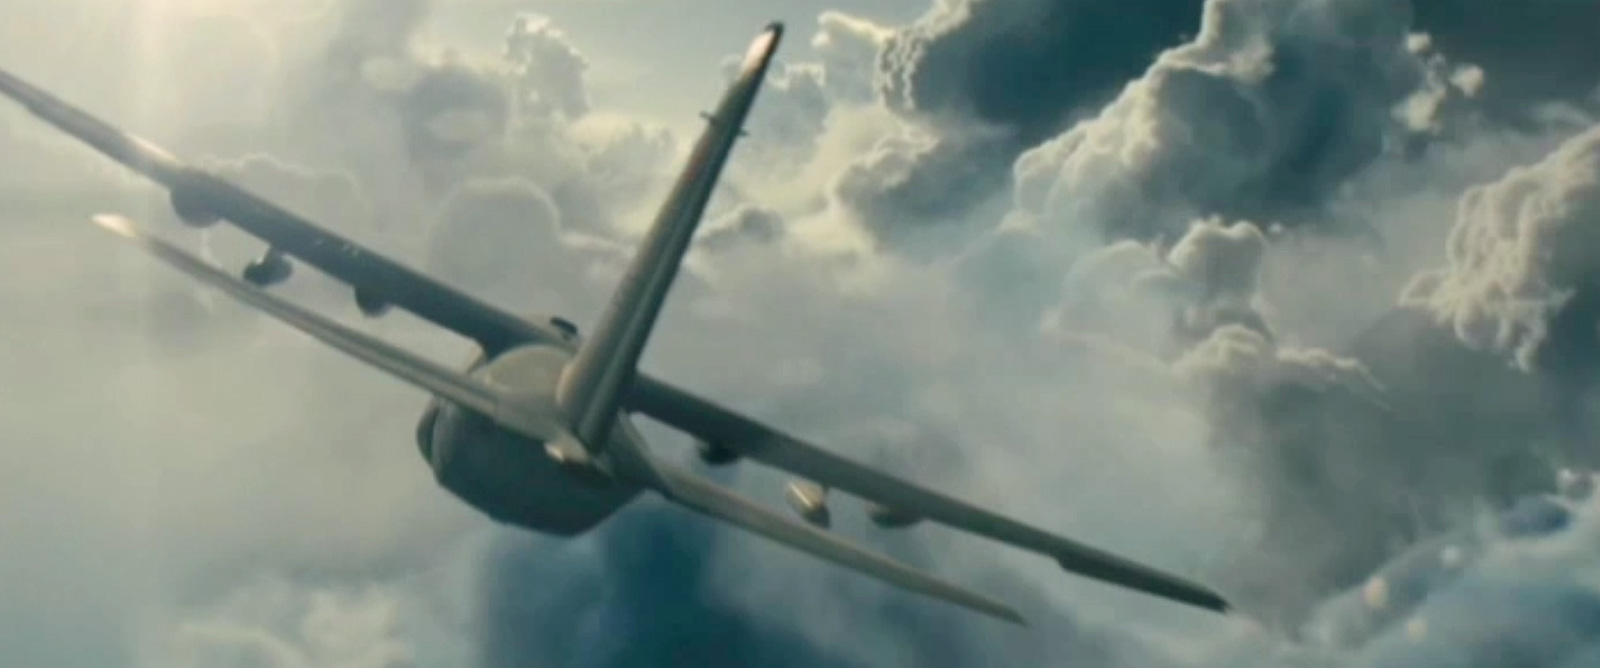
How did you create so realistic clouds??
The clouds were, by far the most challenging part of the sequence for our R&D folks. We didn’t have any aerial photography and we knew we would be flying right up to and sometimes through the clouds. This meant we would have to create fully rendered volumetric clouds. The clouds were also going to be very important in the shots compositionally, and to provide a sense of speed, so we needed an efficient ways to visualize how they would work in the animation stage. The technique we settled on was to make a library of predefined cloud ‘caches’. Analogous to the pre-light stage in a regular 3D object (like the plane or tank), we setup turntables so we could adjust characteristics of each cloud – the amount of ‘wispiness’, design areas with smooth detail next to clumpy cumulus puffs, etc. This was designed in Side Effect’s Houdini. We then took these caches and made lo-res iso surfaces which were handed to layout artists who composed the ‘cloud landscape’. The iso-surfaces were lo enough to be interactive during the animation stage, and the animators, in fact, had the ability to add of move them to help the sense of speed, etc.
Once they got to the render stage, Cloud lighters placed scene lights to represent the sun, simulate bounce lighting from cloud to cloud and also simulate some of the complicated internal light scattering in the cloud. We did try to simulate that within the volume renderer, but it proved to be very expensive. To make up for that, one of our TDs, Hideki Okano, developed a tool to place internal lights where there would be the most internal scattering in a full simulation. He also developed a feature we called ‘crease lighting’ which mimics a phenomenon in cumulus clouds where the ‘creases’ between lumps are actually brighter than the lump because of an increase in water vapor density as you move in from the edges.
For the actual render, Houdini’s MANTRA delt with the actual cloud visibility calculations and was the framework for a ‘ray-march’ render. At each ‘march-step’, however, a custom volumetric calculator called « FELT » (Field Expression Language Toolkit) written by Jerry Tessendorf was used which had the ability to add additional multi-scattering terms. After initial renders, we had the ability to add more detail by ‘advecting’ the volume caches – increasing the ‘wispy’ quality. We also added realism by mixing clouds with different levels of ‘sharpness’ together, often within the same 3D space.
As a final touch, in a few specific shots where a plane passes through a cloud, we added the ability to animate the clouds from the plane’s airflow. This achieved the wing ‘vortex’ effects you see as it emerges from the cloud.
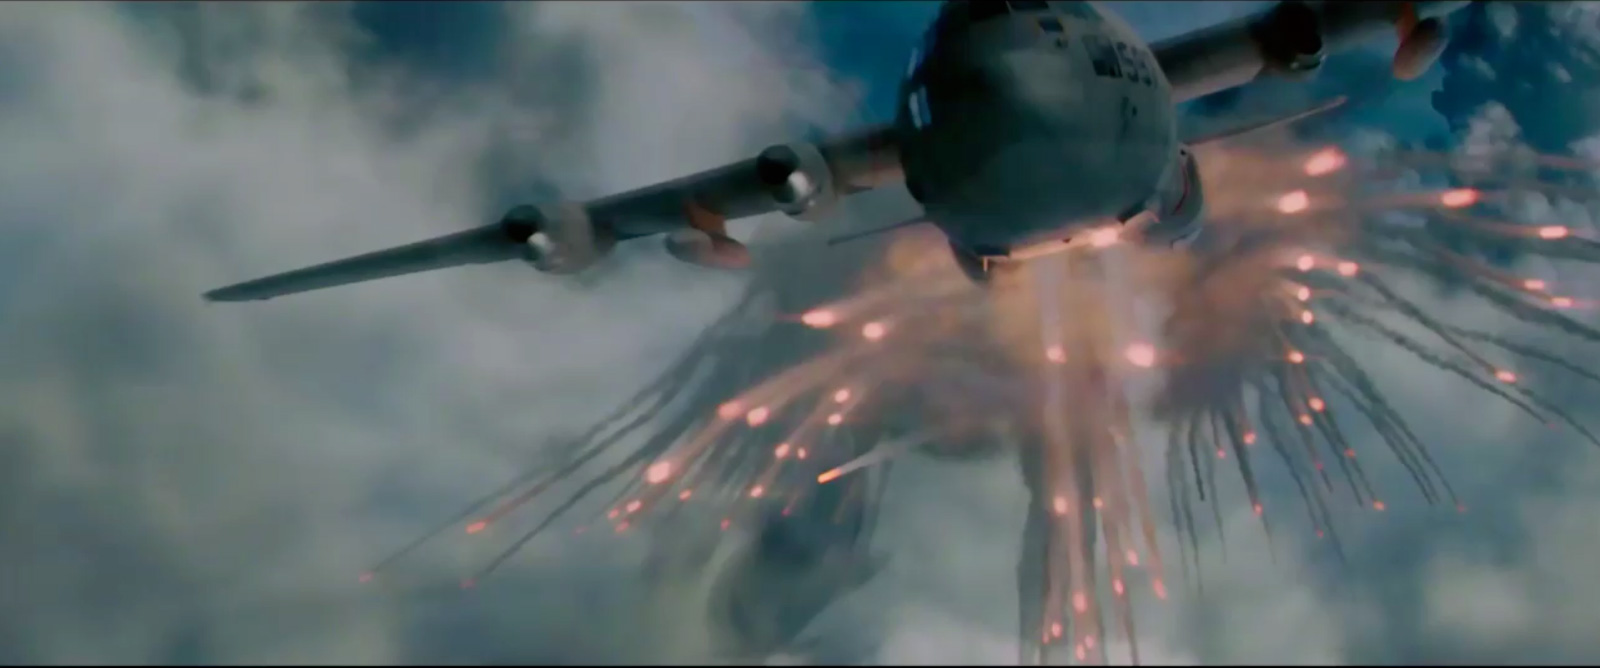
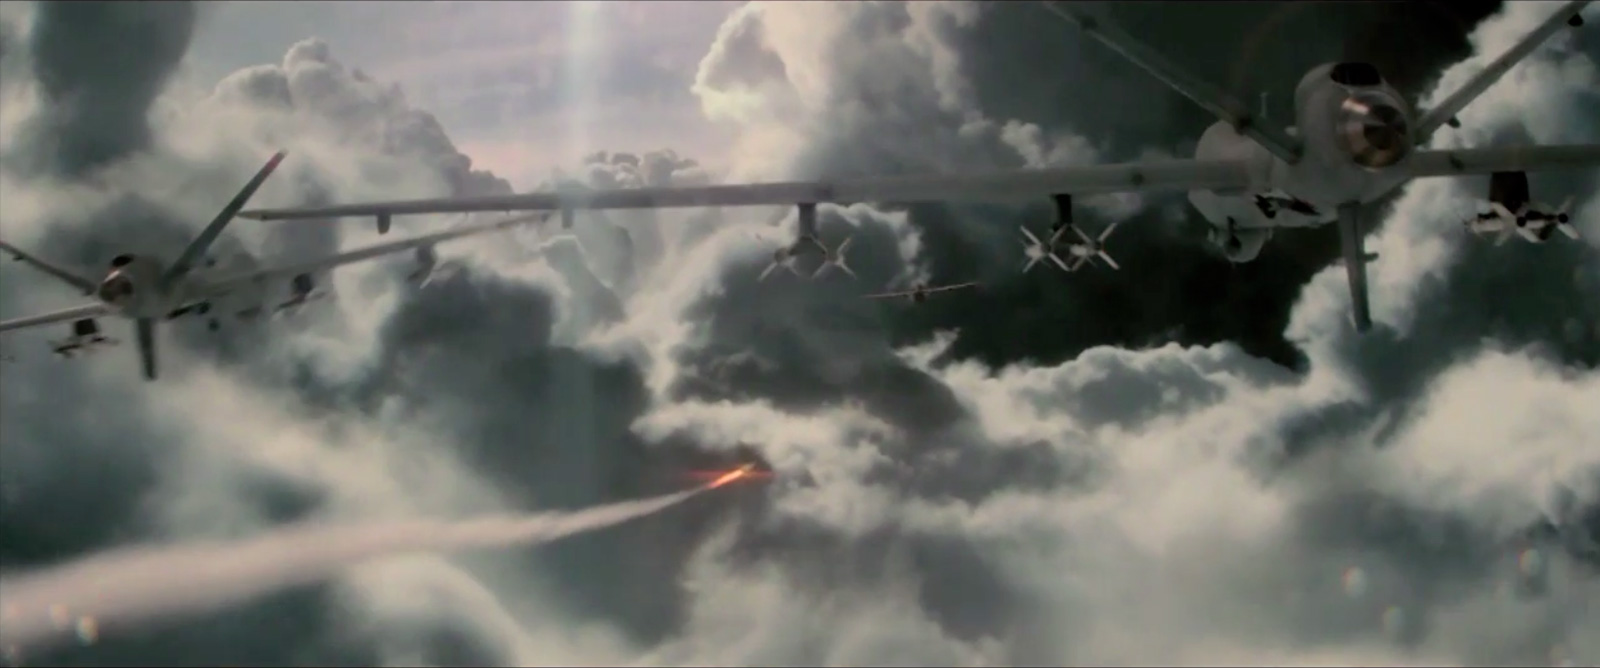
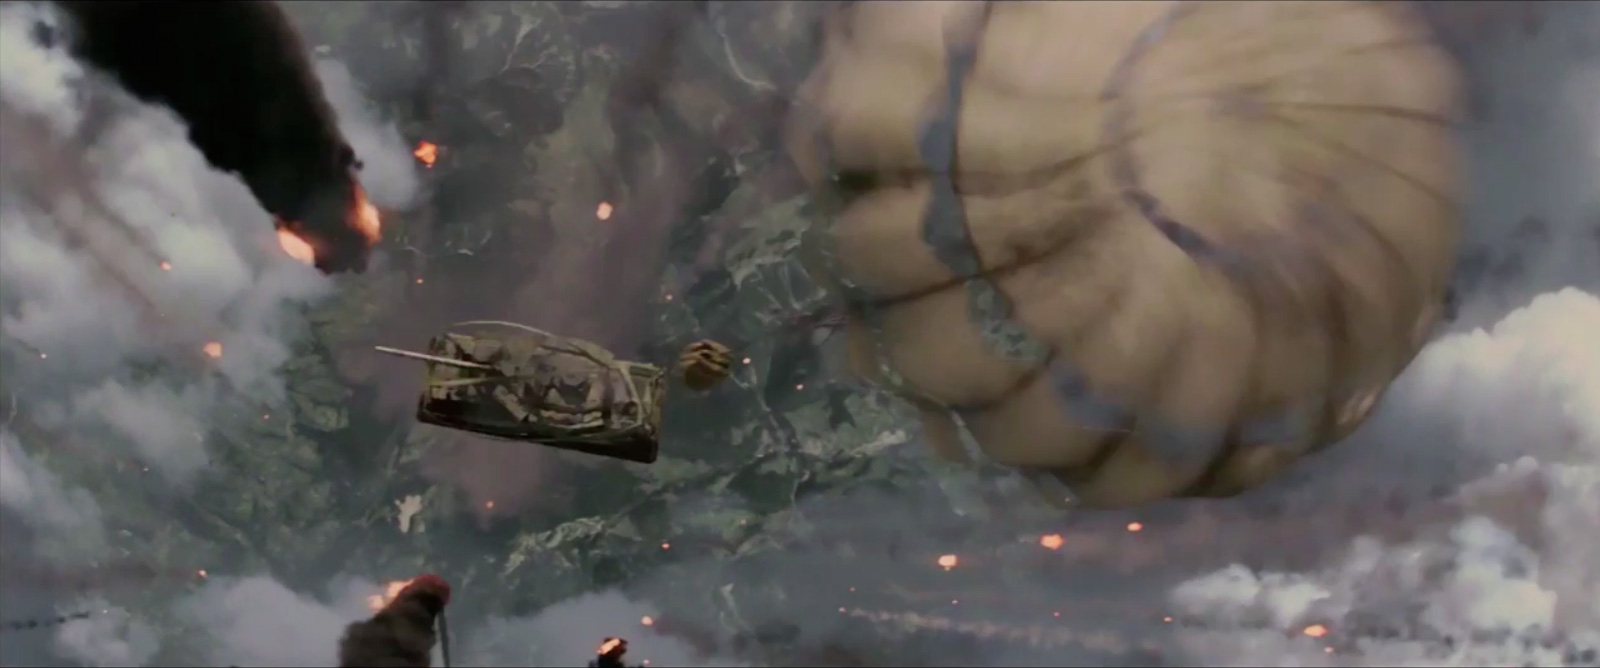
This sequence presents major challenges especially with particles and parachutes. How did you achieved them?
We used Houdini extensively for all sorts of explosions, missile trails, burning engines, etc. For the most detailed explosions we used Houdini’s fluid simulation with thermal heat propagation combined with traditional particle effects and a few flame cards. One relatively simple effect that was harder than it looked were the tracers. In animation, they simply used straight ribbons to suggest where the bullets should go from a story point. Once we had to realized them with more realistic ‘ballistic’ flight, our effects animators had to actually « aim the guns », leading the targets etc to achieve a similar effect. While a little bit of cheating was possible (bending their flight-paths for example), you could only push this so far before it looked wrong. The effects animators ended up with their own mini ‘shooting gallery’.
As for the parachutes, one of the effects I’m most happy with is a shot where you see the canopies being straffed by the aforementioned tracers. The effects artist worked with his « aim » until we were happy with the amount of impacts and the choreography of the bullet paths. He then created geometry markers that noted where each bullet entered and exited the canopy. This was handed back to modeling who punched varying sized tears in the right places. Finally, a « technical animator » went?back and animated impact waves to the surface that corresponded to the hits. It was a lot of hand work, but I thought it worked beautifully in the end.
The sequence of the dock in Long Beach is another crazy sequence. Can you talk to us about the shooting of this sequence. Was it shoot entirely on a bluescreen or some part where shoot on the real dock?
Much of it was shot for real at a dock in Vancouver, Canada. For the most part, during the first half of the sequence you are seeing a real dock and a CG ship with containers. A few shots were added later and evolved as the edit came together and these were blue-screen set pieces with CG backgrounds created with photo-mapped geometry. One interesting bit involves the first two establishing shots of the ship on the water. Live plates were photographed (over the ocean and at the dock), but the task of perfectly matchmoving ship wakes and reflections proved so difficult that we ended up replacing the water completely. The digital water ended up being such a good match that it worked perfectly. Once the ship starts to explode, a lot of the shots were blue screen pieces with digital backgrounds.
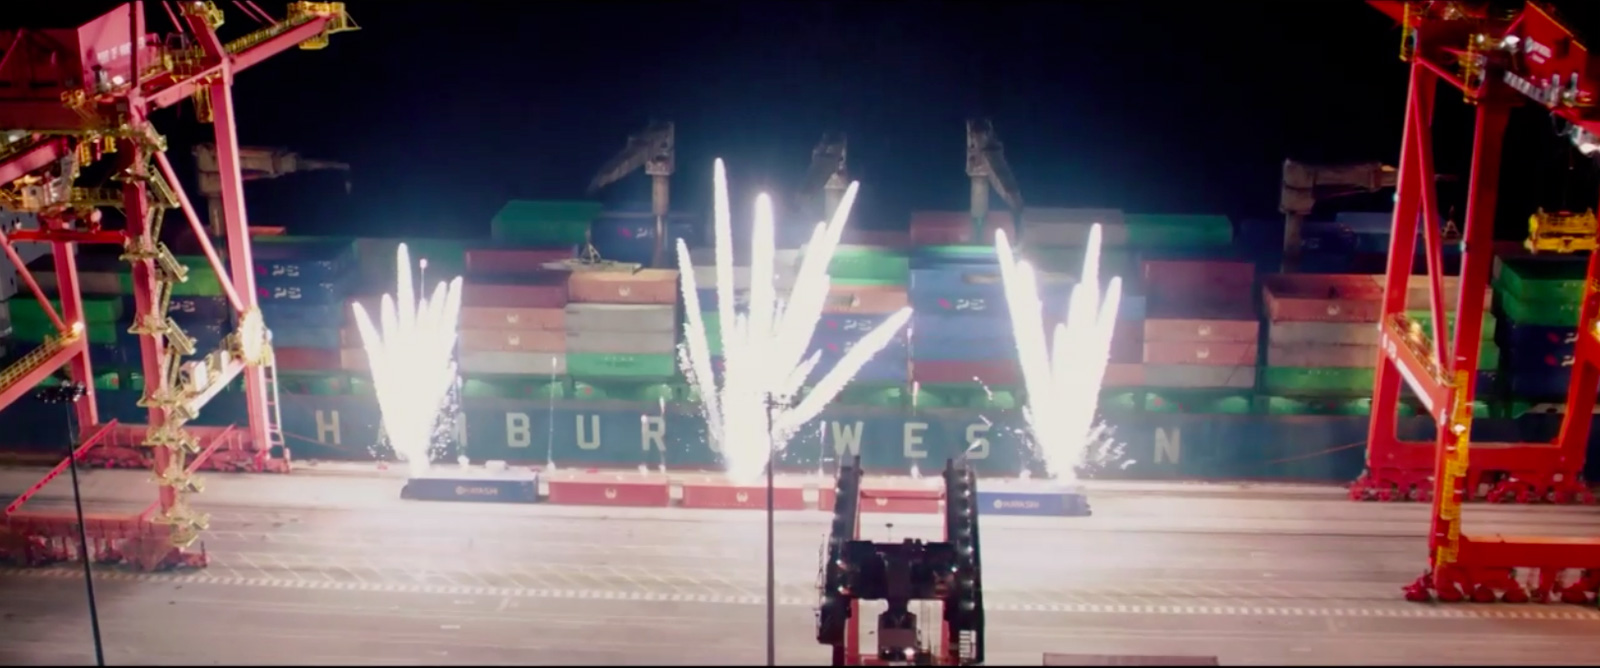
The sequence turns to the massive destruction of the dock. How did you handle all these elements collide and destroy themselves?
Again we used Houdini for a rigid body simulation of the ship and containers. Once the rigid body sim was run, a damage pass was run to add gross deformations to the containers based on where they impacted with other objects. A fully detailed simulation of the damage proved cost prohibitive, so for the most part, wherever more specific detail was needed (or when the containers were close to camera), animators went back with deformation tools and blend shapes to hand craft the damage. Another detail was added when container doors opened and contents started to spill on the dock. This was also done with a combination of rigid body simulation and hand animation.
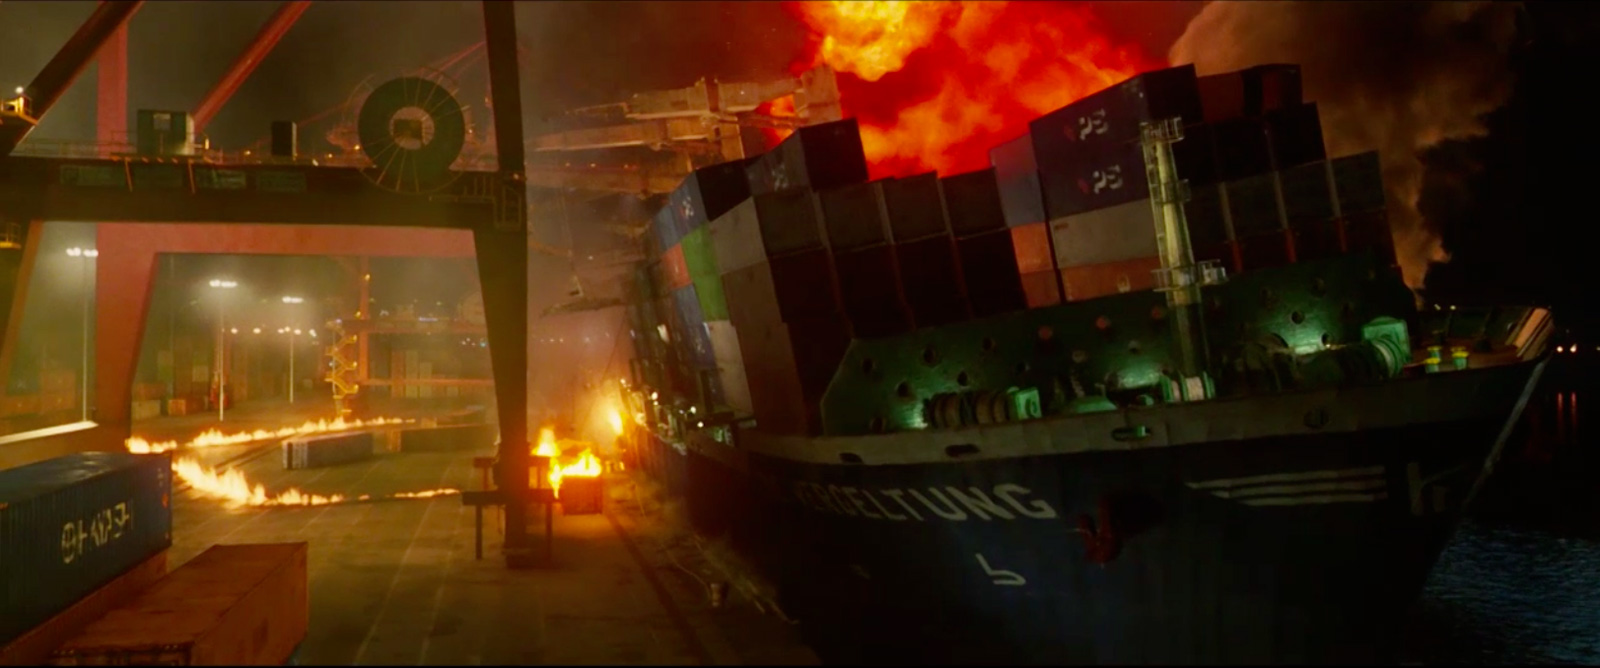
Weta Digital has also participated in this sequence. How was the collaboration?
In the original sequence, the ship is hit by the missile, lists, and the containers spill onto the dock. We then went back to have the initial missile hit trigger a series of secondary explosions that ultimately split the ship in half. Unfortunately for us (R&H) we didn’t have the capacity to take on the additional shots and effects work that it would require, so Fox asked Weta to step in and tackle those. We gave them all of our assets – ship, containers, dock gantries, etc and they created several new shots to depict the additional explosions. Once the ship starts to list, we had a few shots (even before the cut change) that were blue screen?shots of the actors, on the ground or hanging from partial set pieces.?For these we used our CG simulations, and photomapped environment. In a few cases, the new continuity required us to abandon aerial plates and make fully synthetic shots for some of the wides. Weta handled the majority of these, but in the few cases where we had done significant?work and the continuity impacts were manageable, we finished them.
How long have you worked on this project?
I actually came on the project in January, taking over for another supervisor who had to leave for personal reasons.
Was there something that prevented you from sleeping on this show?
Fortunately, the futon couch in my office allowed me to sleep well – hehe.
Actually, the hardest part was just working with the complex material in the ever shortening timeline of post productions. Studios want to see finished renders much earlier in the process than?ever before.
What was the size of your team??
We had about 120 artists on the show.?
What is your software pipeline?
We used Houdini and Mantra for much of the effects work. We also use Maya for modeling. The rest of the work was done in our?in house proprietary tools including our renderer ‘wren’ and compositing?software ‘icy’.
What did you keep about this experience?
This project pushed our pipeline which had been tailored for 3D character films. It showed where we needed?improvements – many of which are being implemented as we speak. The same goes for my career. This was a welcome change from digital lions and creatures and was a lot of fun. I’m very happy with the clouds and tank sequence in general, and many of the ship shots in the Long Beach sequence – especially the ones where the ship takes up part of the background looked absolutely convincing. There are of course the obvious effects work once the ship starts to explode, but I think people might be surprised there was work done in many of the ‘in-between » shots.
What is your next project?
Will let you know once I do (laughs).
What are the four films that gave you the passion for cinema?
STAR WARS and RAIDERS OF THE LOST ARK as a kid…
JURASSIC PARK was the one that made me rush out to California…
THE GODFATHER though is still one of my favorite films.
A big thanks for your time.
// WANT TO KNOW MORE?
– Rhythm & Hues: Official website of Rhythm & Hues.
– fxguide: Complete article about THE A-TEAM on fxguide.
© Vincent Frei – The Art of VFX – 2010