RESIDENT EVIL RETRIBUTION is the largest project made at Mr .X and they won’t be too much of two to explain their work on the visual effects of this show. Eric Robinson is back on The Art of VFX after telling us his work on THE THREE MUSKETEERS and is accompanied by Ethan Lee.
What is your background?
Ethan Lee // Sculptor turned classical Animator, turned Character/Pipeline TD and CG Sup. I have worked in VFX for 13 years, 6 of them at Mr .X. I have a fine art background but have always had a tendency toward the technical. Trained as a classical animator later transitioned to 3D.
Eric Robinson // I’m a Digital Effects Supervisor and resident stereographer, at Mr. X Inc. for the last three years. I started out as a generalist and moved into a compositing role at IMAX working on both traditional IMAX 3dstereo documentaries and stereo conversions.
Mr. X is a long time collaborator of Paul W.S. Anderson. How did you approach this new movie?
I have now worked on four of his productions and have found that Paul likes to work in an organic manner. He loves to riff on ideas to see where the visual effects can go. The relationship gives us the trust to help develop a shot. This trust affords us a fair amount of influence for the direction of the visual effects. Our guidance helps Paul get more bang for his buck, as we can suggest an option that will give him not only the story points that he needs but also be cost effective for the budget. With that in mind we tried to develop a pipeline flexible enough to allow us to turn around notes very late in the calendar. The way you perform at the eleventh hour is the difference between success and failure.

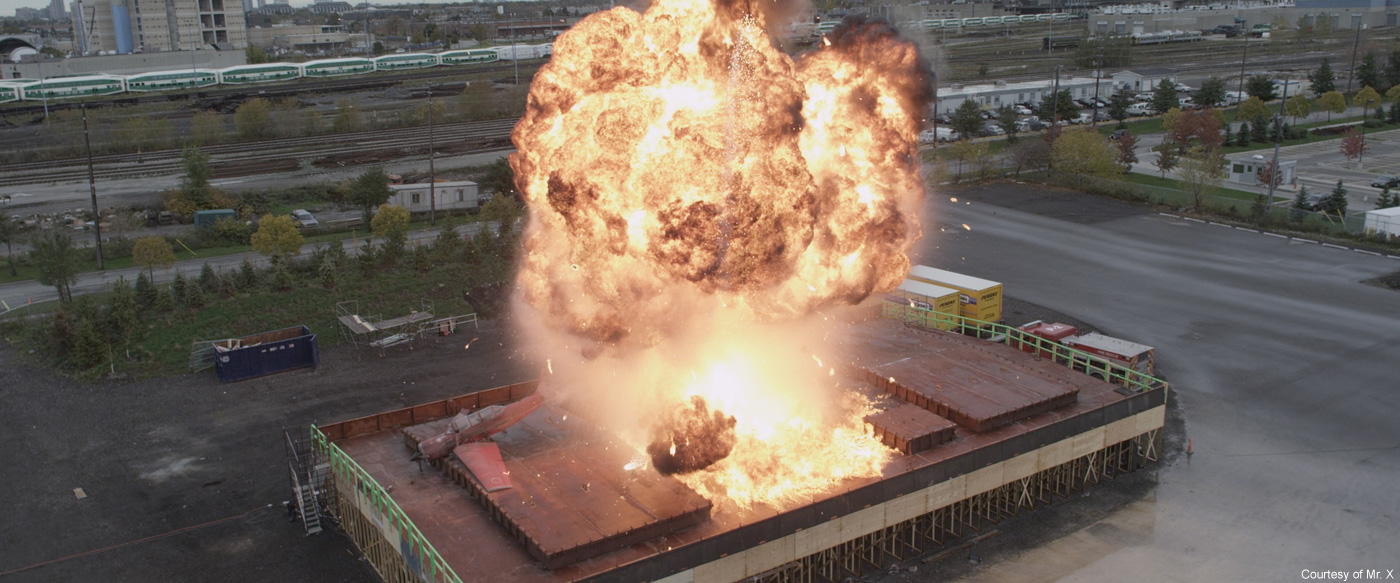
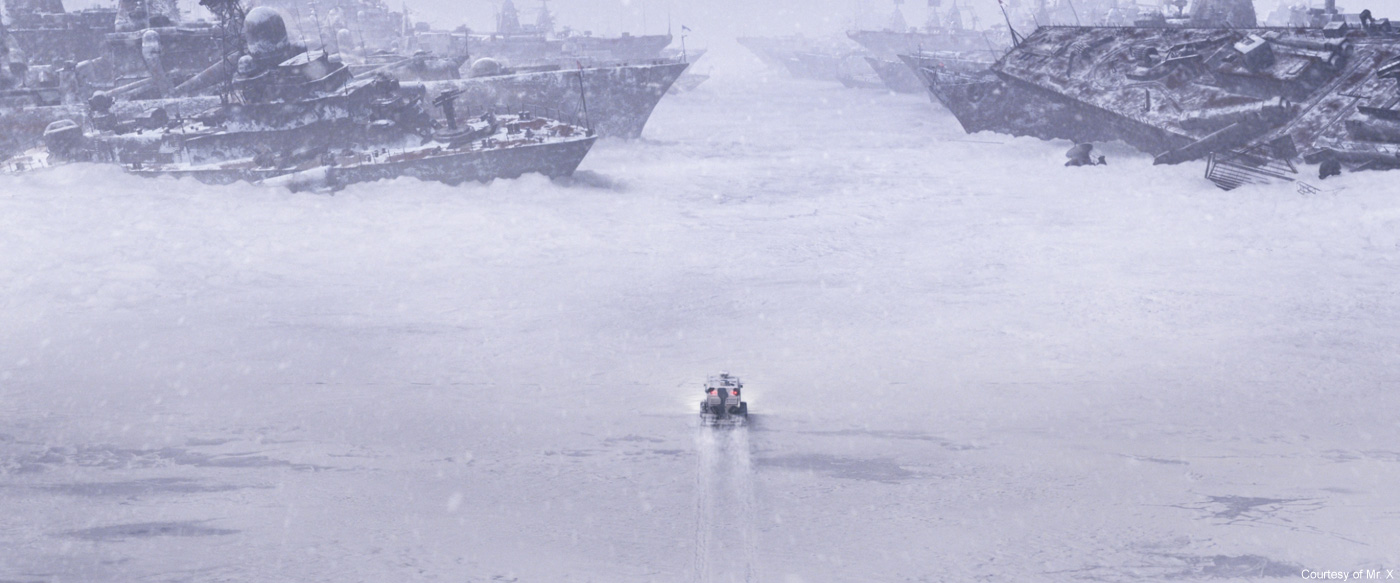
The opening sequence is really impressive and ambitious. Can you tell us more about the shooting of it?
Mr X. is crucial to the creation of such sequences as we work with the director, beginning at the previs stage, to shape the sequence before a single camera rolls.
For this and all the sequences in RE5 we worked with the director’s storyboard team and our previs department to fill out the boards with 3d blocking as the frames were approved. The careful planning of the previs not only helps shape the movie but allows the setups to be as quick and efficient on the day for shooting.
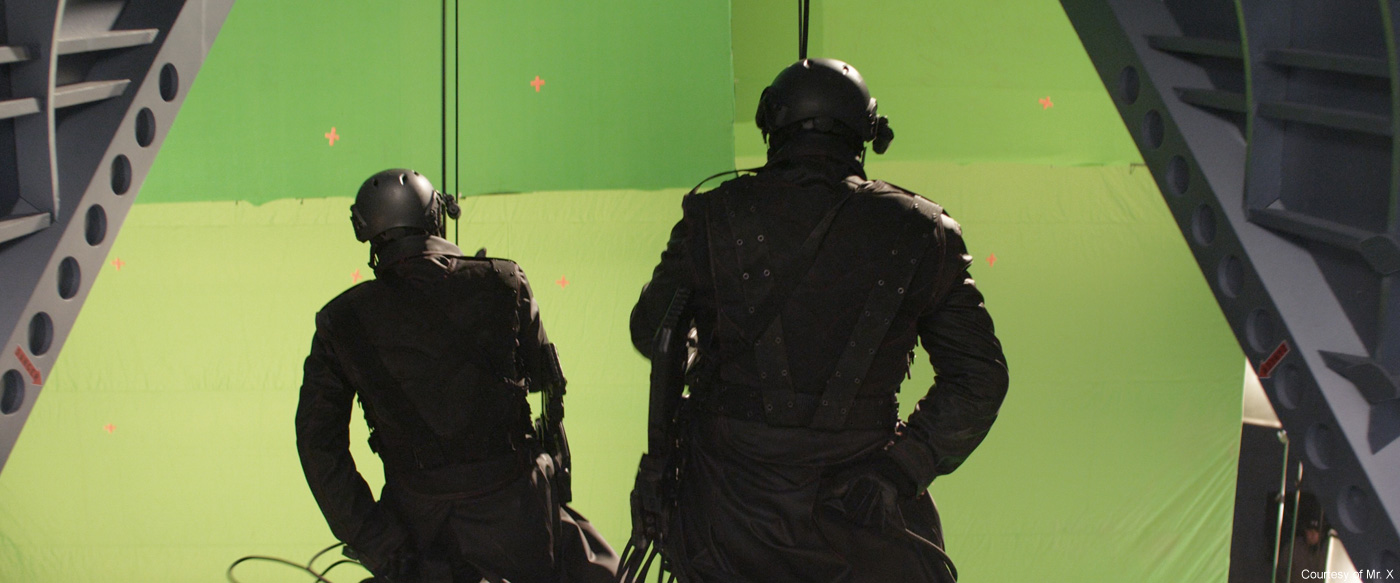

How did you create the huge armada that attacks the boat?
The initial truck in of the attacking Osprey squadron was supposed to be a straight reuse from the previous movie. But after cutting it side by side with the newly upgraded and rendered Osprey from V-ray it was clear we needed to re visit the whole shot.
Using the old shot as a framework we transferred the animation and layout to all the newly upgraded assets. Everything had been revisited, the Arcadia, the water, the sky, the survivor crowd, digital doubles and of course the Osprey.
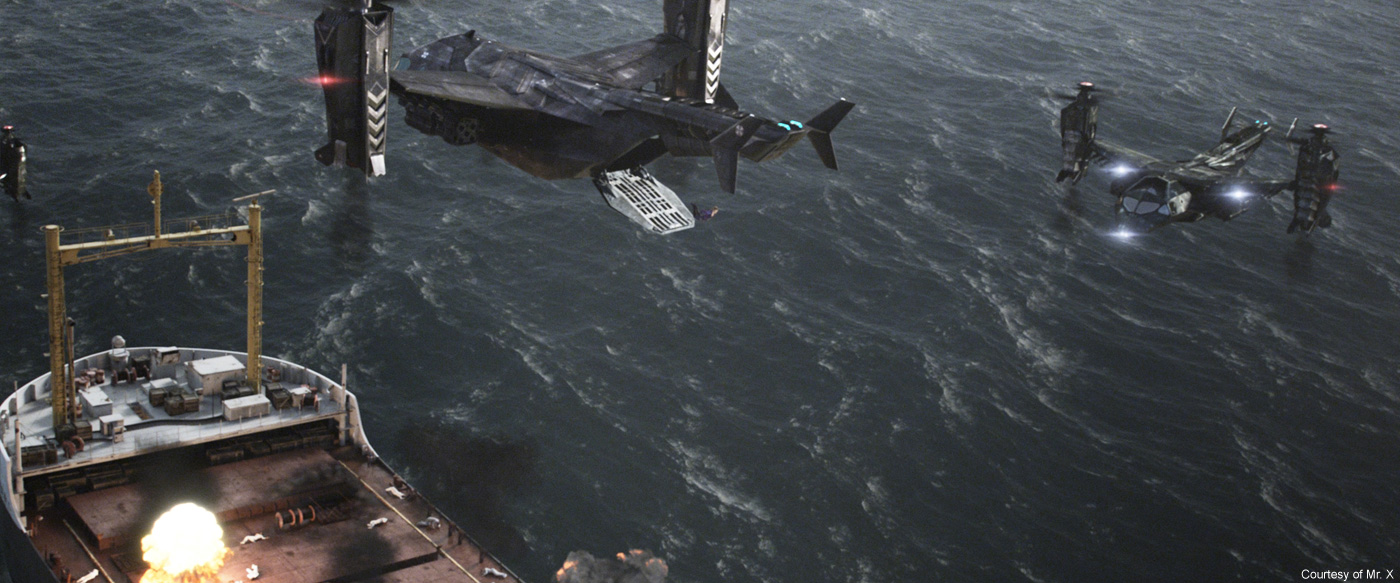
The ocean in every shot in the sequence was 100 % CG and in most of the wide shots everything was 100 % CG. This was an interdepartmental harmony exercise as all were involved. Animation in Maya provided the main action of vehicles and big debris plus animated the digital doubles. These actions were exported through Alembic to Houdini for destruction rigid body sim, fire, explosions, water sim, jet wash, strafing and rocket trails. The rigid body sims were exported again back to Maya for lighting in V-ray.
Can you tell us more about the tentacles that came out of the zombies mouths?
This was also an asset from the previous iteration of the franchise, RESIDENT EVIL: AFTERLIFE. The Majini was also upgraded for our updated the V-ray/Alembic pipeline. The model was originally created from a scan of a physical model created by the special makeup effects designer, Paul Jones. The topology was reworked and the textures enhanced. The Base rig was built with our in-house modular auto rigging system. It needed to have flaring and tensing and a post build script was made to built a surfaced based deformation to give it a more organic nature plus more localized control, than a straight blend shape would afford. This rig allowed the animators to easily perform the tentacles in a wide variety of shapes for the many actions required. To put the Majini in the mouth of the actor a digital double head sculpt was made and rigged. This was then carefully match moved to the exact action of the actor. The plate was then projected on the model and baked into an animated texture in uv space. The resulting animated texture allowed the animators to deform the neck and mouth of the actor with the rigged head as the proboscis emerged from the mouth. HDR domes were acquired on set and used with V-rays pbr engine to light the creature.

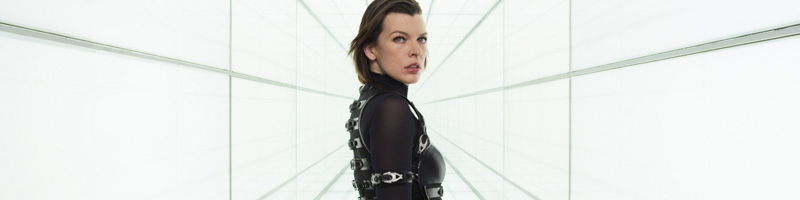
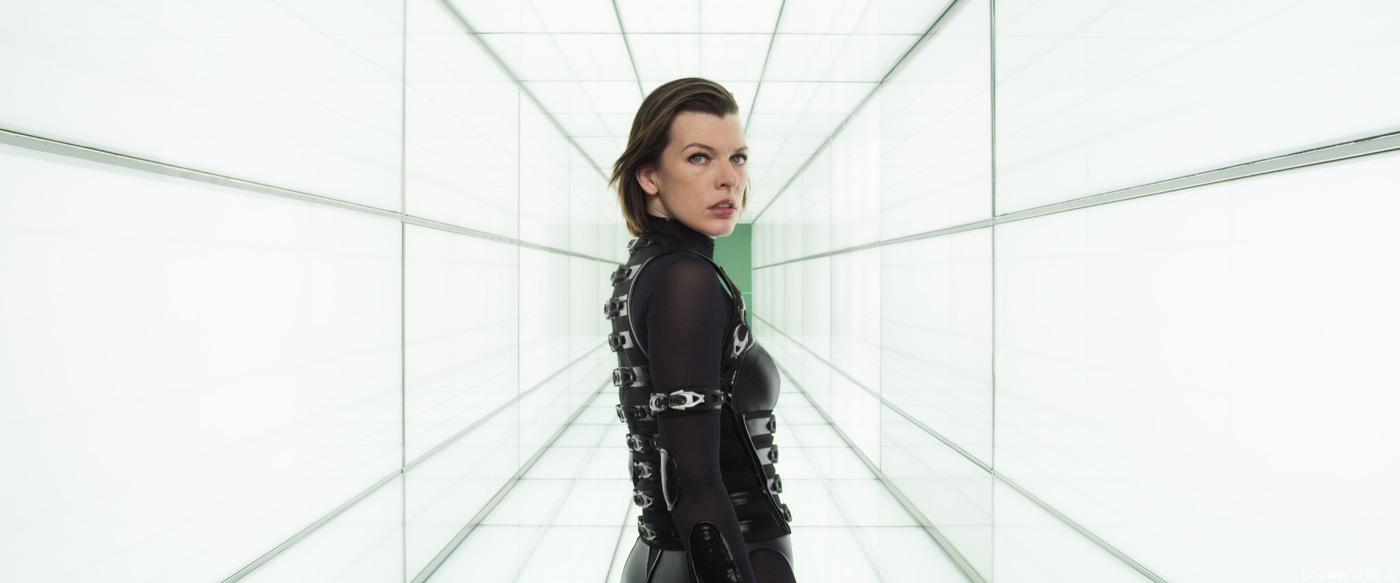
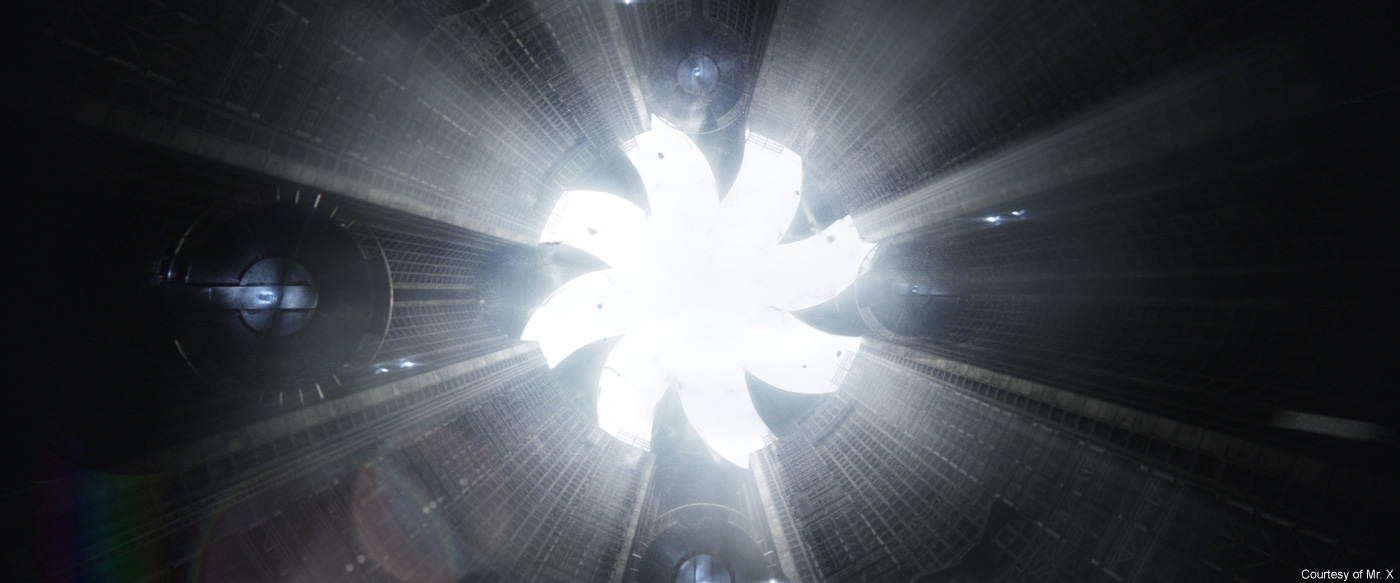
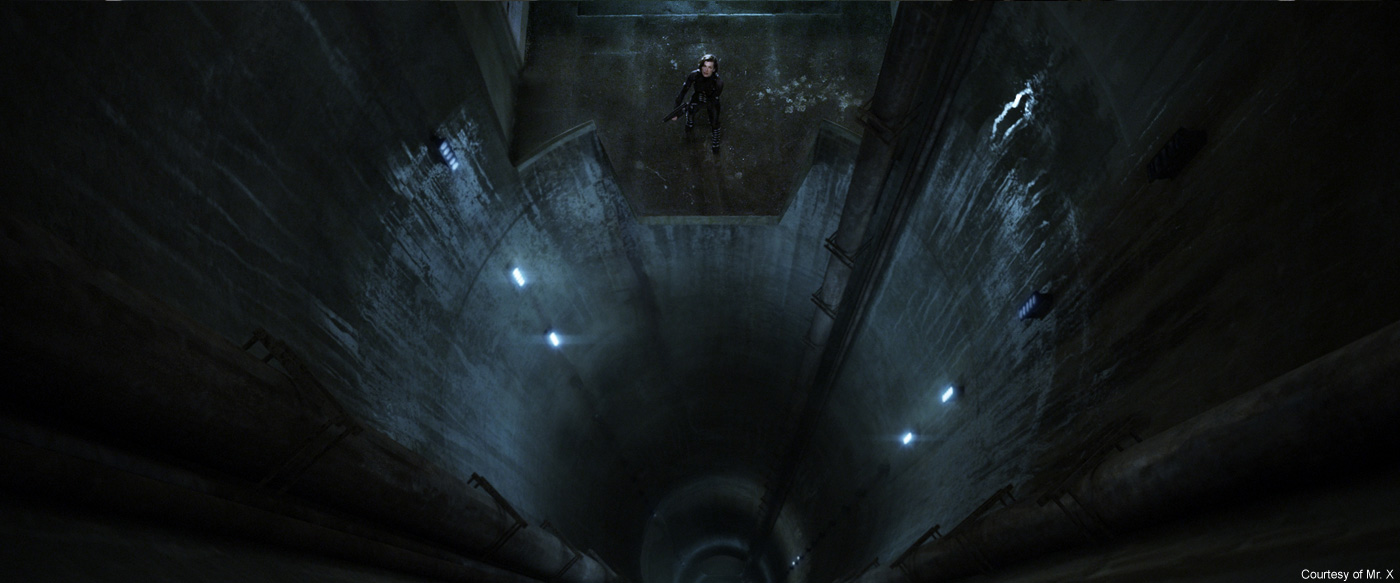
This new movie is the most ambitious in terms of variety of environment and scale. Can you explain to us in detail the creation of the impressive shot that starts with Alice, goes through the underwater facility and finishes over the ice?
We began with a plate of Alice and Ada Wong in a window. With the camera pulling out to show a huge expanse, a massive facility was required to be built around them. In the story, the interior of the “test floors” was described as a kilometer wide and 300 meters high. And this was just for the “Suburbia” zone. In addition we needed environments for Times Square, New York, Red Square Moscow, the Submarine pens, and a host of others. The production designer, Kevin Phipps and his team were able to provide a rough outline for the facility. We took these initial designs and expanded them as well as adding tons of small details to help convey the huge scale. The control room, where Alice and Ada are looking through the window was a fully textured and lit asset. The surroundings were a combination of modeling and 2.5d projections and matte painting. The final model was over 12 million polygons!
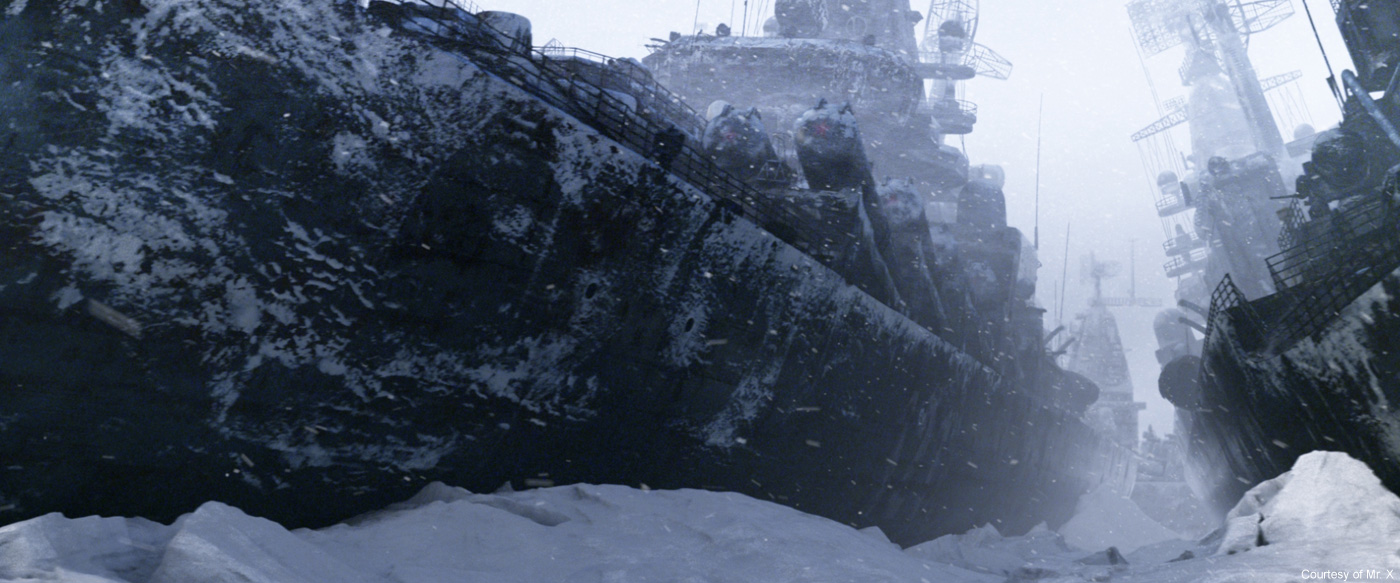
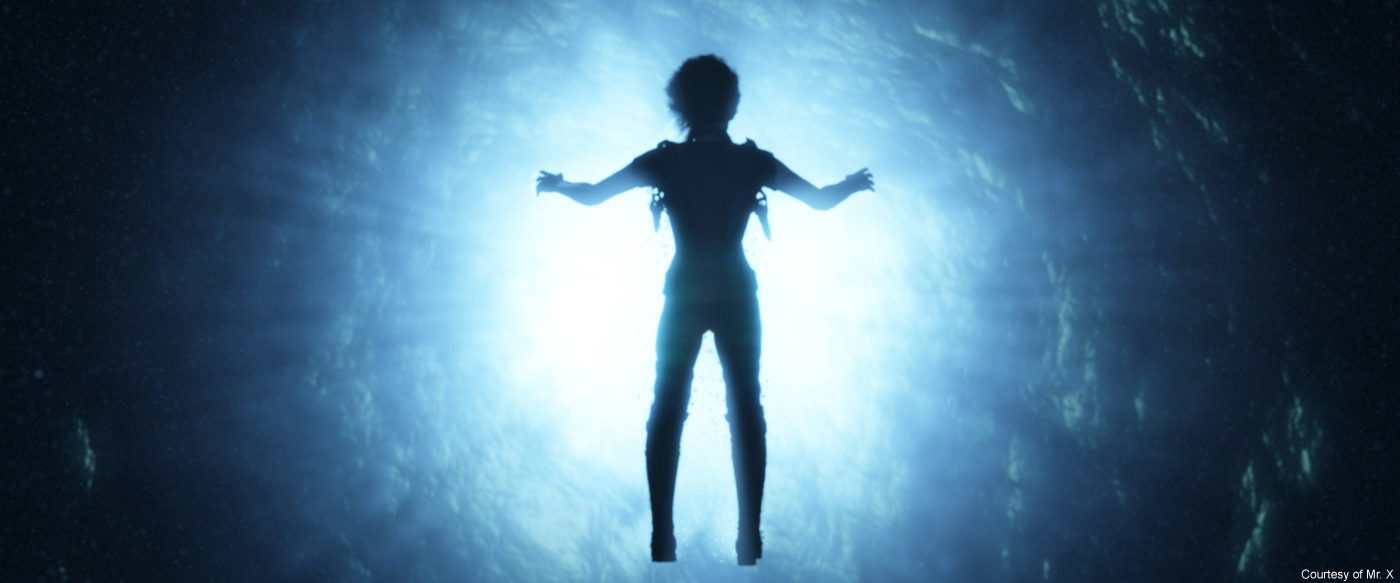
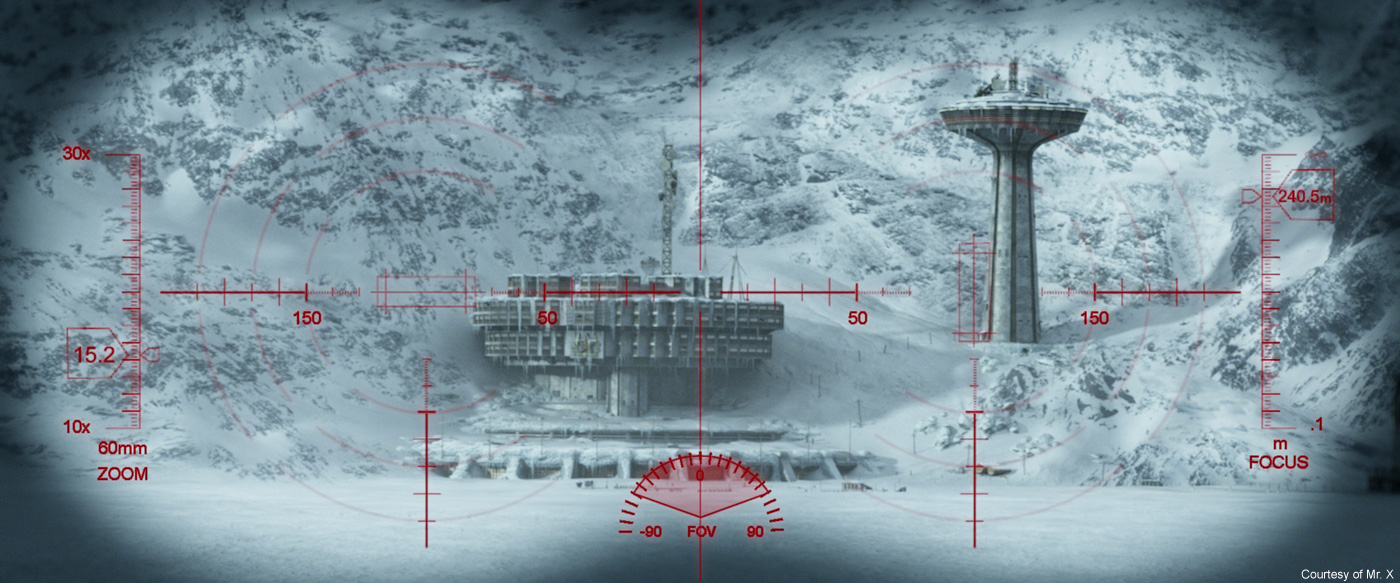
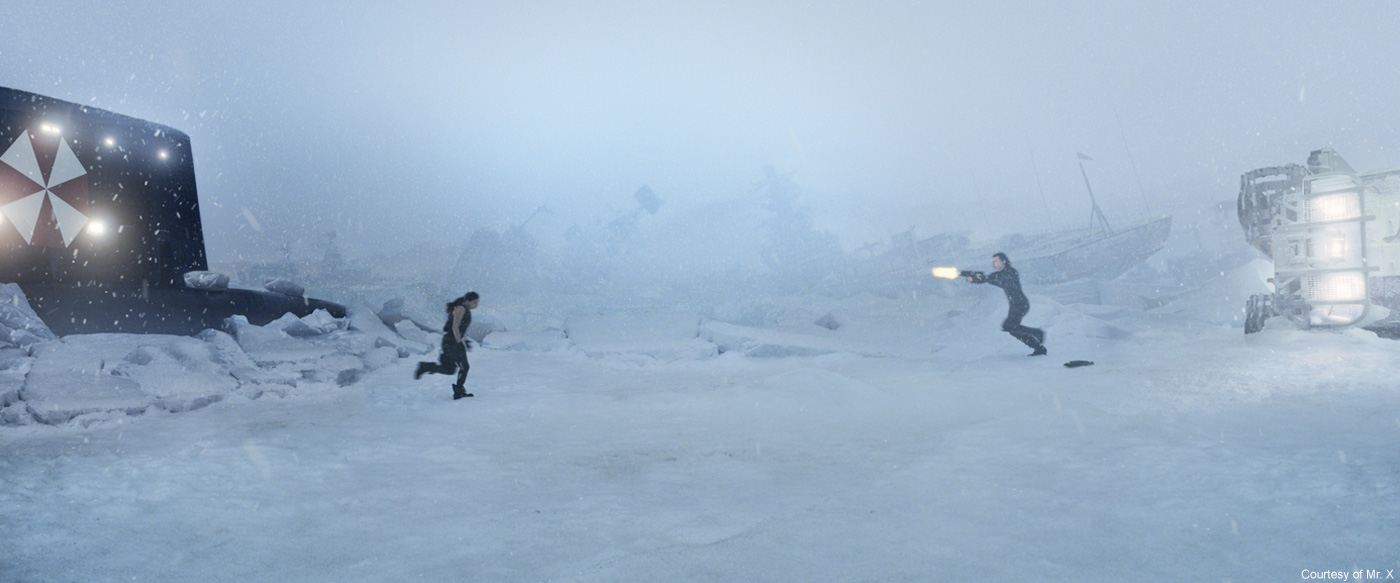
How did you design and create the outside facility on the ice and the huge platform?
We worked from concept sketches from the production designer, and then did additional design iterations with the director to get a final look. The initial concept was inspired by a real hotel in Russia. As this moment in the film takes place in Kamchatka, Russia we started with as many reference photos as we could find. The creative objective was to have a cold, desolate environment. The aboveground portion of the facility is actually a cover for the underwater portion as described elsewhere in this article. The facility is a combination of rendered assets with matte painted and projected elements. To bring the environment to life, we added as much interactivity as we could, while trying to preserve the desolate feeling. Drifting and aerial snow were simmed by the FX team. Small details were added, like hand rails, utility sheds, even icicles.
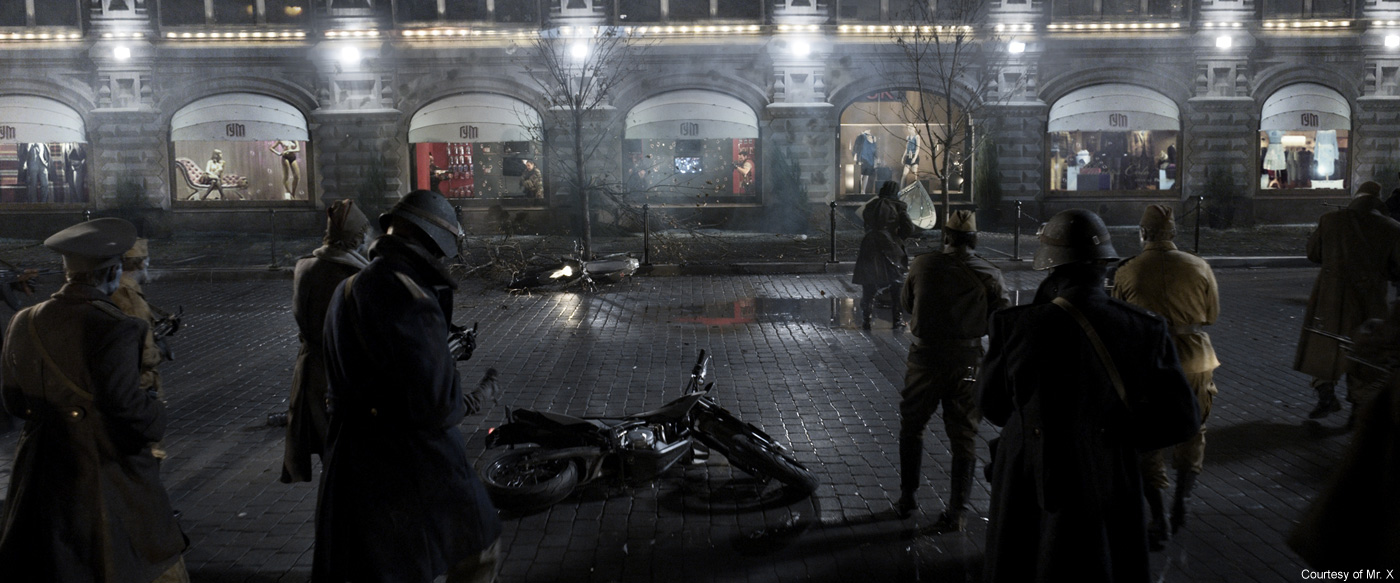
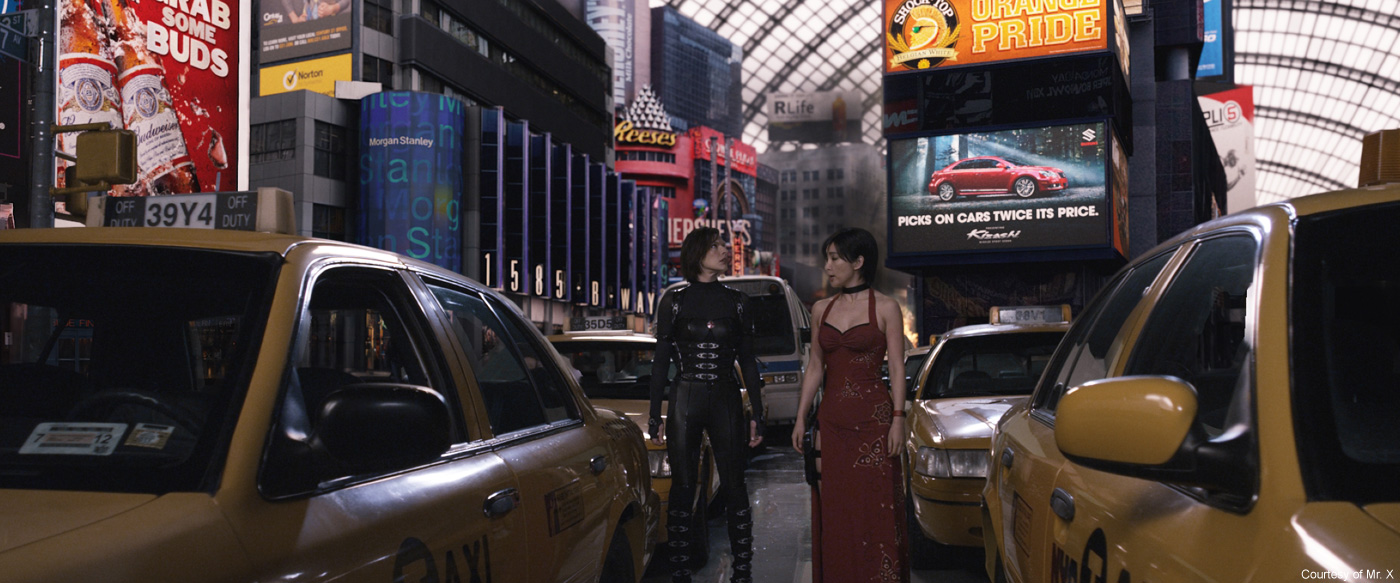
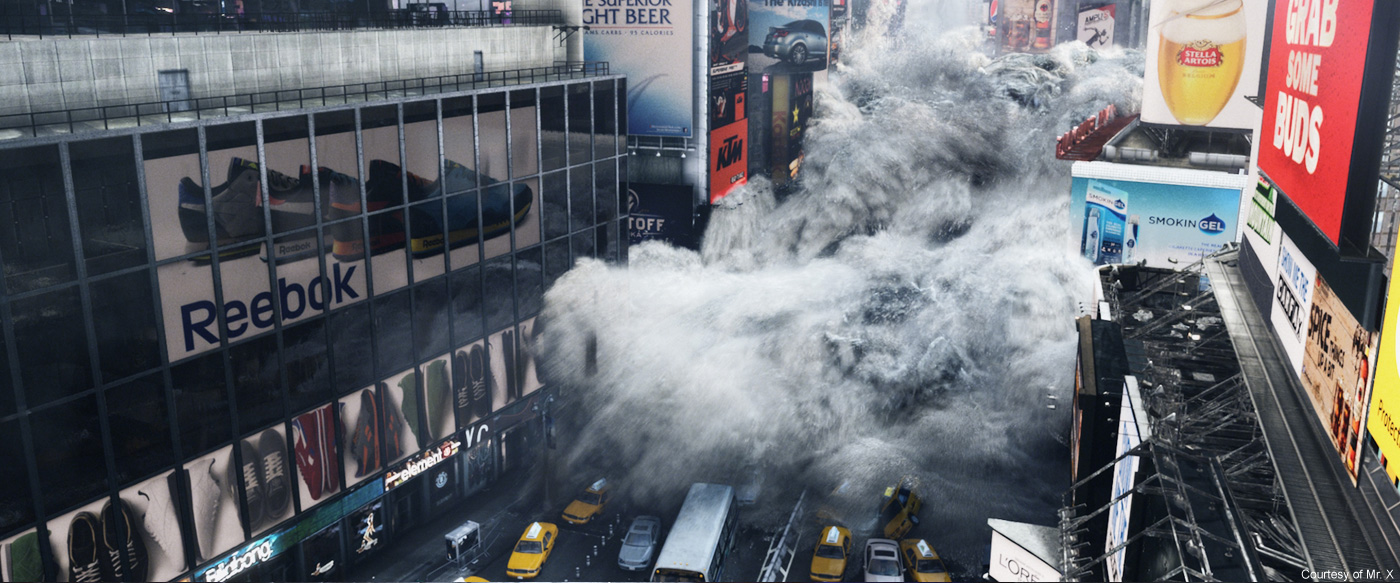
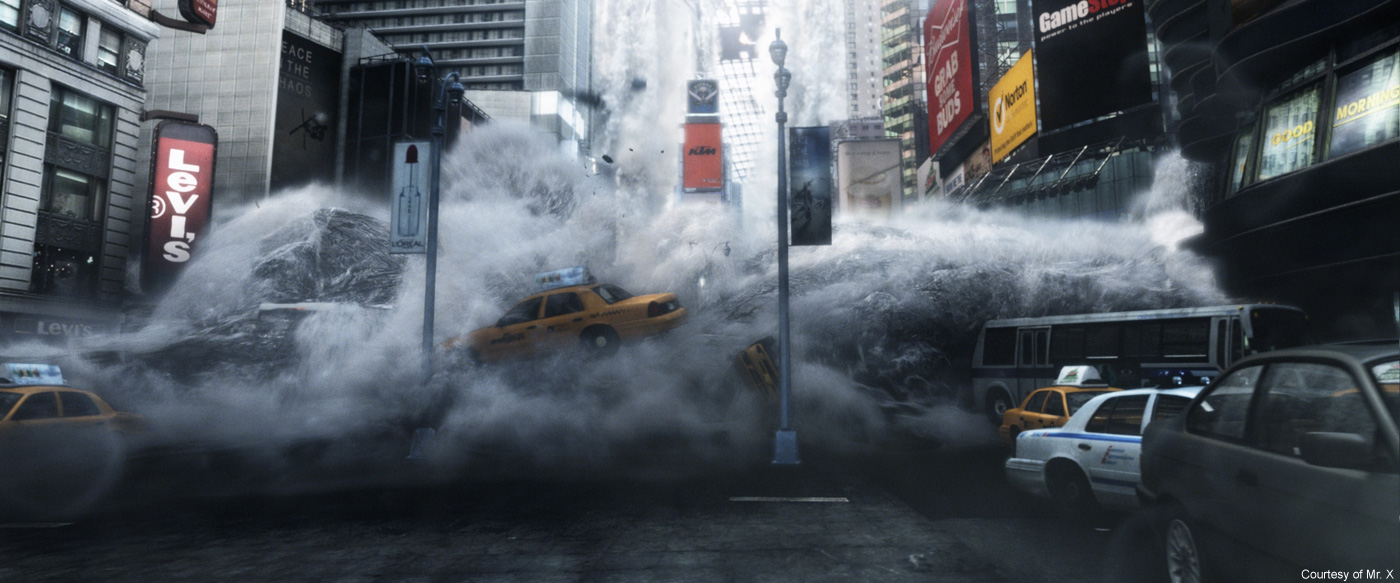
At a moment Alice fights Axemen in New York. How did you create this environment?
To speed up the process of the environment build we decided to purchase the Time Square model created for the production of I AM LEGEND. This moved the layout and build forward quite a bit but to work in our Mari matte projection pipeline it required uving of the model which was painstakingly done over a few weeks. To most efficiently produce matte paintings we pushed the model through previs to get the camera angles locked this was done to prevent the matte department painting up parts of the environment that would never be viewed.
The matte paintings were built from a library of stills that were acquired during a photo survey in New York where Sean Mills and Anna Joukova risked life and limb hanging off a 53’ scissor lift and building ledges. The view dependent matte projection approach is a clever method to preserve and appropriately use resolution, plus still gives you a fair bit of freedom to move the camera within a matte painting. This projection method was also mandatory for stereoscopic to create parallax. All the close up cars and street were shot in front of green screen, tracked and projected mattes composited in.

How did you augment the fight with the Axemen?
Prime Focus takes the credit for this.
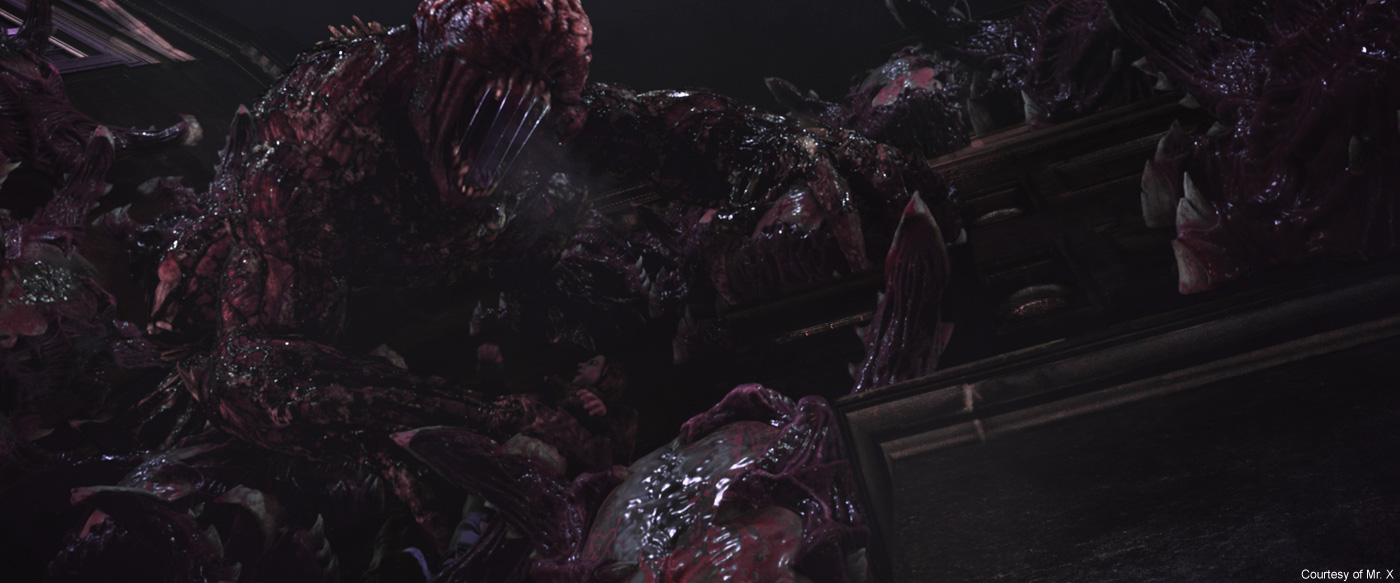
The heroes are attacked by a huge monster. Can you tell us more about its design and rigging?
The Uber-Licker is Mr.Xs most ambitious creature to date. It needed to hold up being viewed not only full body but in full close-up.
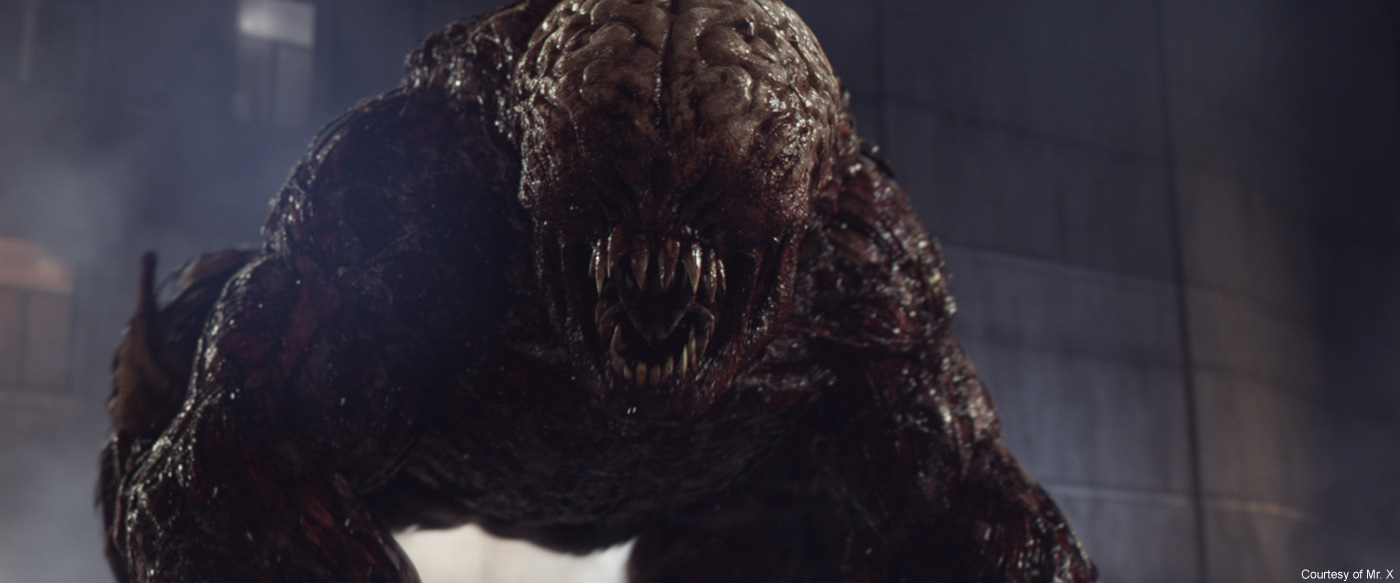
Taking this into account we knew this would be an exhaustive build. We begun the process without external concept art and it was tasked to an in house concept designer Furio Tedeschi to create a design. Working from video game concepts and the previous movies as a guide and with the mandate to make the licker UBER, he roughed out a concept in Z-brush with a quick paint over. To bring the licker up to UBER level we knew we needed a new twist on the design, this is where the shredded skin idea arose.
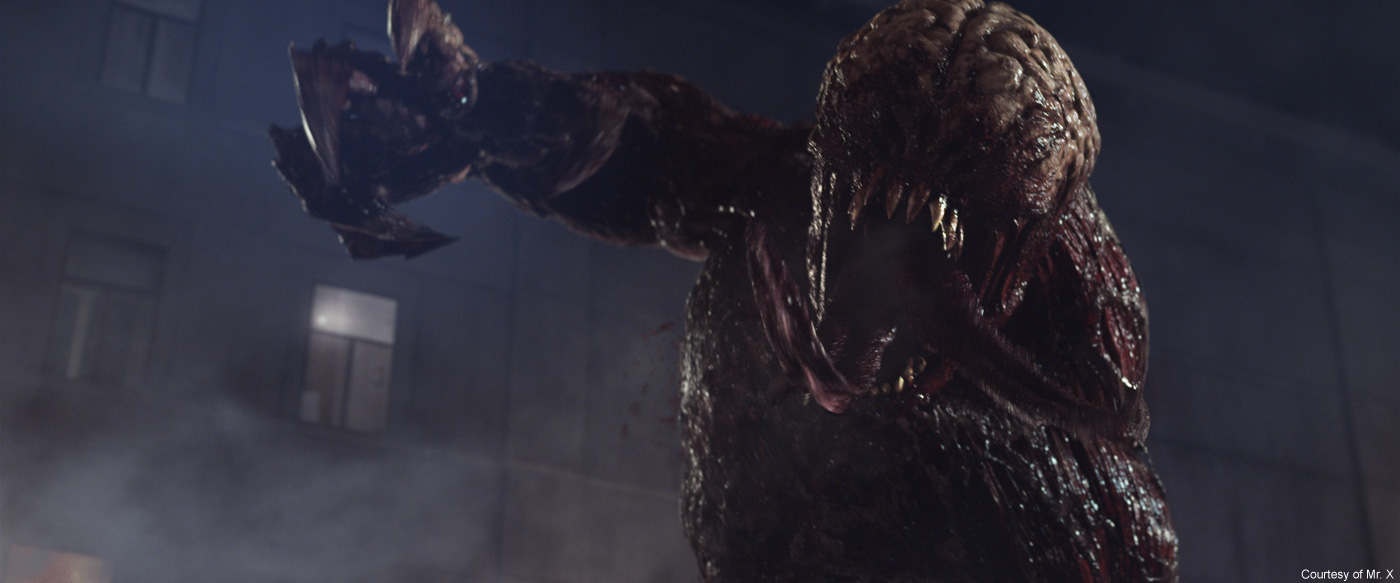
The base concept was that the regular licker had been infused with super steroids that caused tremendous growth all its muscles and bones tearing through the skin. After the concept was approved Lead Creature modeler Sean Mills brought the concept to reality. Paul Anderson had first wanted the creature to be bigger than T-Rex size but it was found during previs that it made it next to impossible to frame it in any sort of shot, and it was then scaled down. The new size, while big enough to completely fill the frame in a medium wide shot at the previous size would have only shown a fraction of the beast. All the individual muscles were built and textured as this was necessary to realize the shredded/splitting skin effect. Again the Modular auto rigger was used to build the base of the rig. The majority of the muscle action and skin sliding was achieved with basic skincluster deformation and sculpt deformers and in certain problem areas Maya muscle was used. To reach the proper level of believability, the creature required a muscle jiggle simulation and finaling pass. The wrapped skin and muscles with such tight tolerances invariably crashed through one another in heavy deformation points on and off. The finalizing pass corrected any crashing and was also used to sweeten shots with view specific flexing straining and pulsing veins. The Uber-Licker’s main weapon was the double 20 foot spiked tongues that could be shot out of the monster’s mouth.
Understanding the limits of regular spline based IK it was decided to create a custom plugin for better deformation and control. The spit and breath effects were initially tasked to the FX department. Because of our Alembic pipeline, the compositors were able to track 2d spit elements in 3d on the Uber-Licker’s actual animated geo and composite the elements in stereoscopic space.

How did you manage the animation challenge of it?
The animation team referenced a bunch of animalistic styles of movement. Each animator was allowed to give their take on the movement. There were a wide range of styles Bull, Cat, Bear, and Gorilla. After viewing the various styles Paul felt the cat like movement most embodied the predatory nature that he envisioned for the creature. Understanding the motivation of the creature the rig was revised to help animation realize the catlike poses. Animation took care of all the big actions but jiggle simulation and finalizing was employed to add the nuance that is very difficult to realize with hand animation.
How was his presence simulated on set?
All the Uber-Licker sequences were carefully story boarded and pre-vised. These were shown on set to the actors and DP to help visualize where the creature was and what it was doing. A full size print out of the head was affixed to a pole to approximate its height this was used for eye lines and framing. For lighting reference an unarticulated prosthetic version of Uber-Licker’s clawed hand was fabricated by Paul Jones.
Due the size of the hand at one point to run it through a location it was affixed to the top of a golf cart and driven around. On set this was referred to as a “high five”!
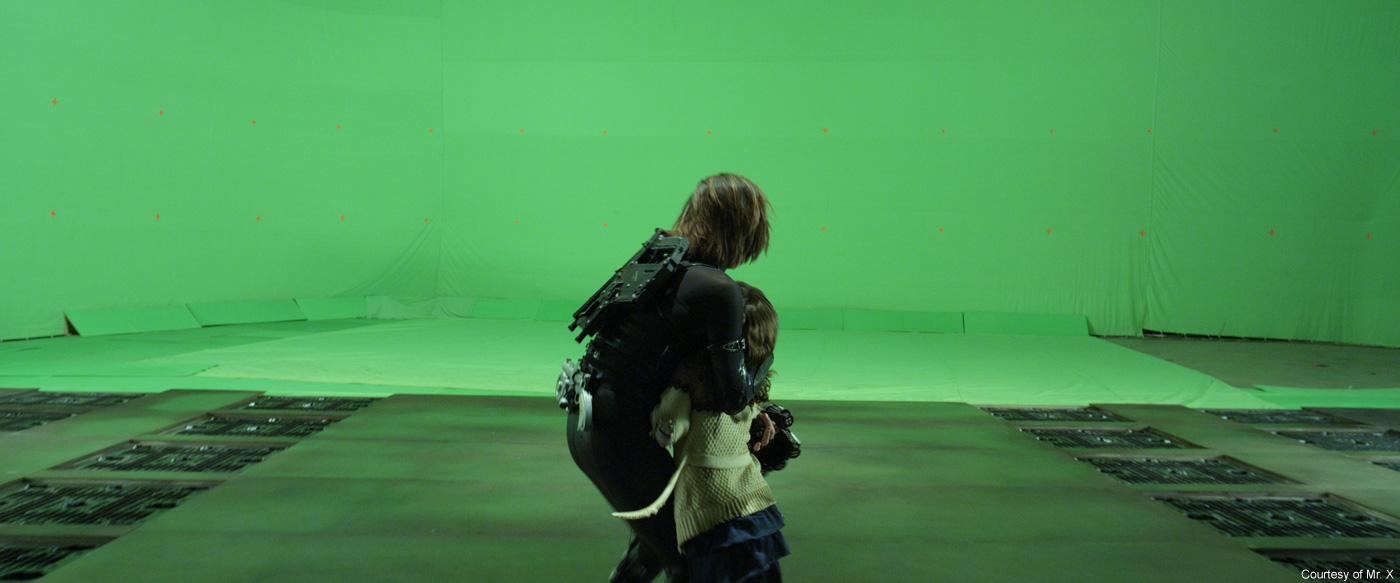
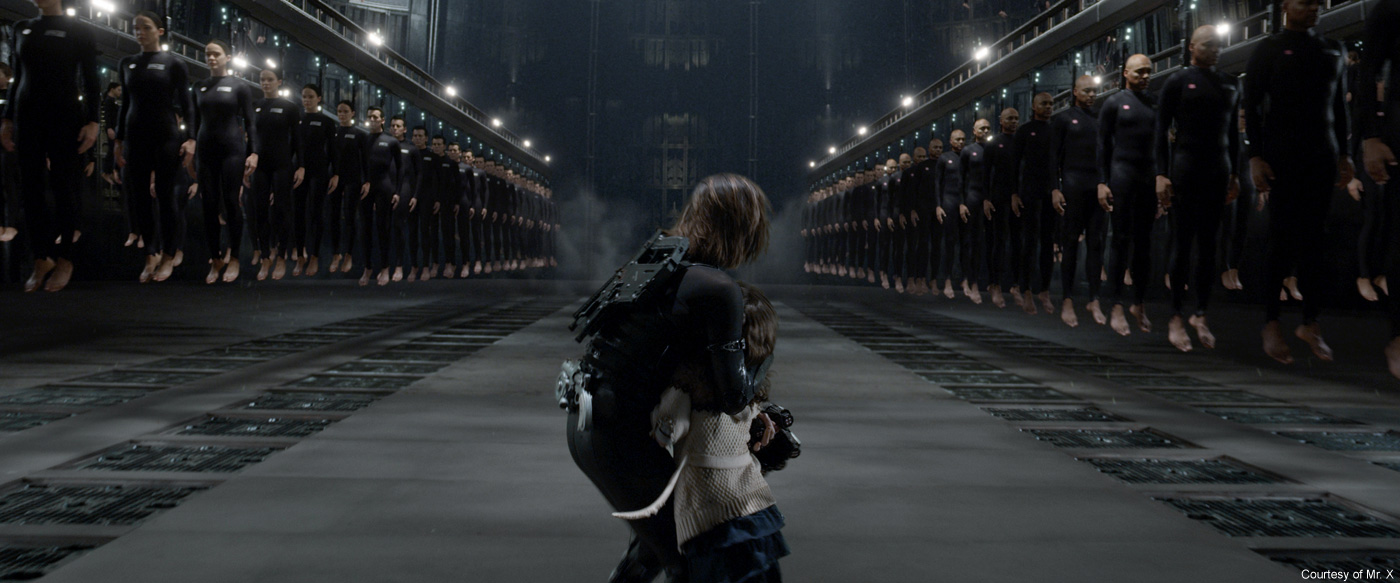
Alice and her daughter discover an huge clone factory. Can you explain to us in detail its creation?
This sequence was planned as a half practical comp solution with digital doubles to fill up the mid and background. A motion controlled rig was set-up to provide multiple passes of the actors to be composited to create the effect. After a few initial comp tests with the footage it was decided that the performances of the actors were unsatisfactory. Turning to the Modelling and Texturing department we decided to upgraded the mid to background digital doubles to hold up in full body full frame and closer. All the Digital doubles were created from scans of the actors retopologized reprojected cleaned up and then textured in Mari using supplementary reference stills shot on the day of the scans. These upgrades allowed us to turn almost all of the clone shots in the sequence into full cg. The crowd animations swaying down the track for all the wides and background were done procedurally in Houdini and exported to Maya as a point cloud and Vrmeshes sequences instanced to the points for rendering with V-ray. For the full body shots of the closest rows the procedural animations lacked the proper amount of nuance and where replaced with hand animated sway cycles.
How did you manage so many elements?
Complex shots are created by having key people that can be trusted to oversee their part of the pipeline. Linking these people allows all of parts to mesh into the final frame. Building an information infrastructure is a Necessity. Relying solely on it to organize it all or piling all the responsibility of keeping it all straight on one person, is unreasonable. Hiring and trusting people to do their jobs plus nurturing open communication will galvanize your pipeline more that any asset management system.
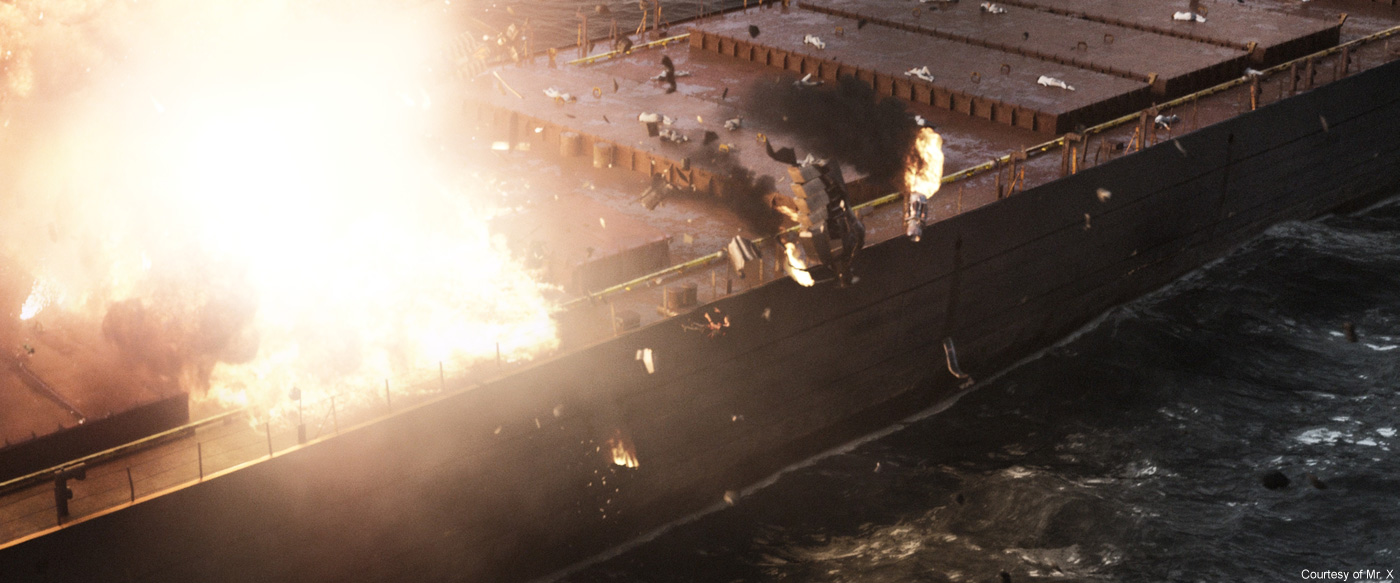
Some shots feature many characters such as the people on the boat and the zombies in the water. Can you tell us more about this crowd creation?
The survivors on the deck of the Arcadia for the most part were hand animated. One wide shot showing all of them at once they were instanced V-ray proxy meshes hand placed by an animator. The Undead pulling Rain into the depths were also hand animated. We simply split the crowd into four sections and distributed it between four animators and they brute force animated it. Sometimes the simplest solution is the best.
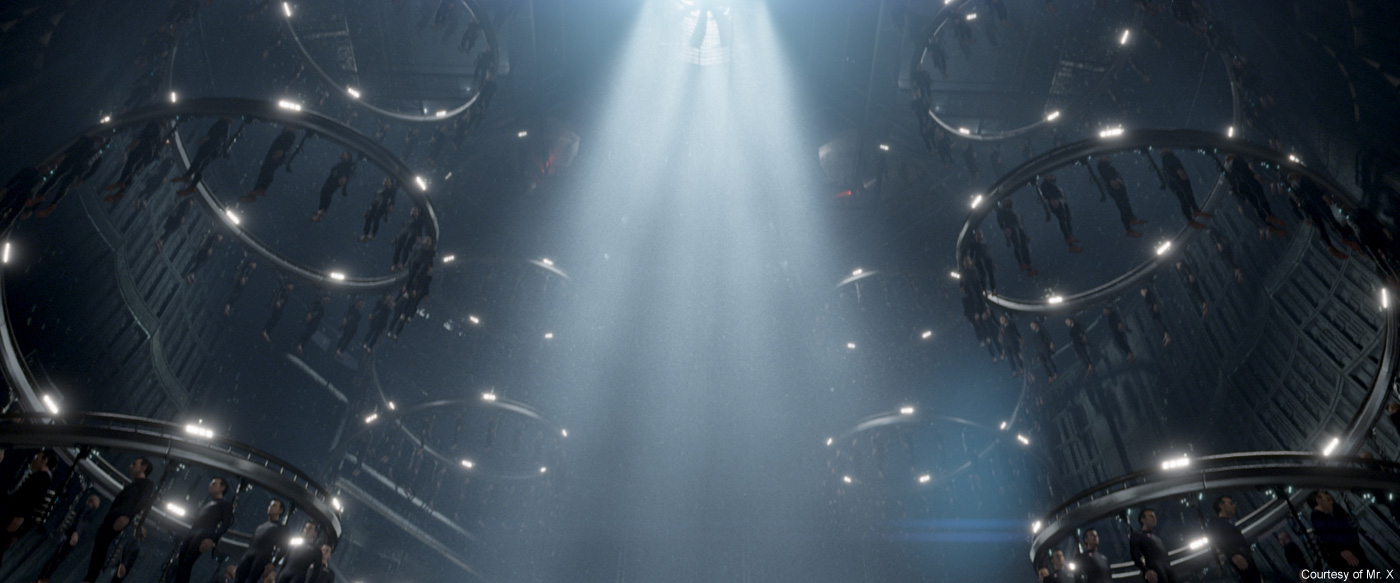
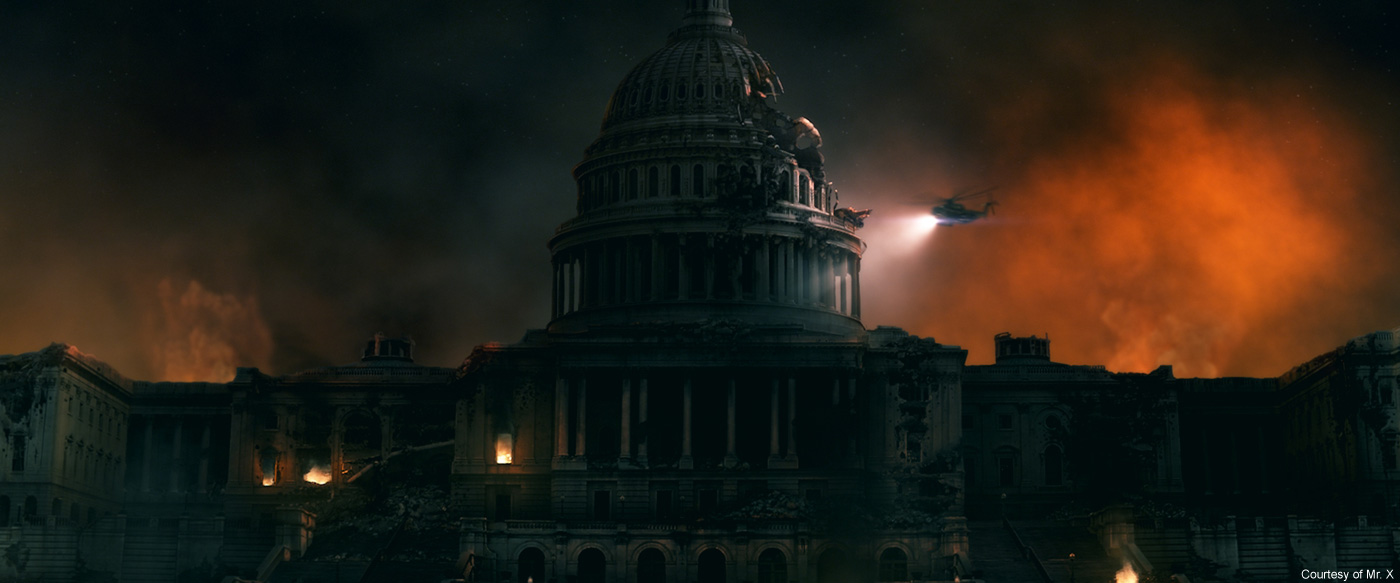
The movie ends on a apocalyptic pull back. How did you create this great shot?
Let’s break it down:
The biggest shot in Mr. X’s history.
Asset count 2977 minus the undead hordes.
60K undead in the horde.
12,601 published asset versions.
47 artists and Tds.
Rendering time for one eye on one computer would have been 1241 days, 2hrs, 37 minutes.
This is shot became about coordination and communication. We found that creating one point person overseeing the organization of a specific part of the shot was the only way to keep it straight. We had one person on layout in the compound that divided it into quadrants and wangled all the soldiers animations and vehicles for cross-overs and crashes. For the Undead crowd animation provided walking, milling, clawing cycles that were distributed and randomized by in house horde system in Houdini. Mantra was used to render the 60k worth of undead leveraging its delayed load features. All the winged creatures were hand animated by the animation team and the distribution of the flocks was managed by defined zones and a continuously updated slapcomp of rendered animations. The fire, columns of smoke, and flamethrowers were simulated in FumeFX in 3ds Max. The interactive lights on characters and vehicles were achieved by exporting low res skinned versions of the fire sims that could be used as mesh lights in V-ray and Mantra. The final composite was approached in a similar divide and conquer method, the shot was sectioned in zspace into several precomps that were overseen by several senior artists.
How did you divide the work with the other vendors?
We used outsourcing as a way to help alleviate the pressure due to the volume of the shots. There were key beats in the film that we always knew we were going to do.
What was the biggest challenge on this project and how did you achieve it?
Inter-departmental hand offs and communication. Amazing Meticulous Production managers and Leads.
Shot volume was a tremendous challenge! 3DStereo results in twice the amount of rendering and data storage. As well, the show was shot on RED EPIC, usually at 5k resolution. During production we purchased an additional 100TB of fileserver space.
Was there a shot or a sequence that prevented you from sleep?
There wasn’t really, I kind of live for film.
The bigger the challenge is the more I enjoy it.
What do you keep from this experience?
Tech and Infrastructure will get you only so far People are how movies get made.

How long have you worked on this film?
12 months from previs to final delivery.
How many shots have you done?
Final shot count 700.
What was the size of your team?
Largest we have ever been, yet it was only 135.

What is your next project?
ROBOCOP, THE MORTAL INSTRUMENTS, VIKINGS and CARRIE.
What are the four movies that gave you the passion for cinema?
AKIRA, PULP FICTION, LEON and BLADE RUNNER (I know big surprise).
A big thanks for your time.
// WANT TO KNOW MORE?
– Mr. X: Official website of Mr. X.
© Vincent Frei – The Art of VFX – 2012

 and Gabriel Tremblay-Beauvais (Head of Creatures/Senior CG Supervisor) – FOLKS")
, Nick Marshall (DFX Supervisor) and Melaina Mace (CG Supervisor) – DNEG")
 and Tim Walker (Compositing Supervisor) – Weta FX")
